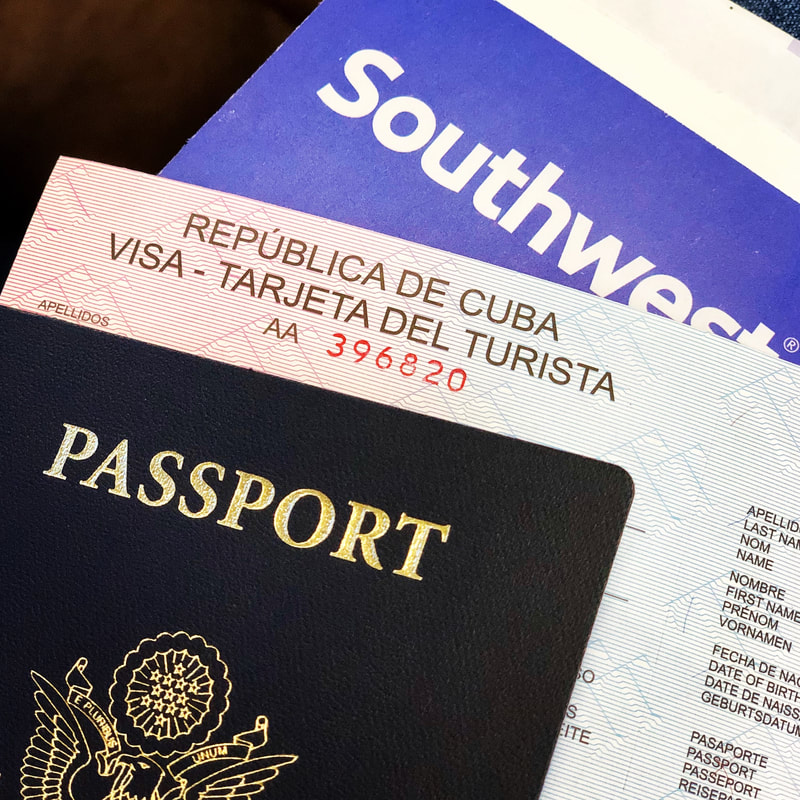
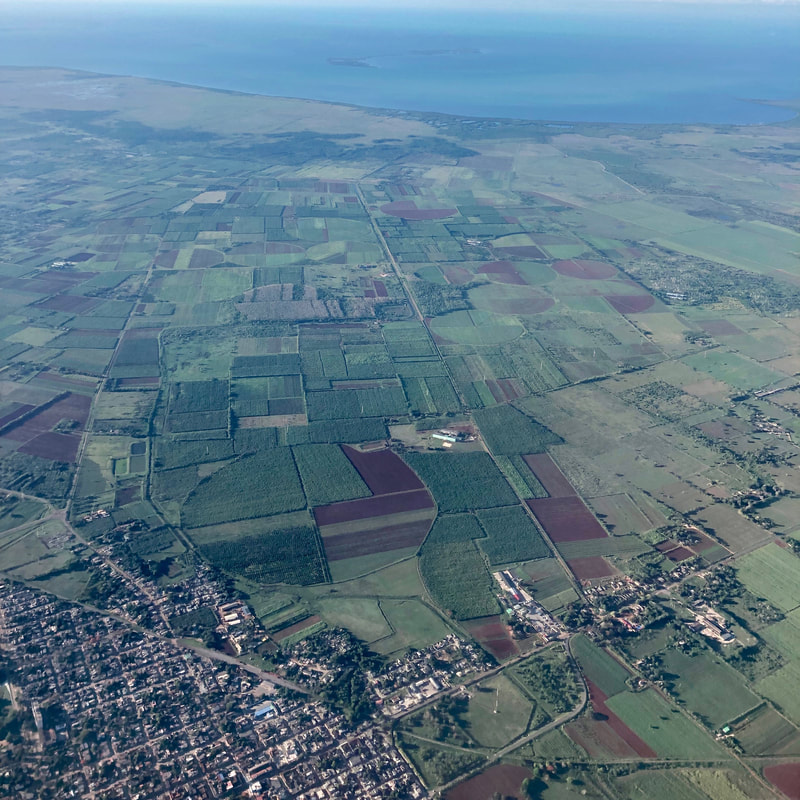
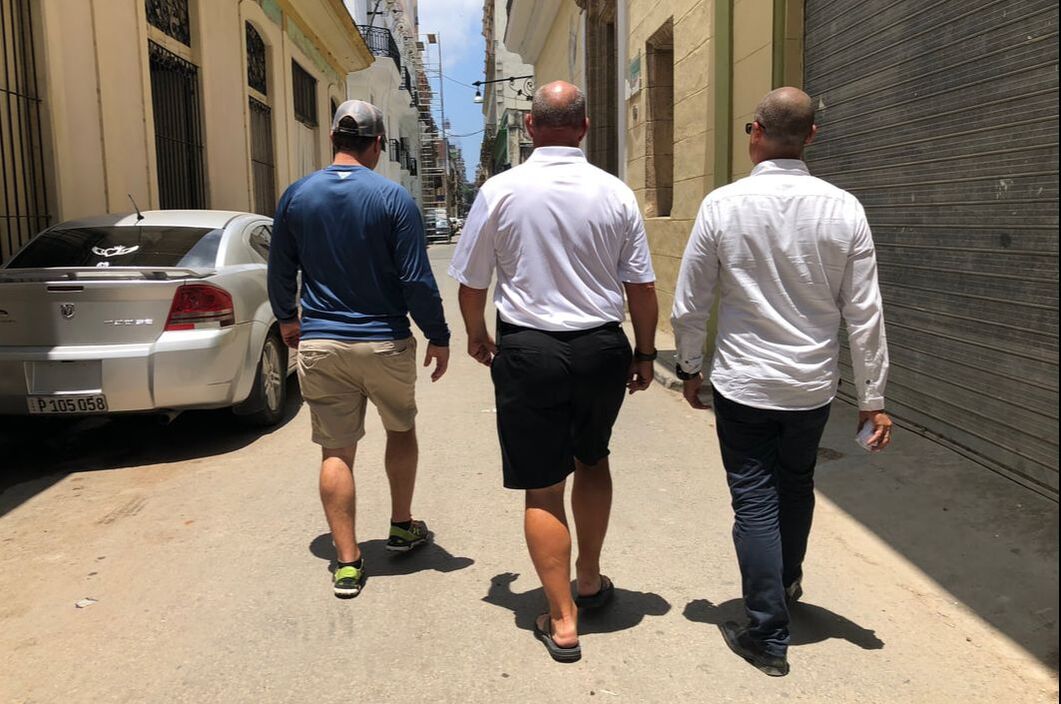
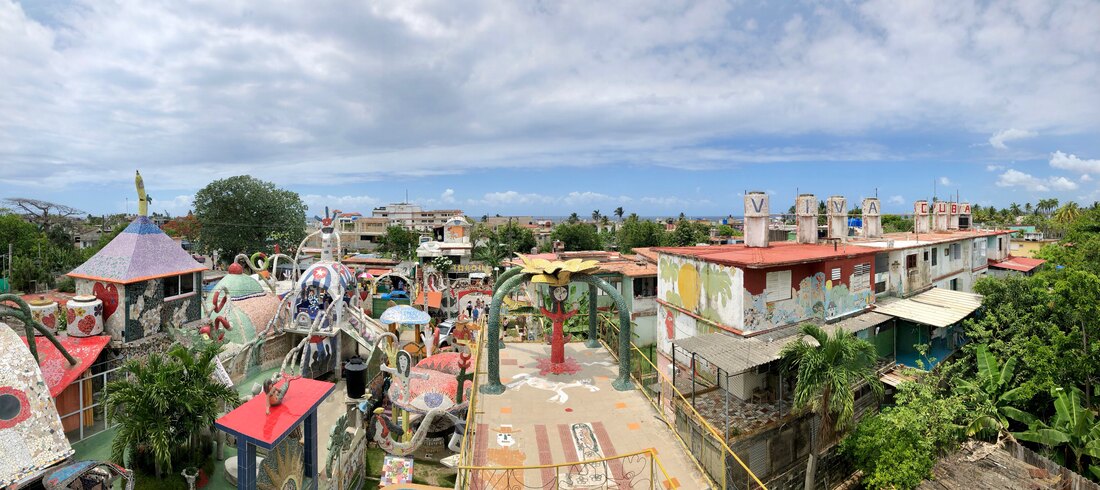
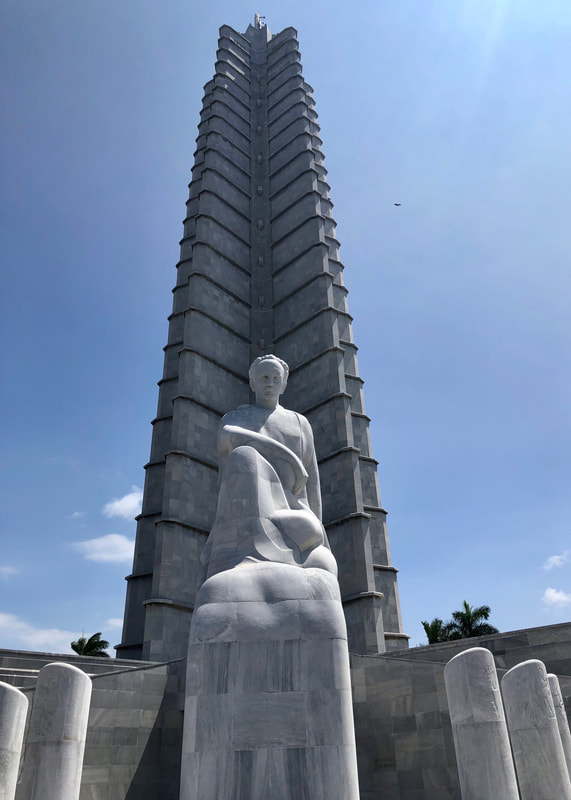
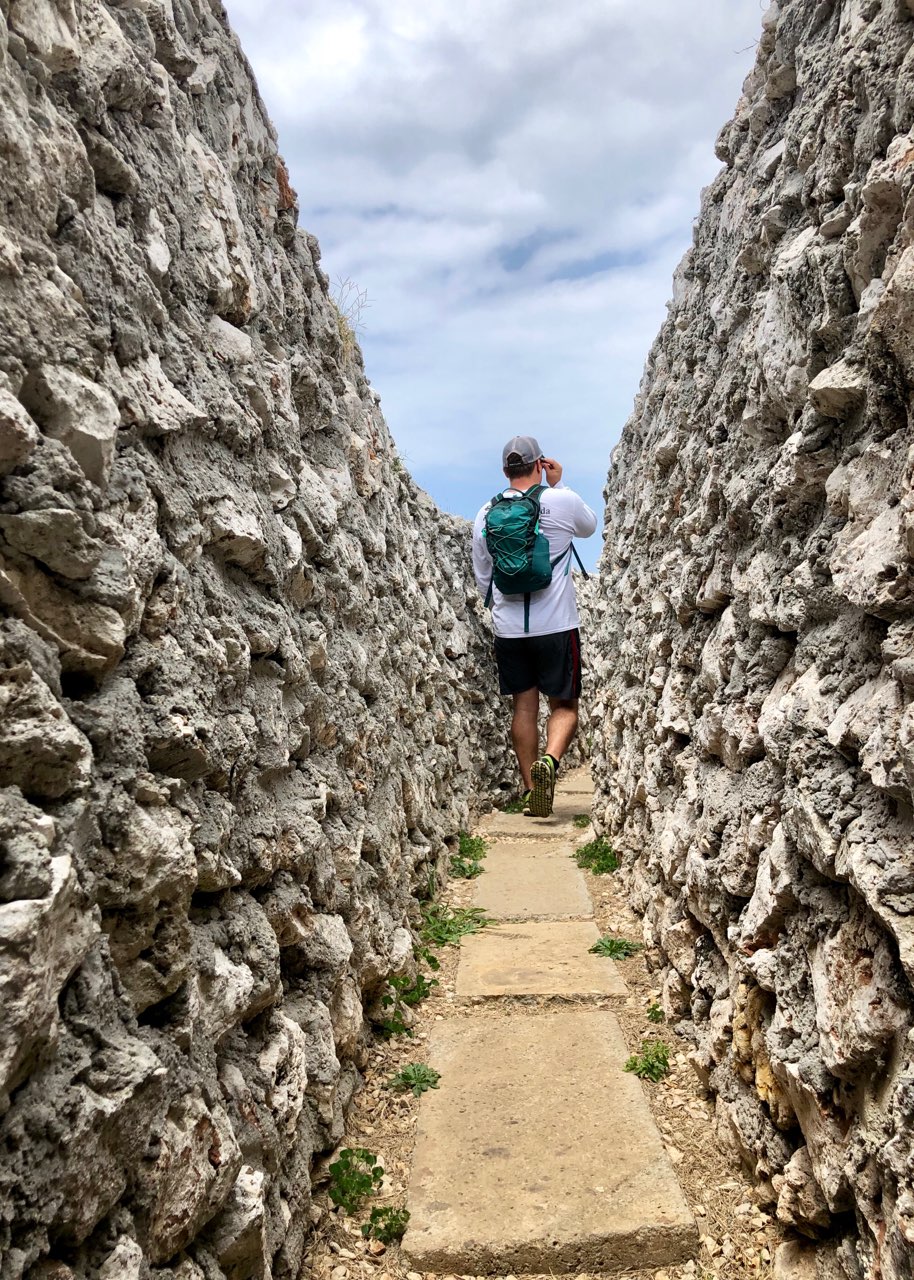
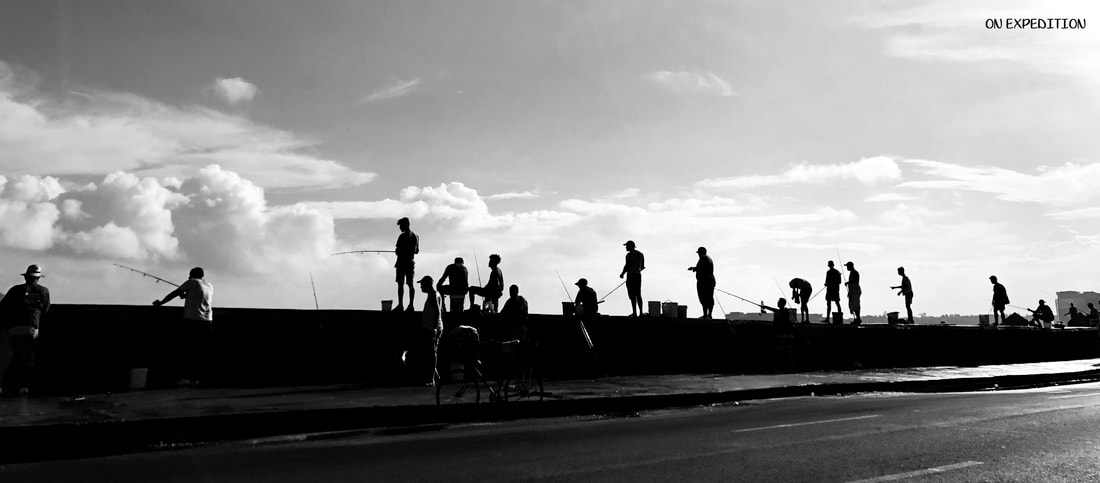
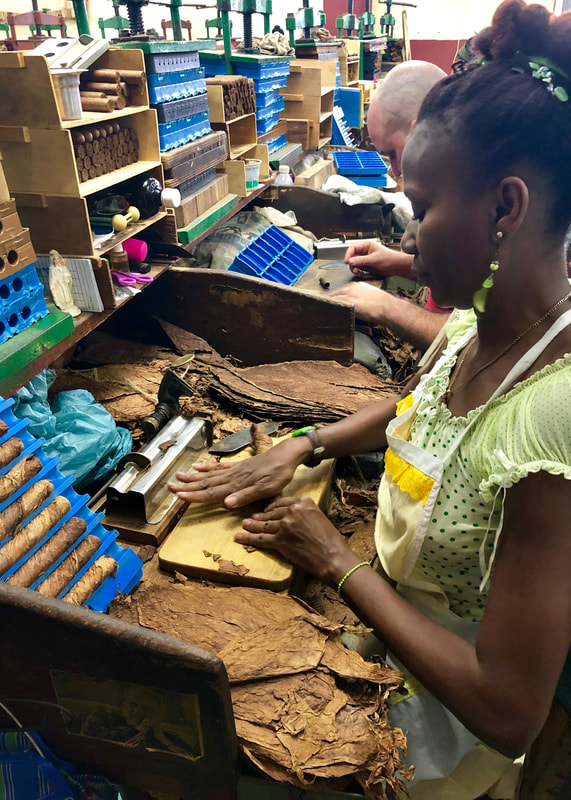
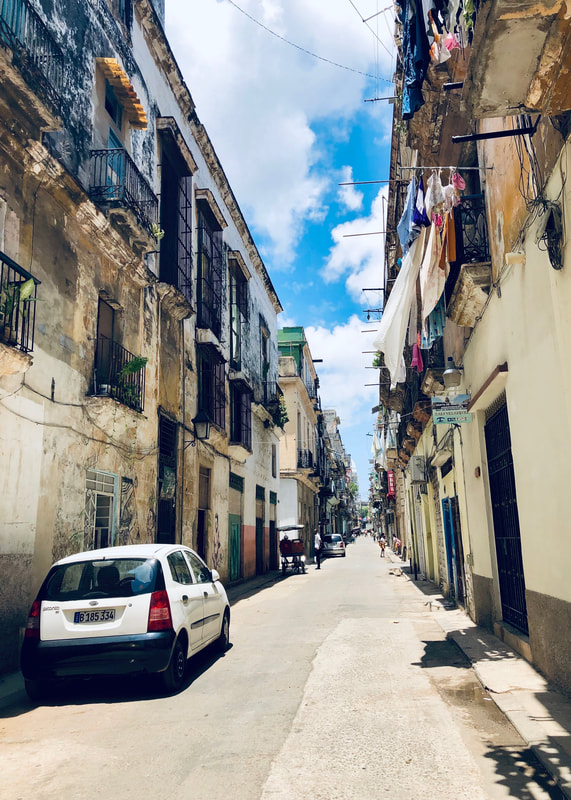
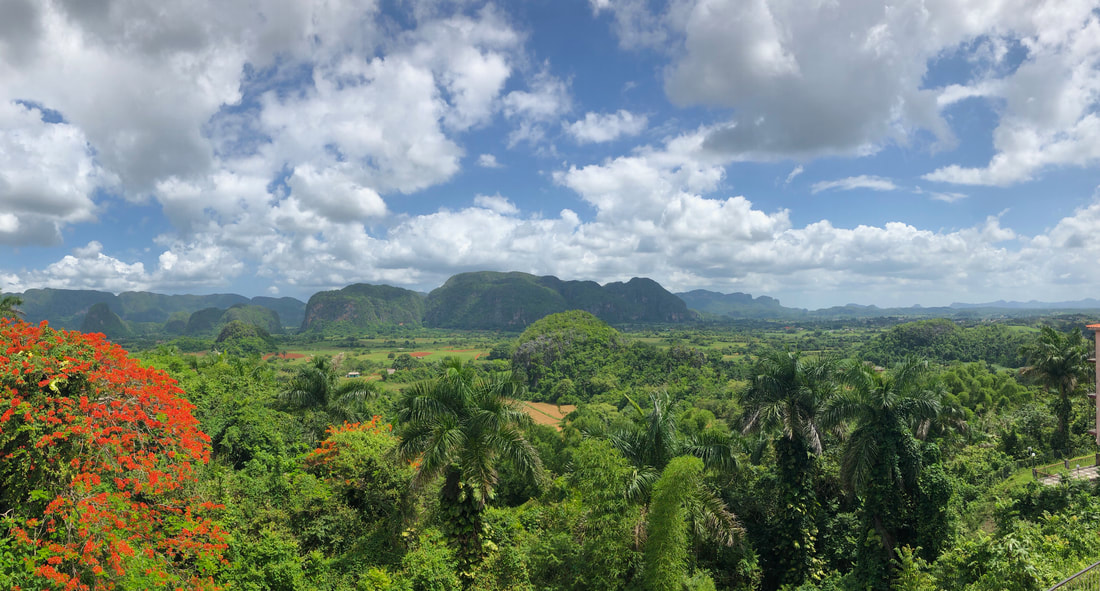
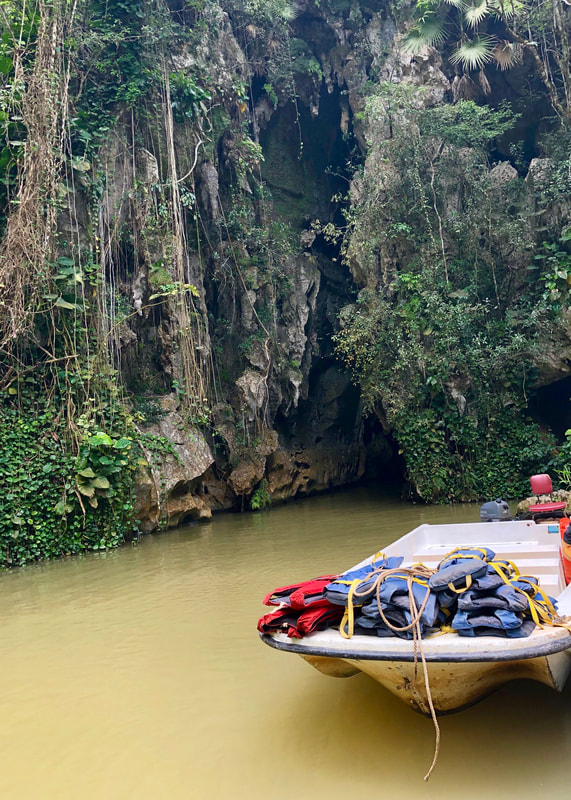
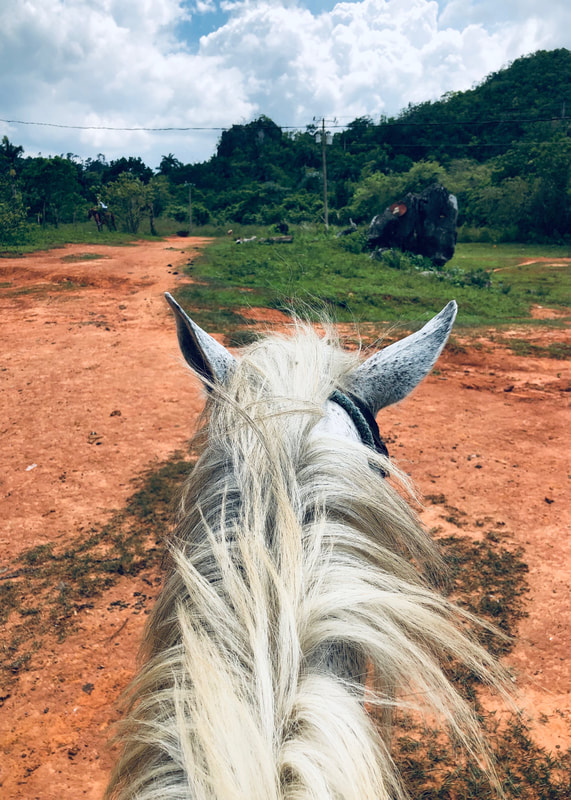
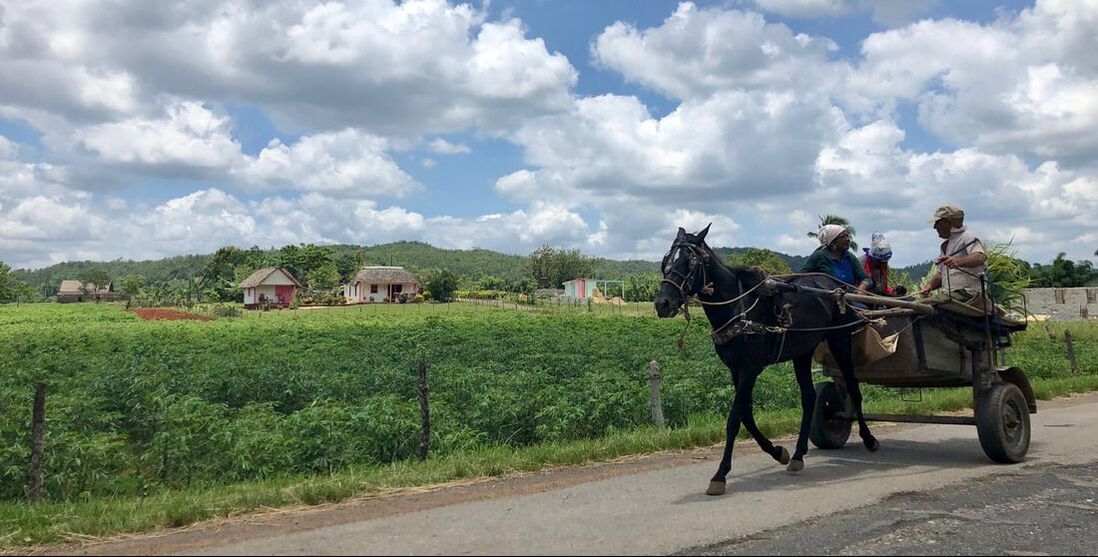
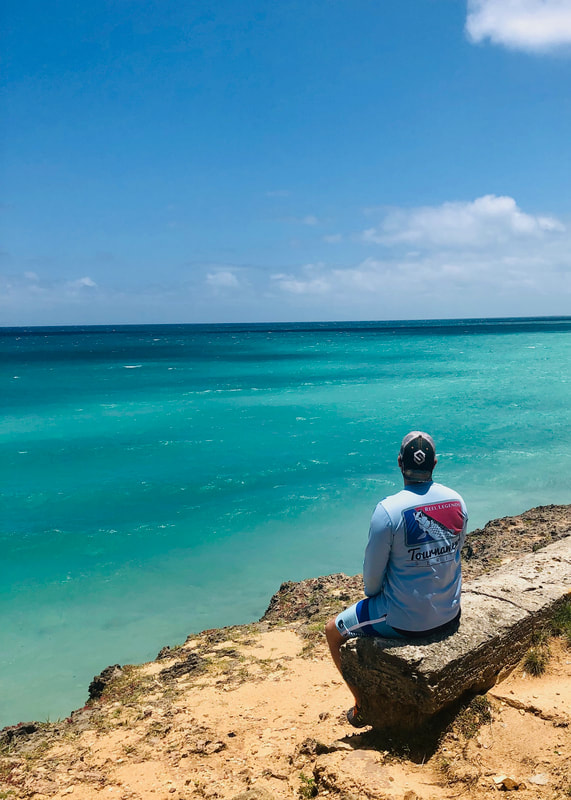
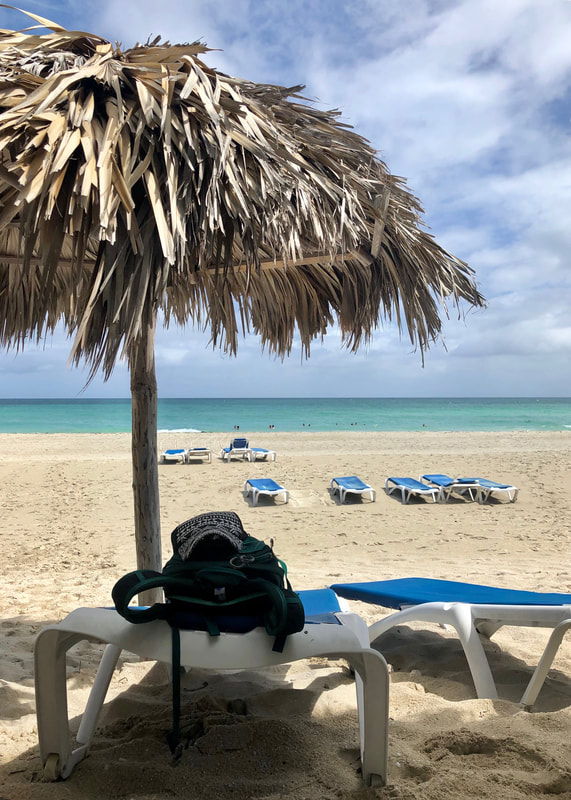
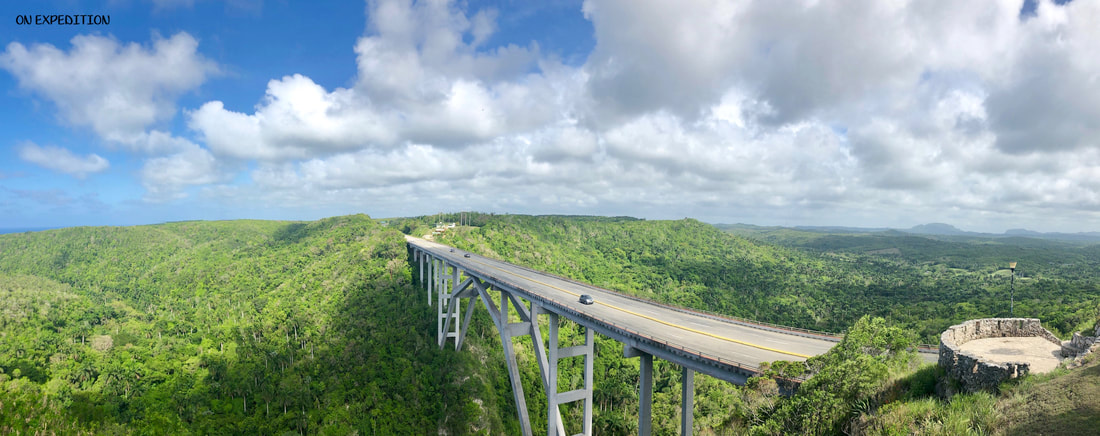
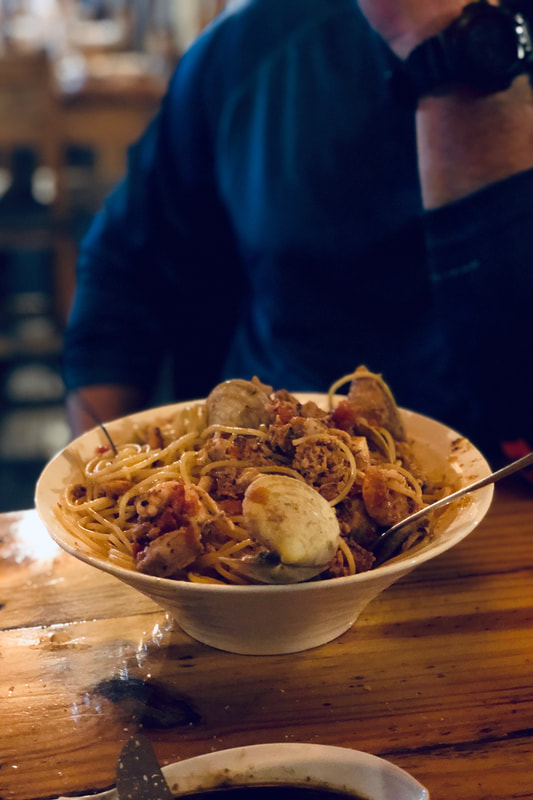
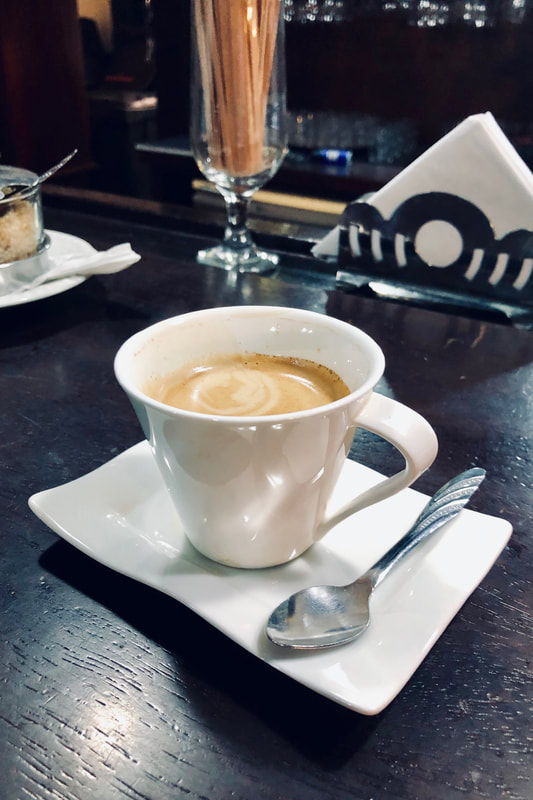
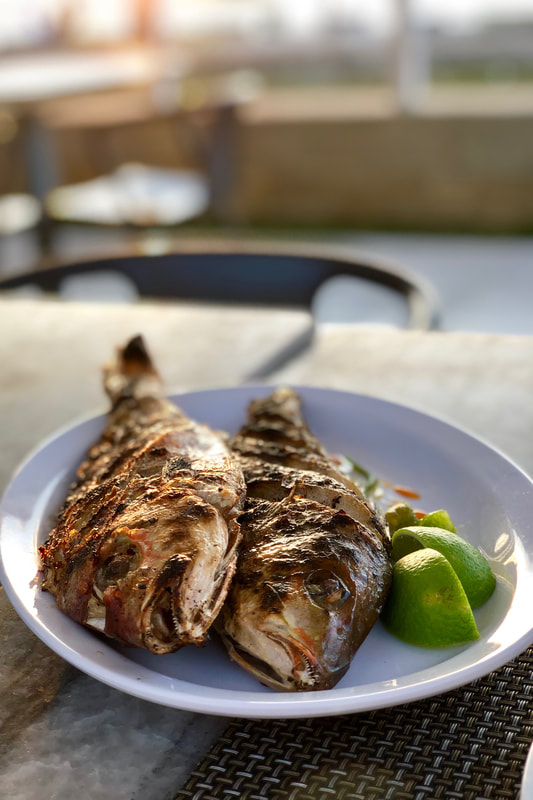
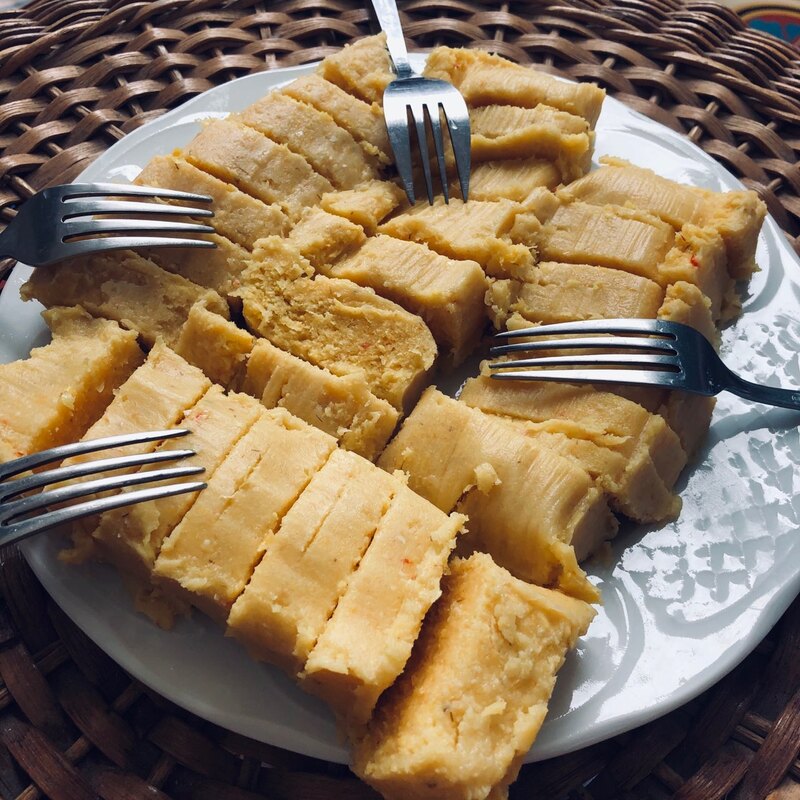
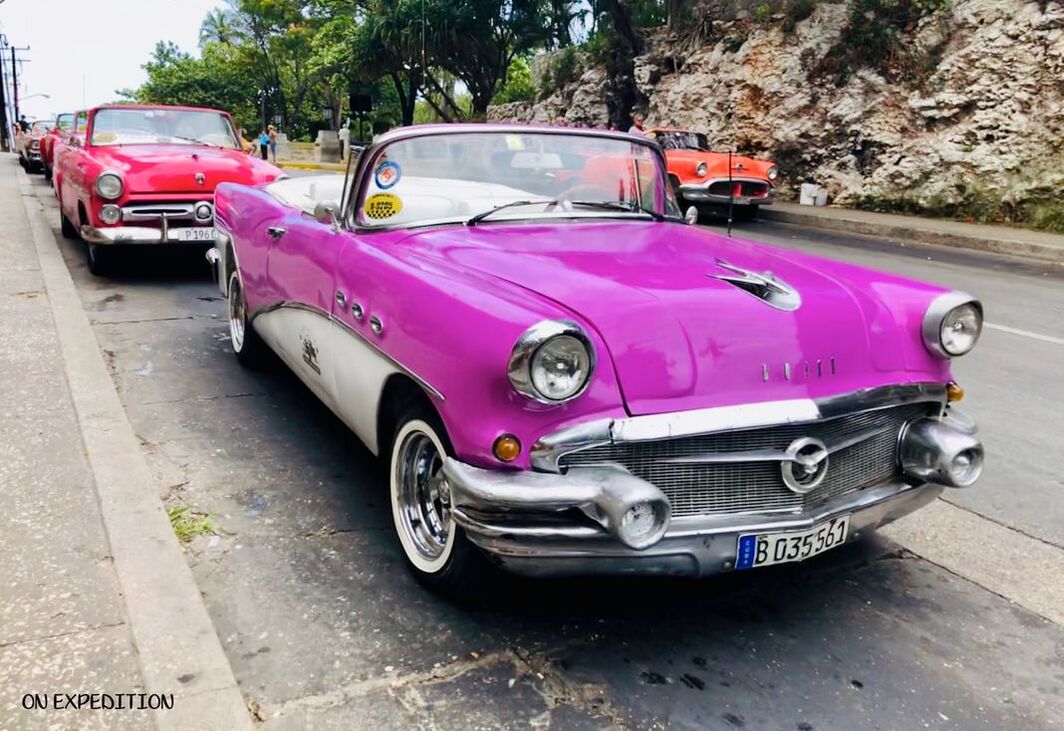
Getting ThereMake sure to bring your passport and your drivers license. This is apparently required to verify your address at the airport when you check in. I have spent a lot of time traveling and have never had this occur before so I wanted to emphasize this. Security took about an hour for us but was generally really easy. We flew on southwest so being on time to boarding was important. The flight took just over an hour and the views we got on descent as the sun was rising were amazing. We purchased our visas for the people-to-people program from www.southwest.com. They were roughly $80.00 USD. It is important that after getting this stamped you hold onto it for the duration of your trip. You will need to provide the same visa on the way out of the country. Make sure you bring enough cash to last your entire trip! CREDIT CARDS DO NOT WORK! I cannot stress this enough. SafetyI felt like I needed to start with this since I know a lot of people thought we were crazy for traveling to Cuba. What I have found everywhere I go is that what people expect is usually far from what they find. Cuba is no different. The people in Cuba were exceptionally nice and willing to spend time talking with us and sharing their culture and stories. I never felt unsafe walking on the streets and ladies... I never once got catcalled! For them tourism is a huge source of income and the American dollar goes a very long way. HavanaThe city is packed full of things and places just waiting to be discovered. Be sure to check out Fusterland, which was started in 1970 by a local artist. He has spent years decorating his actual home in a very unique way. Other things to explore are the revolution center, the seawall (Malecon), old Havana with lots of little shops and the hotel revolution. In the back of this hotel are still remnants of the 1962 Cuban Missile Crises. This was one of Toms favorite things to explore in Havana since he is a bit of a history buff. I also highly recommend setting up a tour of a cigar factory. It will give you a real perspective into not only the process but the lives of the people who take a leaf and turn it into a cigar. VinalesThere is lots to do in the countryside including visiting an Indian cave and prehistoric mural started in 1964. If you opt to do the cave I recommend going in the morning before all the tour buses start getting there; the earlier the better. By far my favorite experience in the country was horseback riding into a farm to learn about tobacco production from real farmers. It was a true glimpse into life in Cuba. We met our guide after lunch, rode down into a valley on horses and then toured both the fields and drying cabin where part of the processing occurs. IT WAS WORTH EVERY SECOND AND PENNY! VaraderoHang out at the beach catching some rays. Be sure to bring a towel and/or chair unless you want to try and barter with hotel staff to use one that’s already there. You can also participate in a snorkeling trip on a catamaran. We were unable to do this excursion due to weather since the winds really kicked up the seas. Our guide says this is a fabulous trip and there is not a doubt we will embark on this next time we are in Cuba. Places to EatThere was tons of great food in Cuba but by far my two most favorite places were Santyz and Grados. The chef of Santyz used to be Fidel Castro’s personal chef. If you eat here just know it is a seafood only restaurant and you will get huge portions. I recommend eating a more family style dinner here and sharing a couple dishes. Grados was just two doors over from our Homestay and was out of this world. The chef has spent a lot of time traveling around the island learning different ways to cook and infuse the flavors of Cuba into the many dishes they have there. Everything on the menu was amazing but as a whole we thought the mango and coconut shrimp as well as the carderone and pry (lamb) was exceptional! AlcoholI’m not a huge drinker and had never had a mojito before coming to Cuba but after this trip I think it’s my new favorite drink. Another classic drink there is the cubalibre which is essentially a rum and coke. Drinks were very inexpensive; averaging around $3 CUC, which is probably how I ended up drinking my weight in mojitos. Cultural ImmersionThere is something to be said for traveling. It makes you wiser and more humble but Cuba takes this to a whole new level. You could visit here and spend your entire week in Valdero at an all inclusive hotel and say you have been to Cuba but to be totally honest you would not “have been to Cuba”. The magic happens sitting at your rental house in Havana drinking home made sangria and eating tamales when the sun goes down with your neighbors. Only then do you truly feel the beauty and spirit of Havana. I am so thankful for the people I met here who were willing to talk with us and take us to some truly amazing places. I learned so much and I cannot wait to return and continuing soaking up this truly beautiful culture! Before heading off on your trip I recommend watching “Cigars: The heart and soul of Cuba” which is a documentary available on YouTube for free. Bonus TripsIf you have additional time I was told a visit to Trinidad is a must. We didn’t make it there since it’s a very long drive and requires an overnight stay. We plan on visiting this the next time we make our way to Cuba. Tips and TricksTips and Tricks
Packing List Bathing suit Underwear Bras Dress T-shirts x5 Fishing shirt Jeans Shorts x2 Yoga pants Sunglasses Hat Sunscreen Chapstick Hand sanitizer Medical kit Flip flops Sneakers Camera
1 Comment
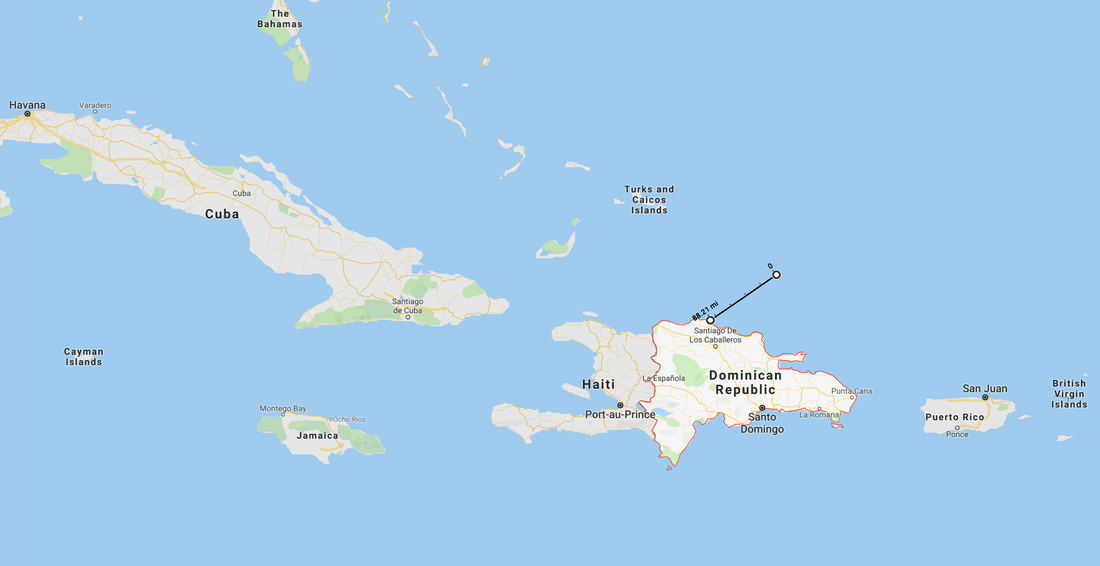
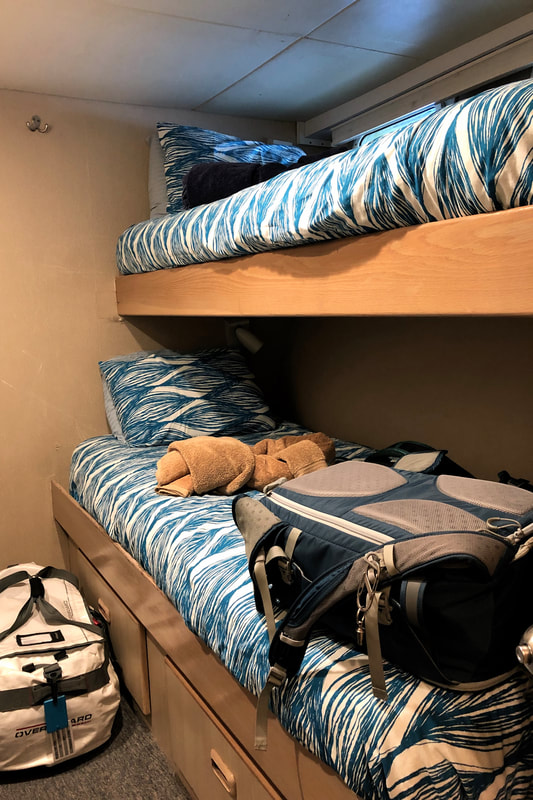
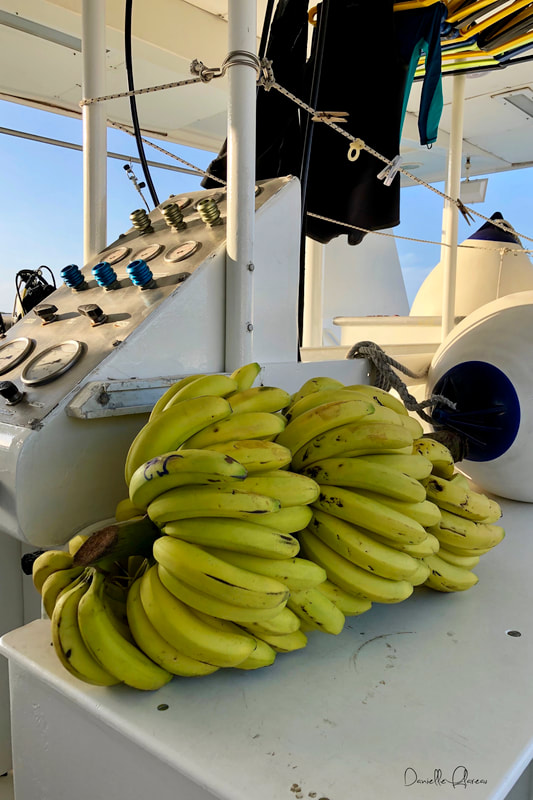
Getting ThereWelcome to the Dominican Republic! You will need to fill out a customs form and an immigration form. If you are a traveler that was not born in the Dominican Republic you will fill out a blue form. If you were born in the Dominican Republic you will fill out a white form. After entering the airport you will need to grab your belongings and find a taxi. You can prearrange this through the boat company and I do recommend doing this as it will save you some time and aggravation. You can also arrange for pick up when you get back off the boat but we did this when we got back into port after swimming with the whales. The Silver BanksThe silver banks are roughly 80 nautical miles outside of the port in Puerta Plata. Traveling there takes about eight hours by boat. We were lucky the weather was decent so we were able to head out a little before our planned departure which allowed us to wake up at the silver banks. The silver banks is roughly 24 square miles and consists of a shelf that can touch around 90-100 feet. The whales come here to mate and get their calves strong enough to make the journey north. There are other banks in the area with humpback whales on them but the Silver Banks is by far the most concentrated. The BoatThe boat is a live aboard that comes from the Turks and Caicos just for the whale season. It can hold 20 guests plus the crew. I happen to get lucky and be there when the boat only had 12 guests which gave us a lot of extra space. Our chef was just phenomenal! Our first night on the boat was Indian themed and she nailed it! She also created a lot of food that fit the needs of everyone on the ship including vegan dishes (which was great for me)! As for the boat stateroom we had an upper and lower bunk bed as well as a private bathroom. We were given all the bedding and towels as well as conditioner, shampoo and soap. Each room has its own thermometer so you better believe I cranked that thing down since I love sleeping in the arctic. They made our beds everyday and placed little chocolates on our pillows at night. Just Keep Swimming..... Swimming..... Swimming!
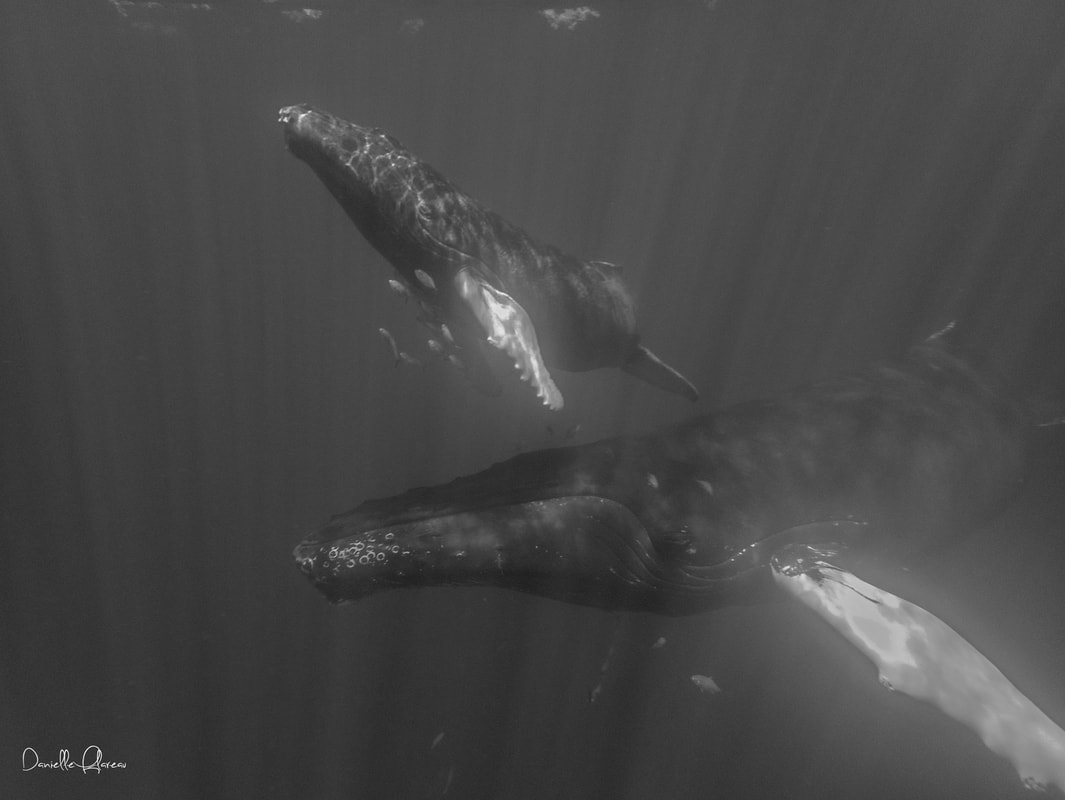
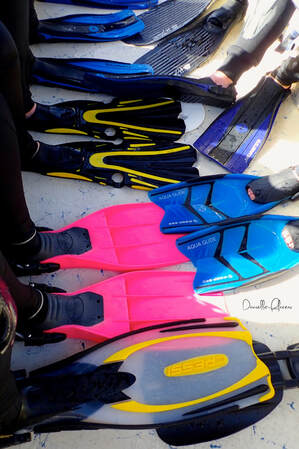
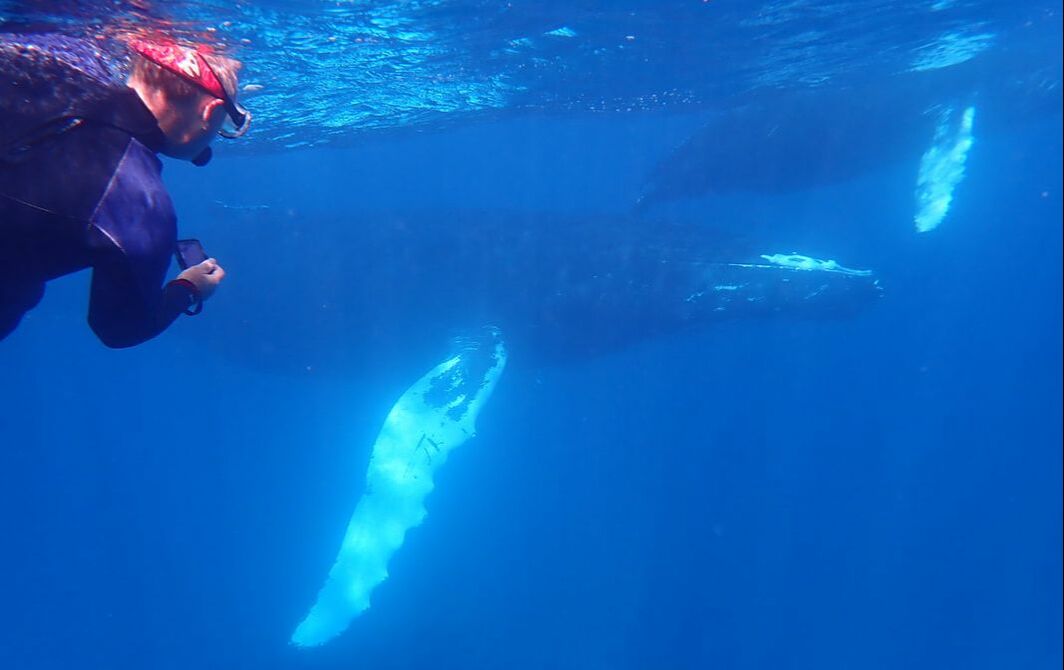
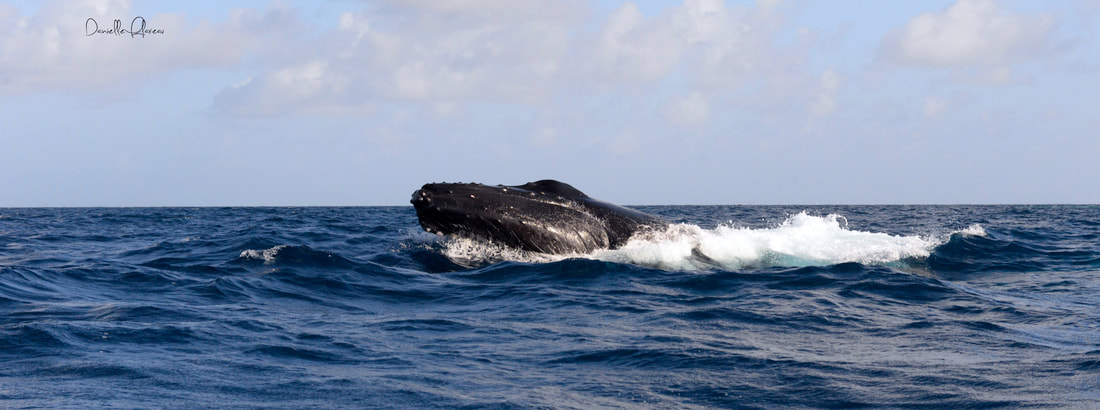
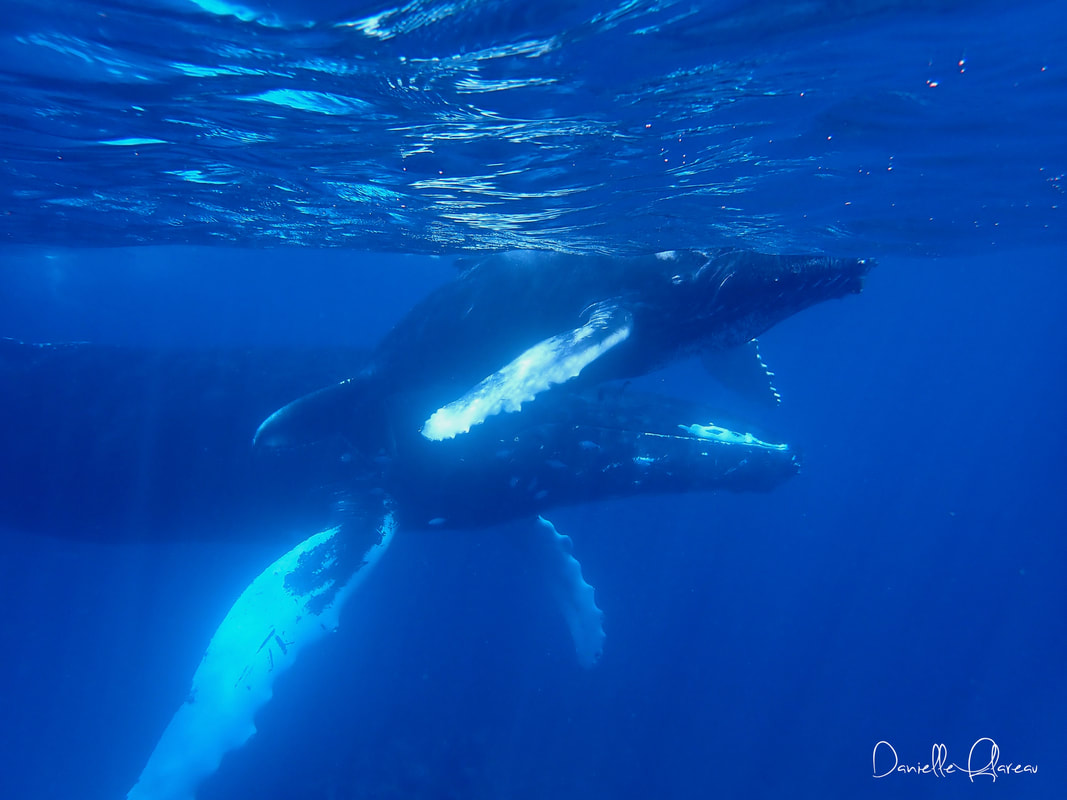
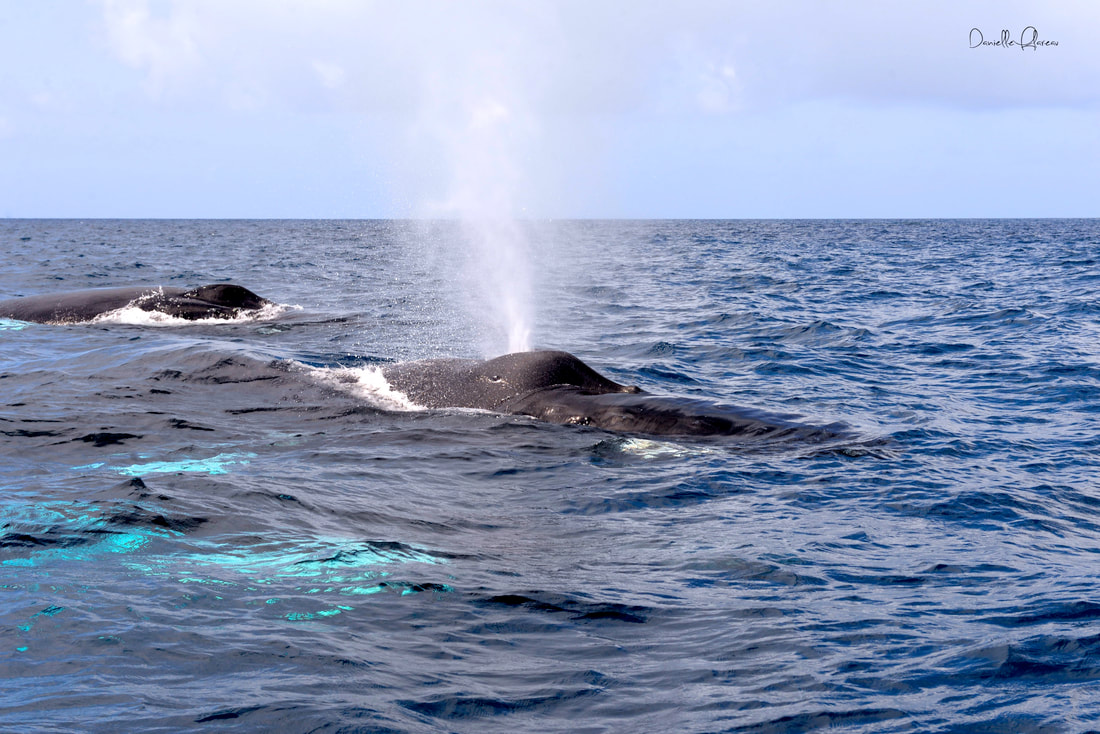
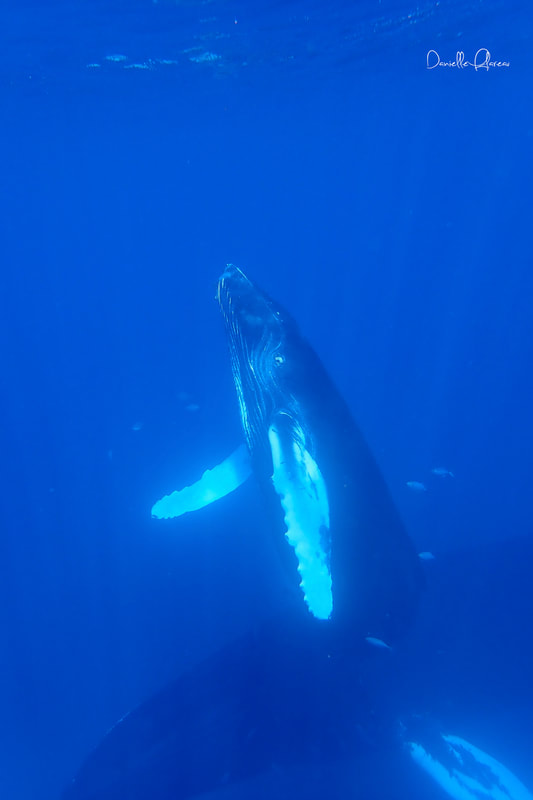
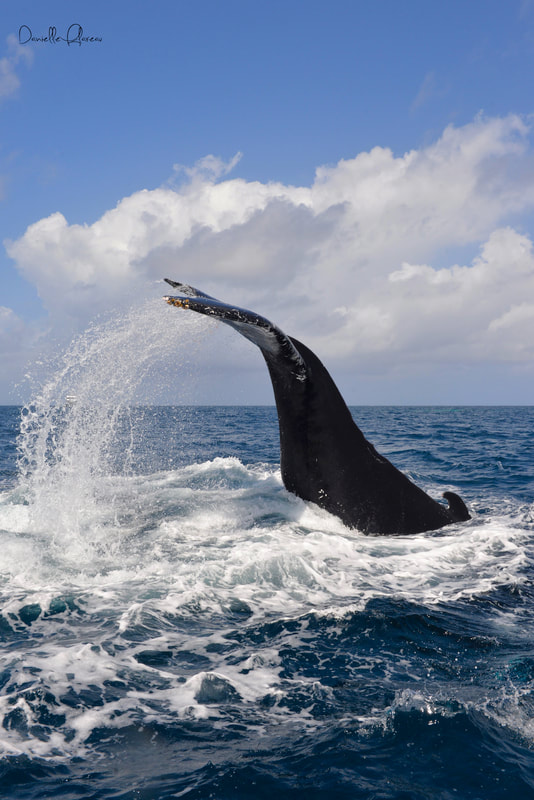
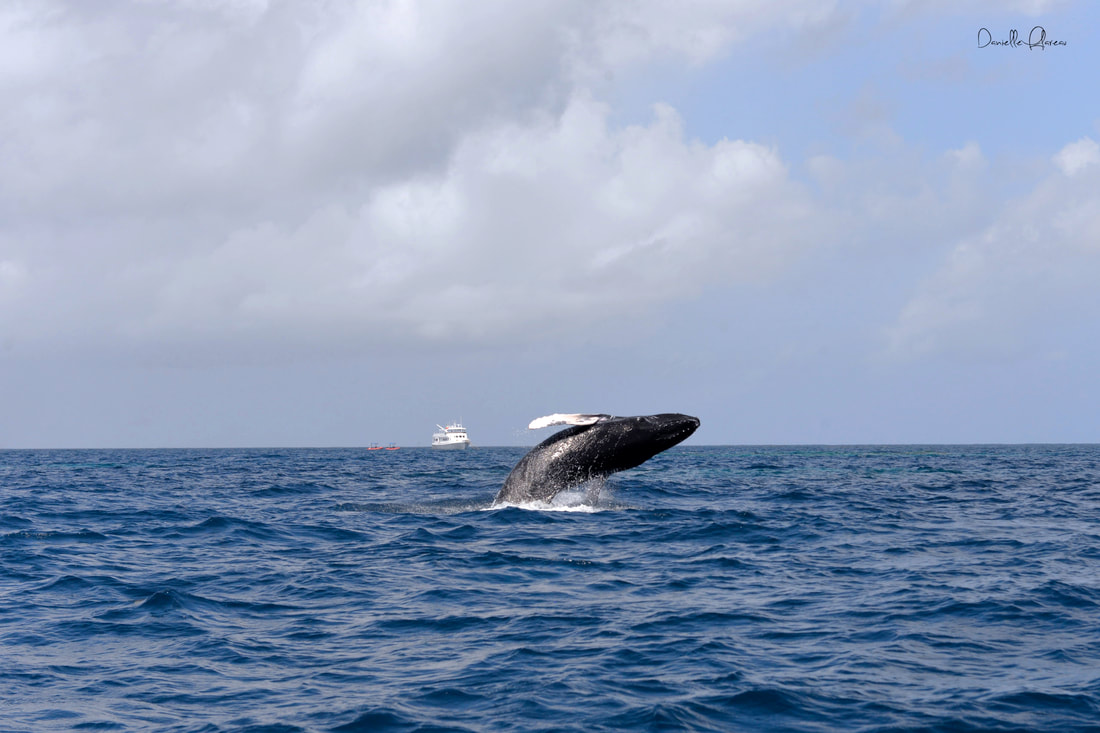
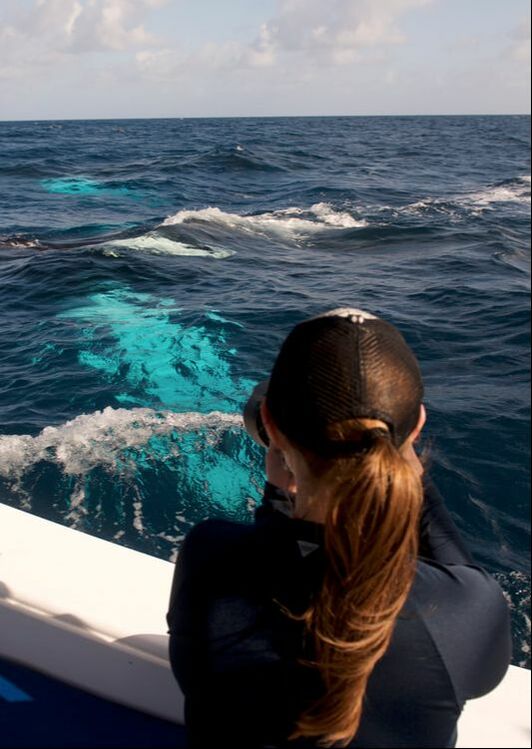
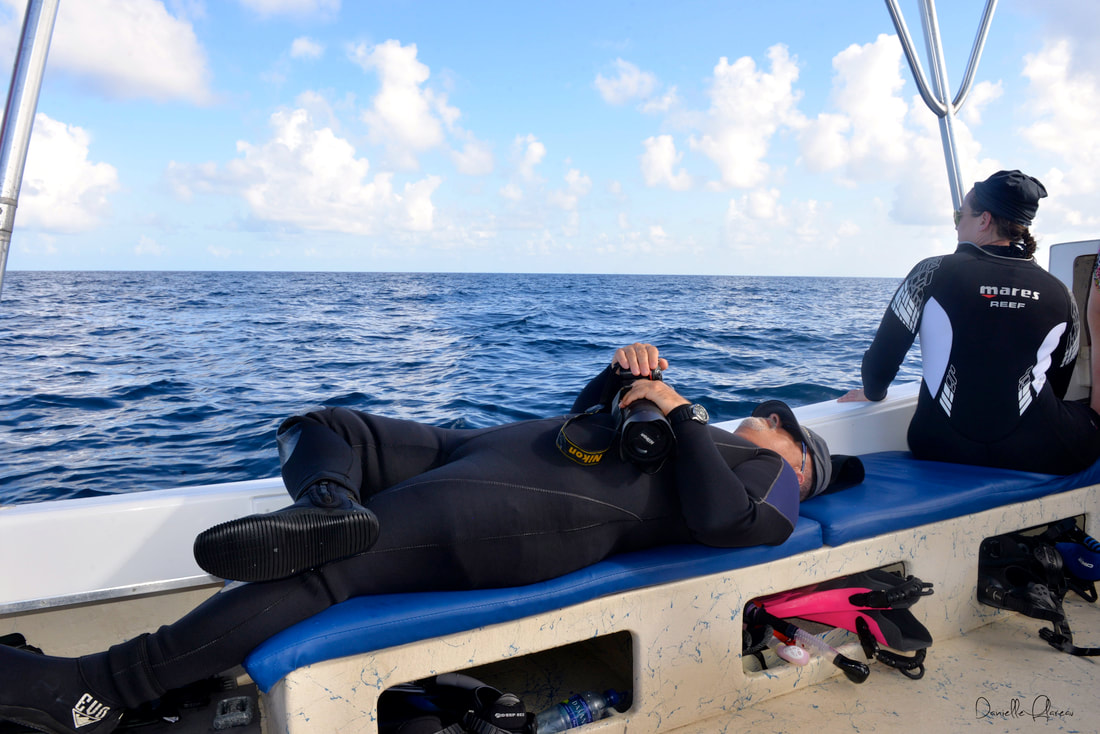
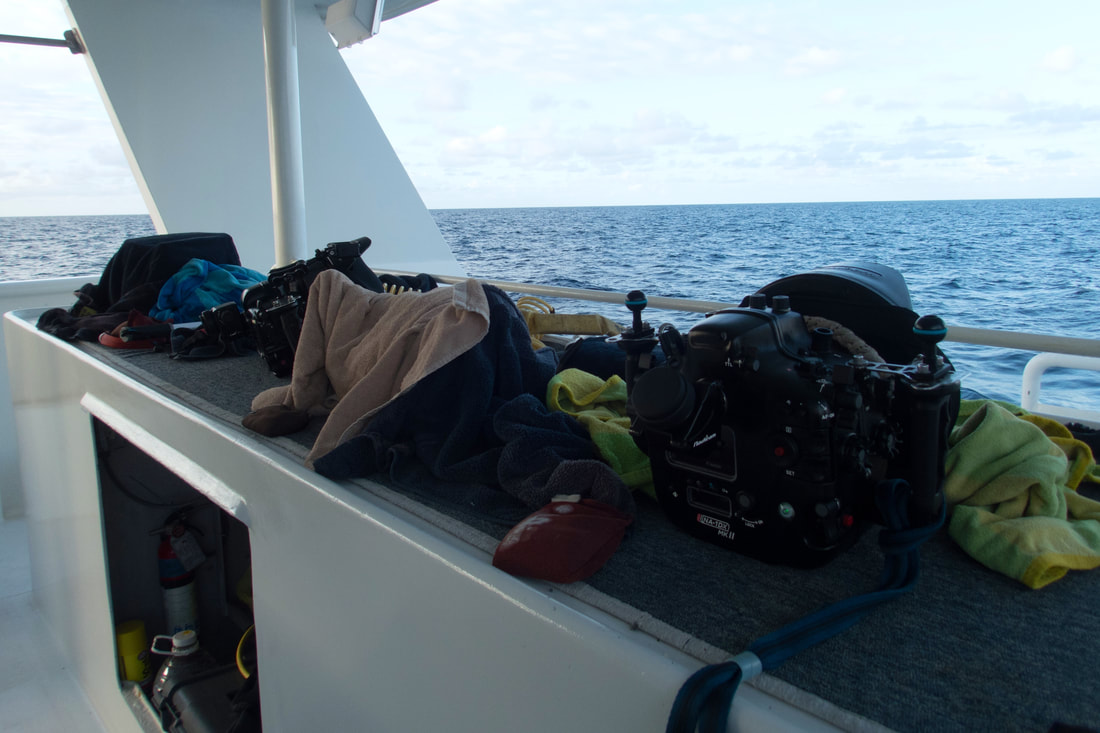
Whale EncountersBefore embarking out onto the smaller boats we had to run through how to get on and off the boat as well as try out our snorkel gear. This took up most of the morning but from a safety standpoint was very important. That afternoon we headed out to start searching for whales. We saw lots of breaching and fin slapping from the boat but we didn’t have a ton of luck with actually getting in. However, not to fret we still had four more full days to swim. We did have a quick unbelievable 15-20 second underwater view of a mother and calf, but with one small flip of the fluke they were gone. The next day we woke up and headed out again but this time we stumbled upon two adults just resting. We spent a couple hours in the water moving around when they would. Almost the entire time the female whale would turn just to be face to face with us. She was so calm! In fact we got to try free dive with her, which is very rare, because she was so relaxed with us being around her. Being completely submerged underwater with such a massive creature and no sound was a very amazing experience. As if the day could get any better we were lucky enough to get in the water with a mother, calf and an escort. This is not a normal encounter since the escort tends to push mom away from any outside intruders, including humans. However, he was very generous and let us get into the water where we watched the baby play around. Every day the encounters just kept getting better and better. We swam with so many whales and even had the opportunity to get into the water and play with some dolphins. We not only heard but FELT a whale singing below us and it was unbelievable! I think one of the biggest things I took away from this trip was the feeling I had when I was in the water with the whales. So, my one piece of advice for this trip would be absolutely get some pictures but also take a second to just be in the moment without looking through a lens; I mean after all you are swimming with a HUMPBACK WHALE in the middle of the ocean! PhotographyI decided to go light on the camera equipment for this trip. I knew we would be getting up close and personal with whales so I opted to go with a smaller lens instead of lugging my big stuff around. This is entirely up to you but at a minimum I would recommend having an “in water” camera (like the Tough camera) and a “dry” camera (like the Nikon). You can stash the dry camera in a waterproof bag in the front of the boat and use this when you are around breaching whales. There were times it was too dangerous to get in the water to swim with whales but they were generous enough to put on a show above the water. You can also opt to meet with a US customs agent and fill out paperwork stating that the camera gear you brought into the country was not purchased in the Dominican Republic. I was told this is a frequent issue and they will try to tax the camera gear when you are trying to exit the country. The paperwork is quick and you’ll get a tag stating what you entered with. This can be done weeks ahead of your trip. I didn’t have to use it but it was reassuring to have. MedicationI would recommend having a few Scopolamine patches and/or Dramamine on hand just in case you start to feel ill. From what I can tell the ride out to the silver banks is always windy and choppy leading to a few sick passengers. You should discuss these options with your medical provider and make sure they are right for you. If you know you are prone to sea sickness be sure to bring some raw ginger as well. This often helps soothe upset stomachs. Seas on the way out can sometimes be rough and it’s better to have medication and not need it than to be sick and wish you brought it. Packing ListFlippers
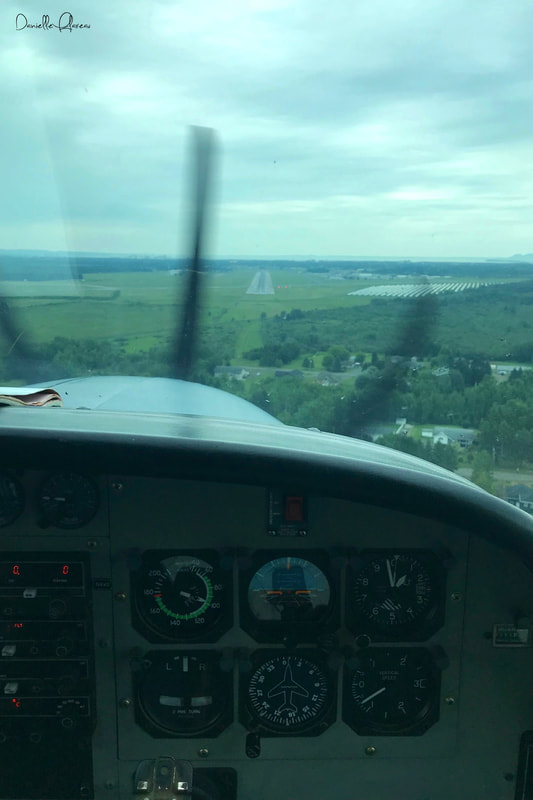
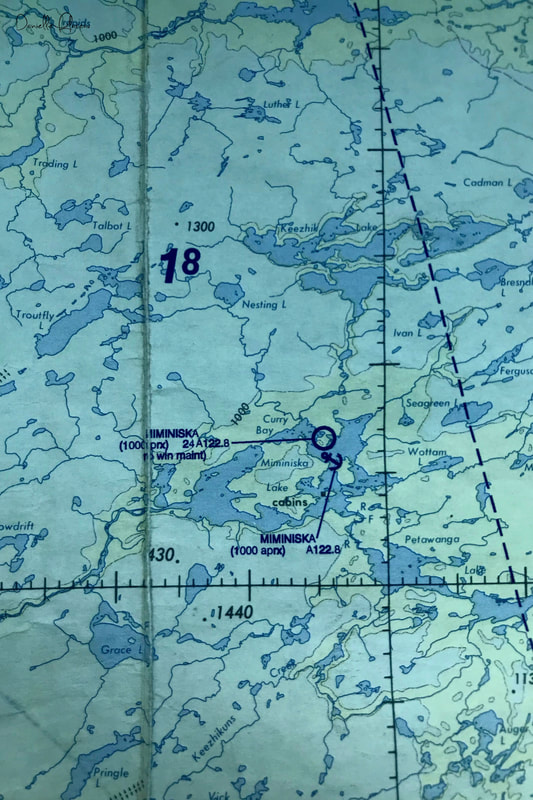
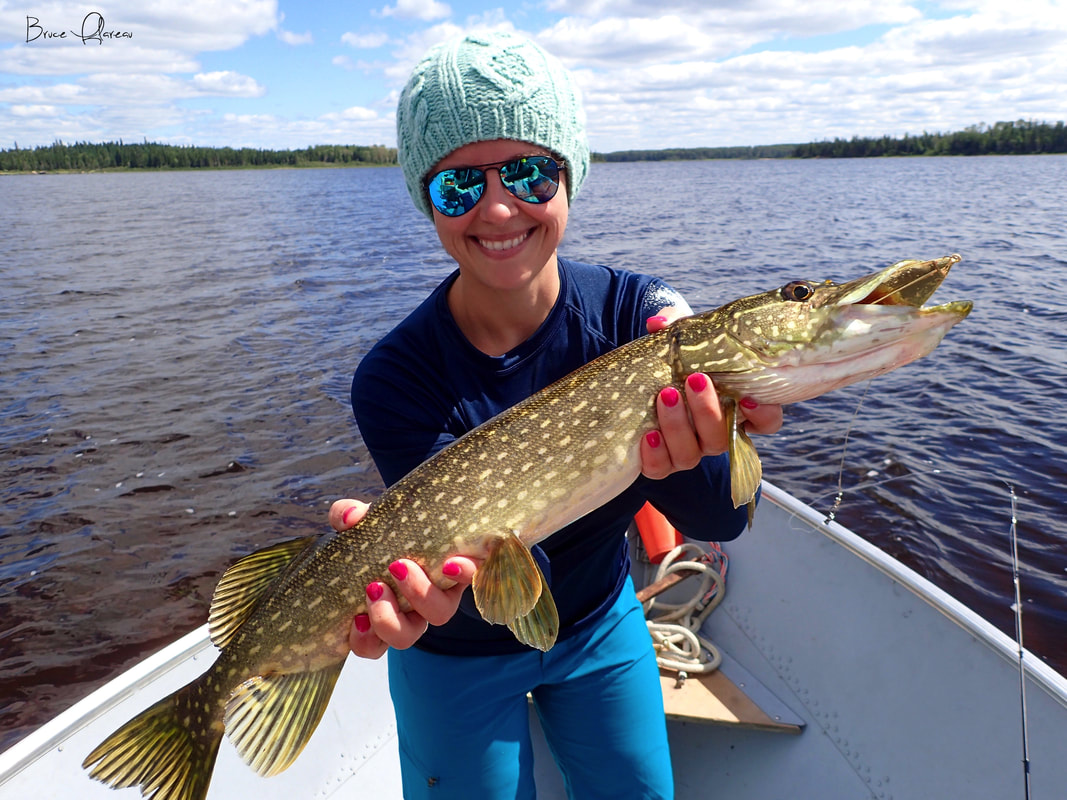
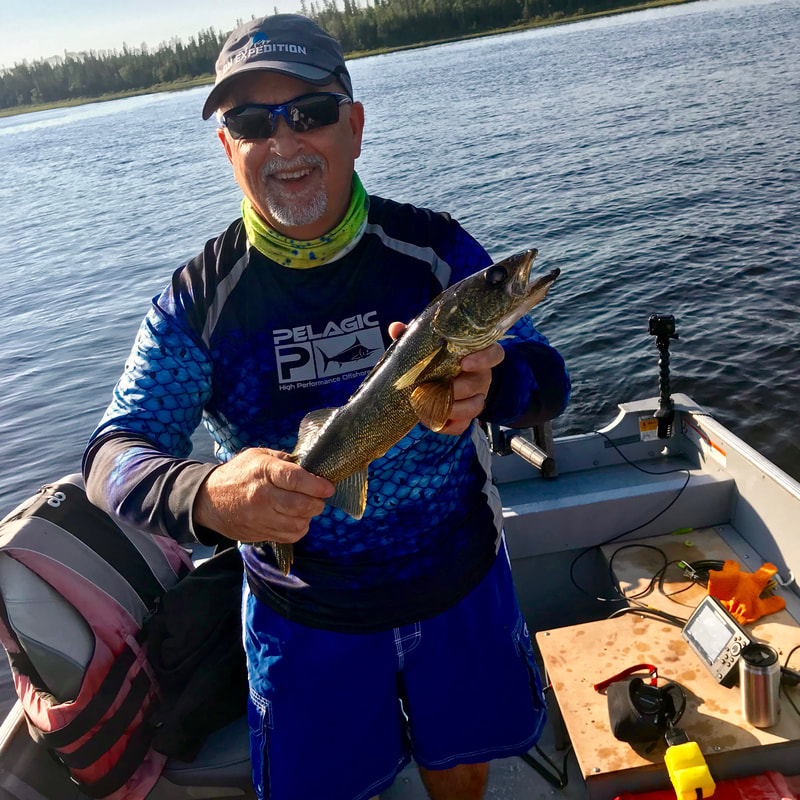
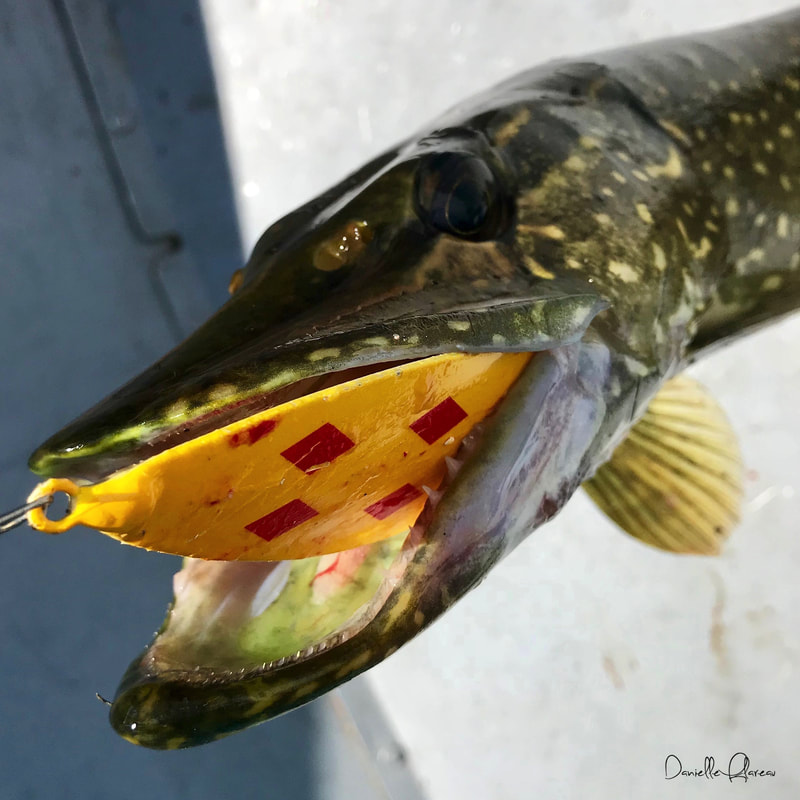
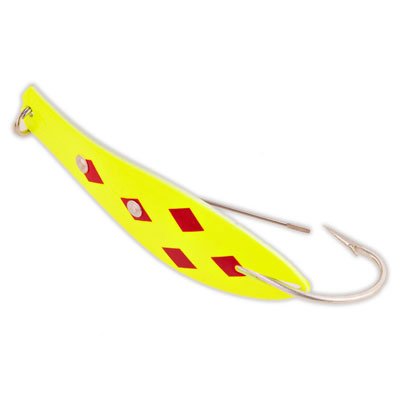
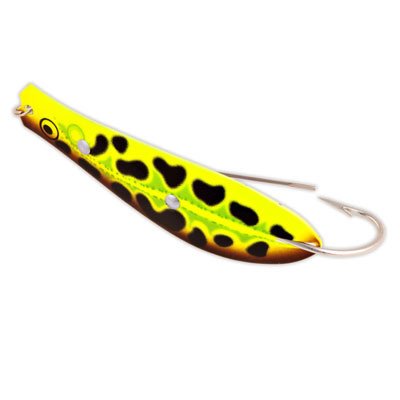
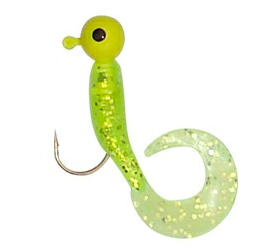
Booties Mask Snorkel 3 mm wetsuit Dive Skin (optional for under wetsuit) Dry bag for use on the day boat Hand towel for use on the day boat Sunglasses Sunscreen Hat Buff Sweatshirt Bathing suit Sports bra Underwear Shorts Jeans Yoga pants T-shirts x3 Flip flops Sundress Dry wick shirts x3 Toiletries Glasses Scopolamine patch +/- Dramamine Nikon and charger with additional SD cards Tough camera with charger Phone, charger and headphones Book Paper and pen Passport and boarding passes Money for tips and gas Getting ThereGetting here was an adventure in and of itself. It took all day for my dad and I to get to Thunder Bay. When you arrive in Thunder Bay you will have a few choices of hotels but I recommend staying in the Hampton Inn. It’s right by the airport so it makes your next day early departure to Miminiska a little easier. I recommend eating at Bight or Caribou if you go out but if you'd rather stay in there are a few places that will deliver right to the hotel. The next morning we were picked up at our hotel at which point we were escorted to a private plane at a different area of the airport. The trip to the lodge takes about 1 hour and 20 min. It can be kind of a bumpy ride depending on the weather so if you are prone to motion sickness I would recommend taking some medication for that. The scenery on the flight in is absolutely breathtaking, especially if you can finagle your way into the copilot seat. You will land on a dirt runway, which depending on the weather may be a little bumpy. After landing you will be greeted by more than a few mosquitoes and the amazing lodge staff. Miminiska Adventures... Fish On!Get ready to catch fish after fish after fish! I am not even kidding! The beauty of this place is you can fish all day or just fish for what you want to eat and relax the rest of the day. We would head out in the morning and fish for fun then around lunch time we would take a few walleye for that nights dinner. After catching what we were eating that night we would target fish for pike. I of course would have loved to catch a trophy pike but unfortunately this year it did not happen. But, there is always next year! When you arrive at the lodge you will get in around noon but you can be out on the water fishing within the hour. Just be sure to get a quick briefing in the main cabin and then you can be on your way. We did just that and hooked up with some great walleye and pike that afternoon. You can fish from the second you step off the plane to the moment you get back on it. My one recommendation would be to get a guide for at least one day and take a ride to a place called “snake falls”. It was absolutely breathtaking and pretty much the farthest point from the lodge. You can take a packed lunch and spend the entire day out on the water. Make sure to do this on your best weather day because it is kind of a far run and if it is raining it could be a little cold. Life at the LodgeA very special thanks to Brian, Kate, Tara, Robin, Robert and Dave for such an awesome experience! Every time we returned back to the dock I was greeted by a smiling Brian who was excited to see what fish we caught and what adventure we had encountered that day. The staff really made the trip great and will be a big part of the reason I return back to the lodge. Miminiska is a truly awe inspiring place, one that offers a break from reality, letting you step into the wild of the boreal forest. I loved watching eagles sore above the trees, catching fish after fish and paddle boarding along the shore looking for animals. It is both a mesmerizing location and lodge! The weather at the lodge can change very quickly so be prepared for cold, rainy, warm, sunny and everything in between. In the above photograph a storm was rolling in but we decided to brave the weather and head out anyway. As a side note some of the best animal spotting can be done in the rain and I caught some of my best fish during this storm. What's in that Tackle Box??What tackle should you bring? The short answer is not that much. I brought so much stuff and only ever used jigs with jelly heads for walleye and weedless spinners with a LEADER for pike. I would recommend bringing a wide variety of jig heads including pink, orange, yellow, and green. I found the best weight was 3/8 oz but I would bring a variety of sizes just in case the conditions change. I recommend doing the same thing with the jelly tails. I found the best combination when I was there was a yellow head with a yellow tail but I also caught fish with a pink head and white tail as well as a orange head and green tail. For pike I had the best luck with a diamond weedless spinner but I did catch a few using the frog weedless spinner. How do you fish for pike and walleye? The million dollar question is of course how do you catch these fish. I found walleye like rocky bottom between 5-8 feet deep in areas where the water is moving pretty quickly. For pike we did best fishing in very grassy areas (which is why the weedless spinner was so nice). I found I did best when reeling into the current right at the grass line. Fishing Tip! Keep your lure in the water until it’s all the way to the boat. I caught some of my biggest fish about a foot from the boat. They would follow the lure and we could watch them hit it in the water they were so close. When I was there each person could keep two walleye under 18 inches. It is sort of a general rule that you don’t take anything under 15 inches. For Pike you could also take two each but they needed to be under 27 inches. Packing List* The bugs are pretty bad at the lodge and in some fishing spots so make sure to bring bug spray, long pants, long sleeve shirt and a buff with a hat to cover your face. I did pretty good but I ended up with a lot of bites on my face and neck. That being said the fishing was worth loosing a little blood to the tiny locals (mostly mosquitos and black flies).
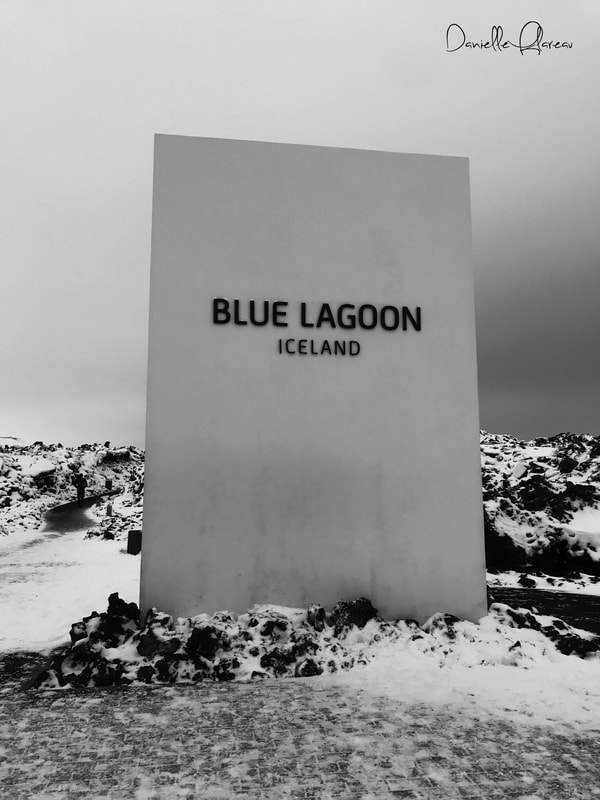
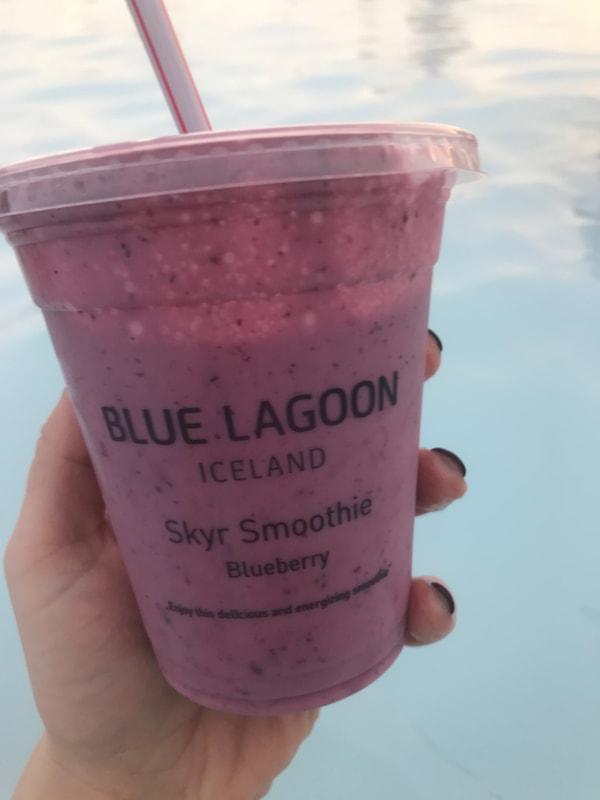
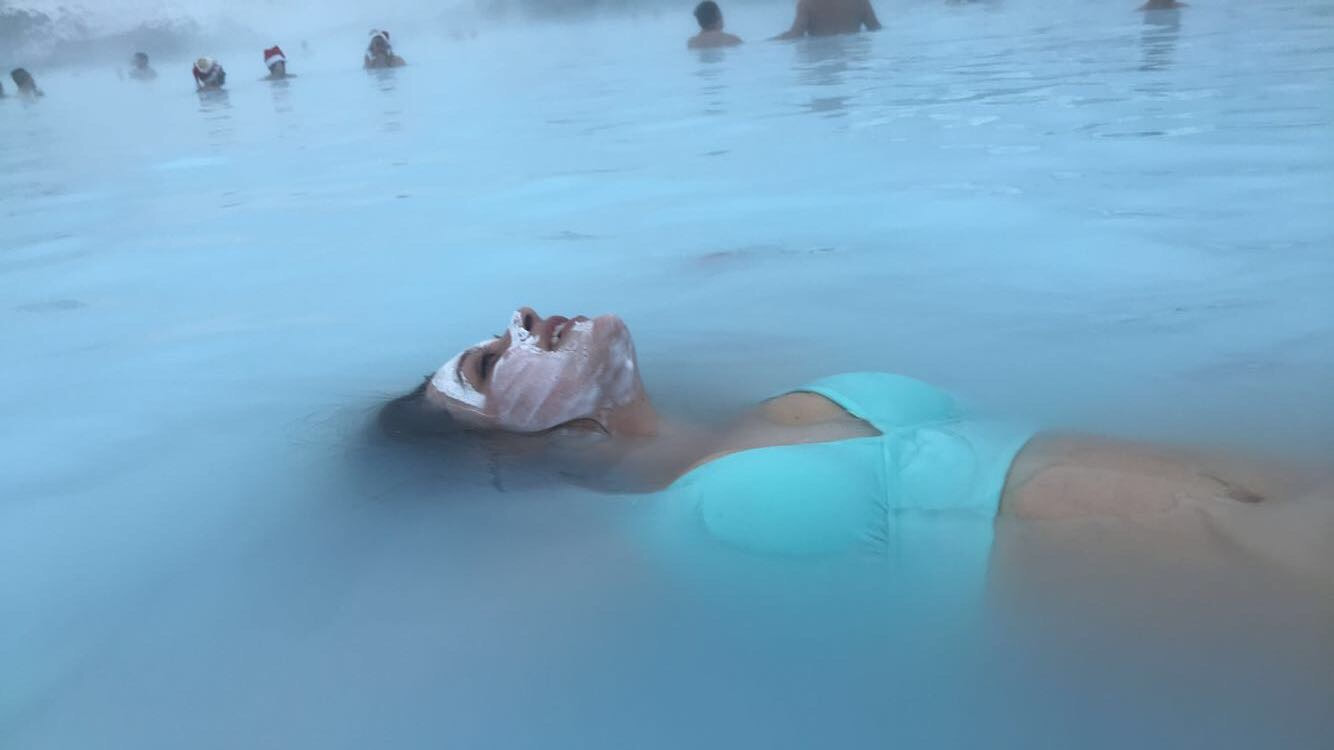
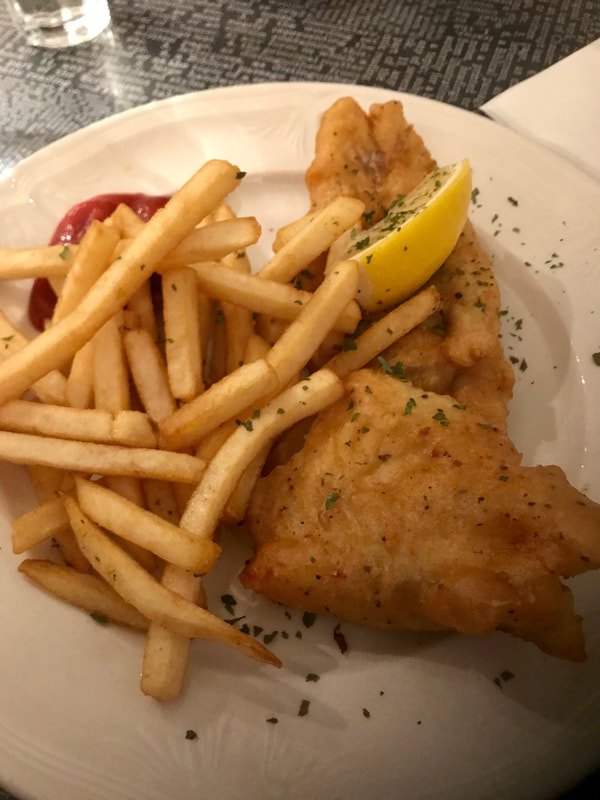
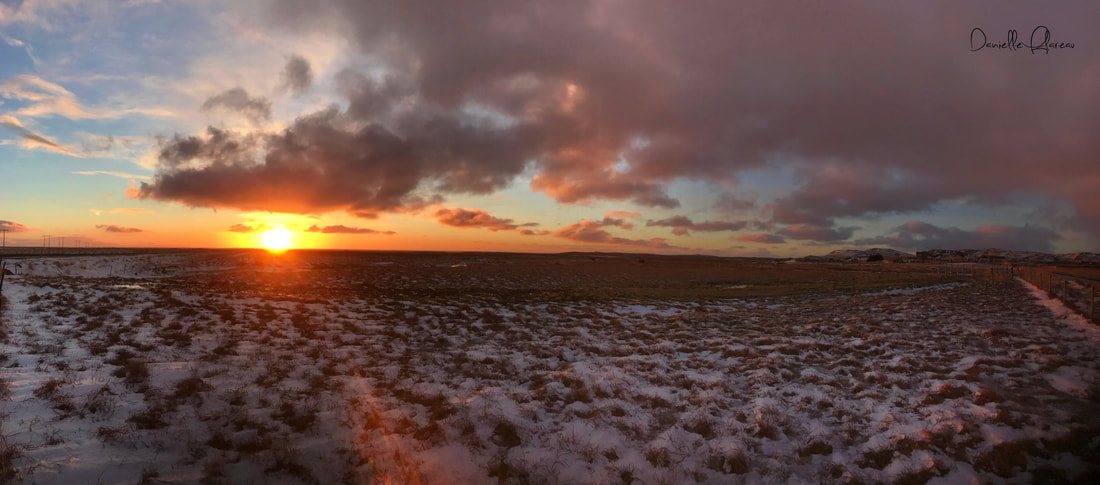
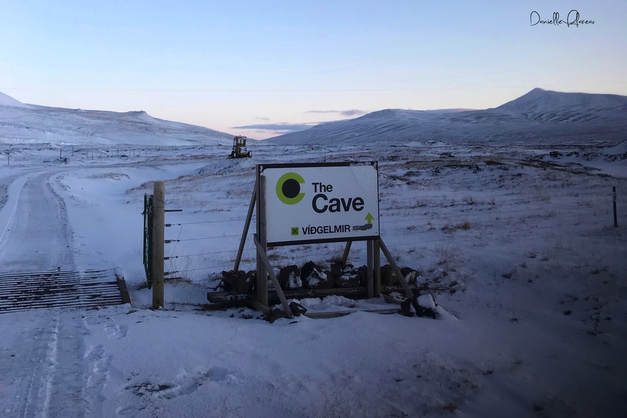
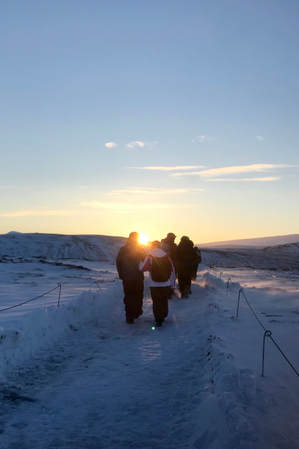
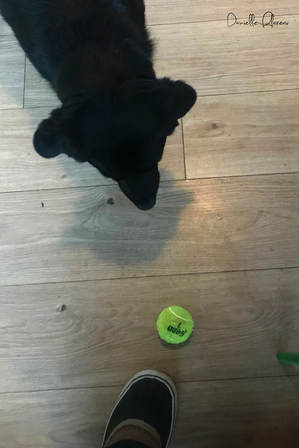
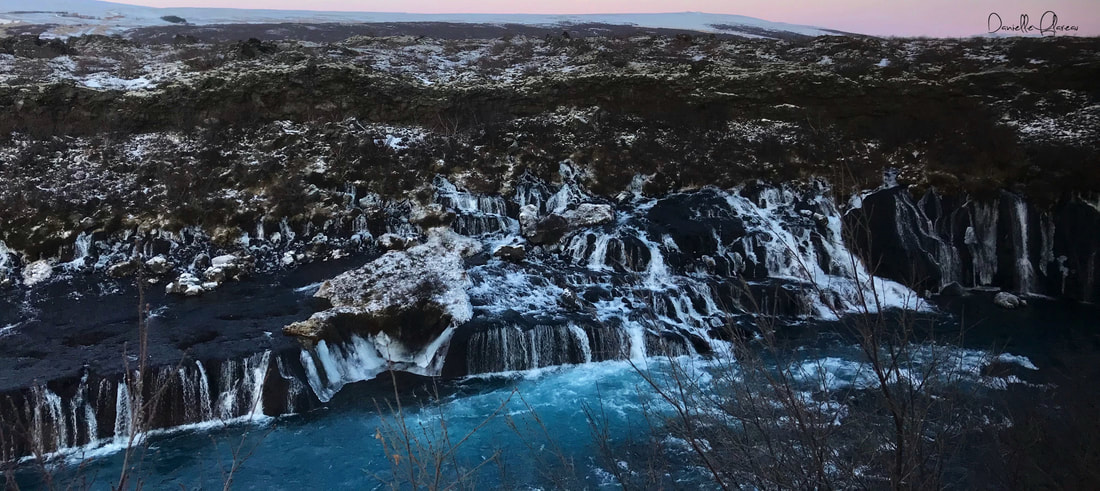
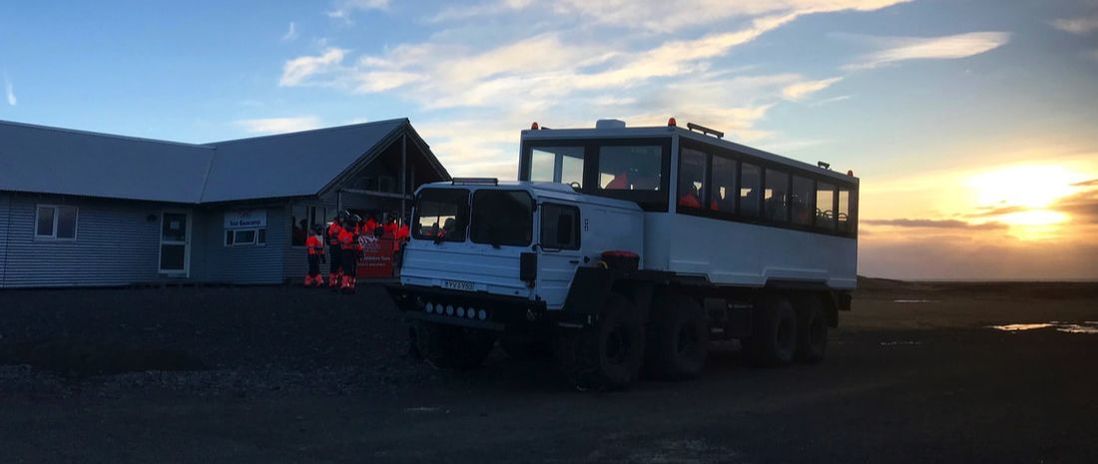
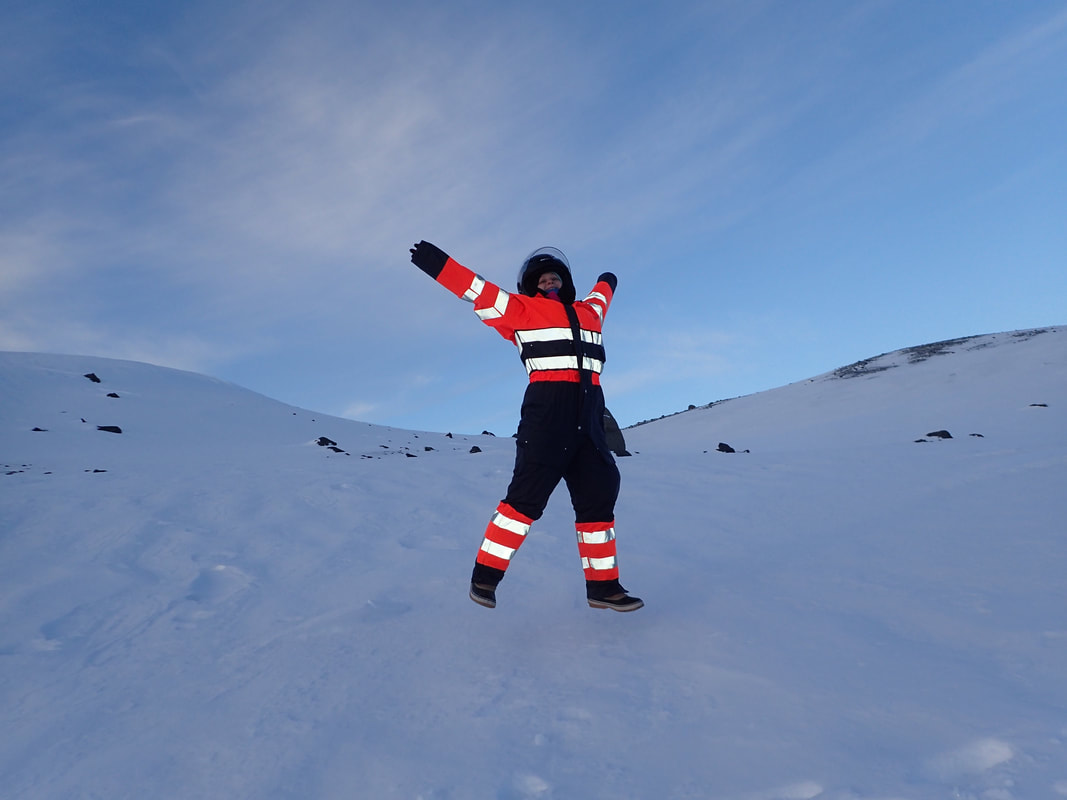
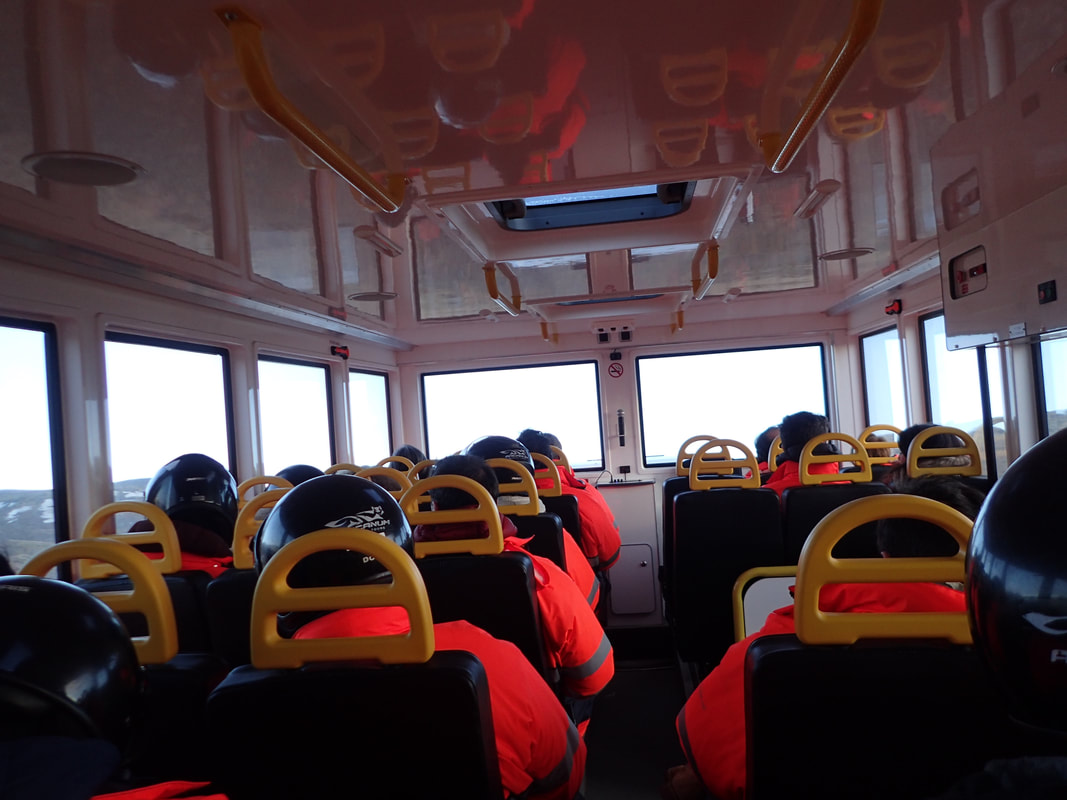
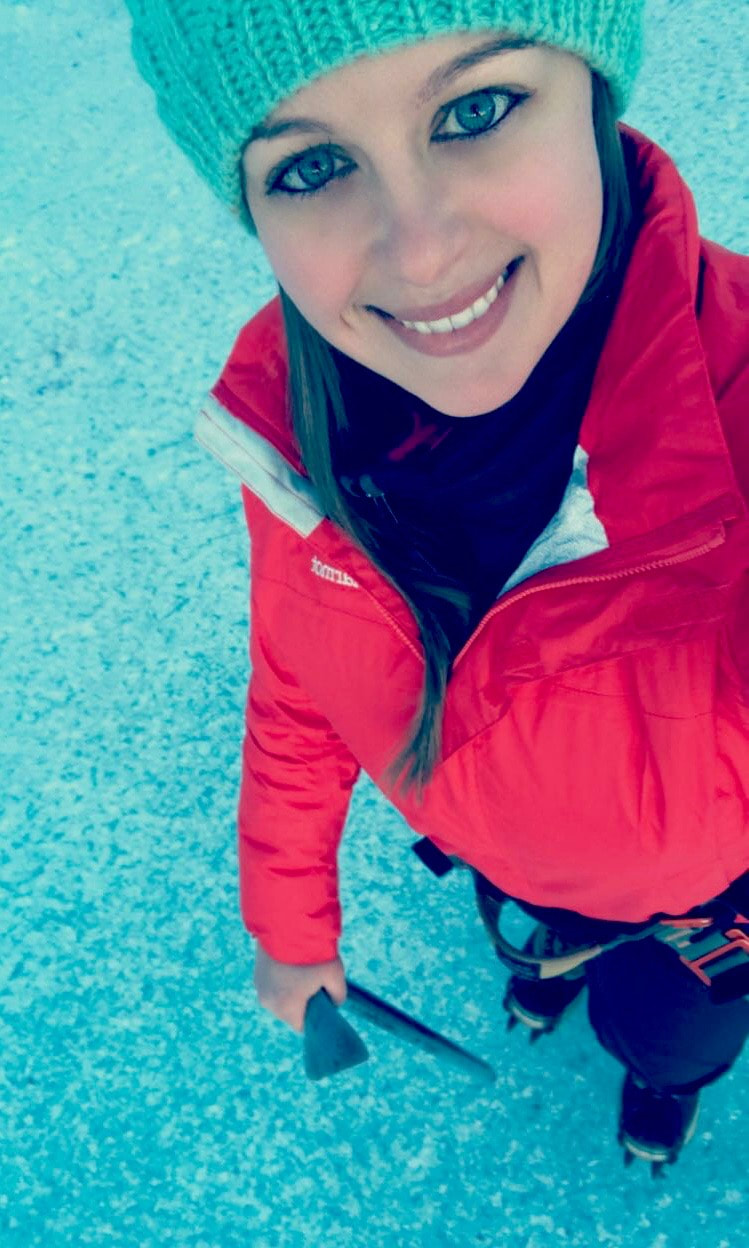
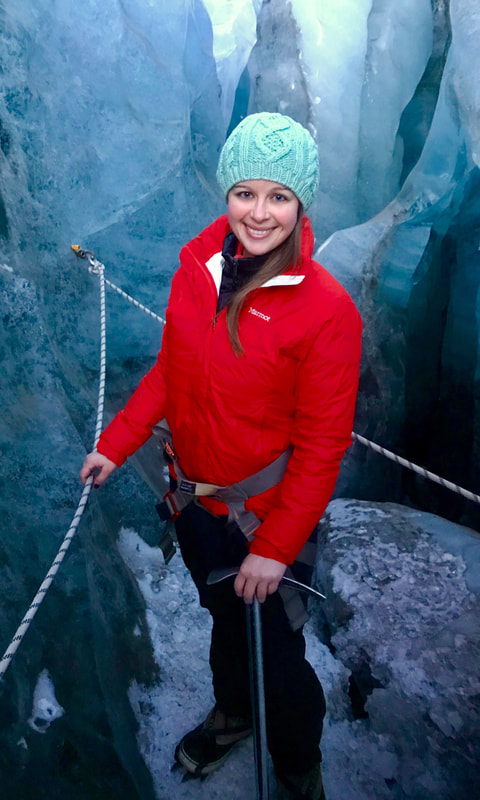
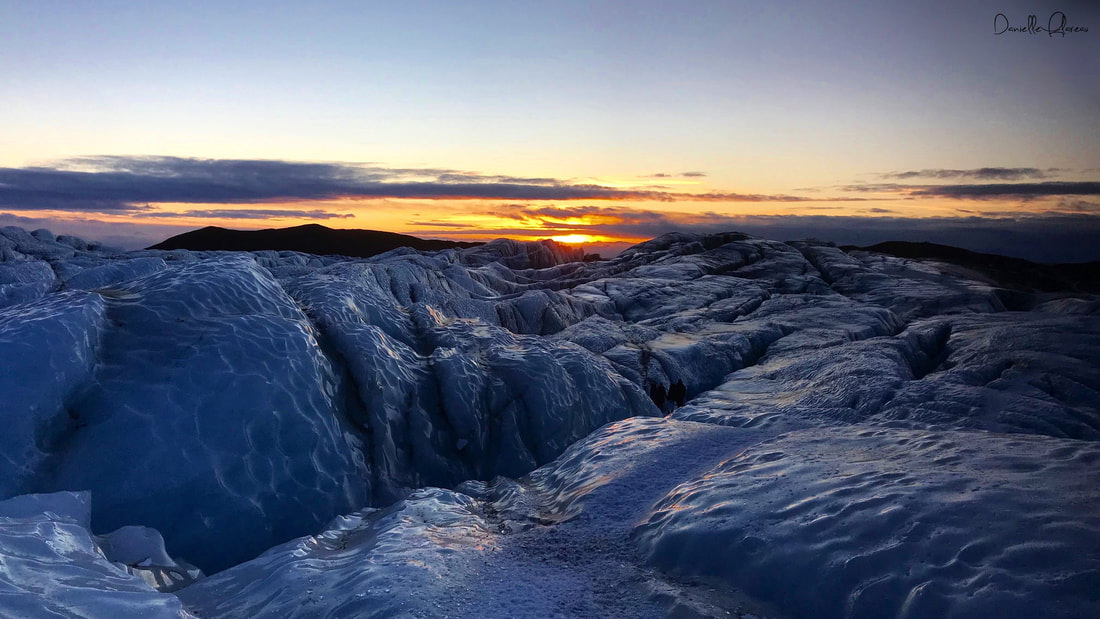
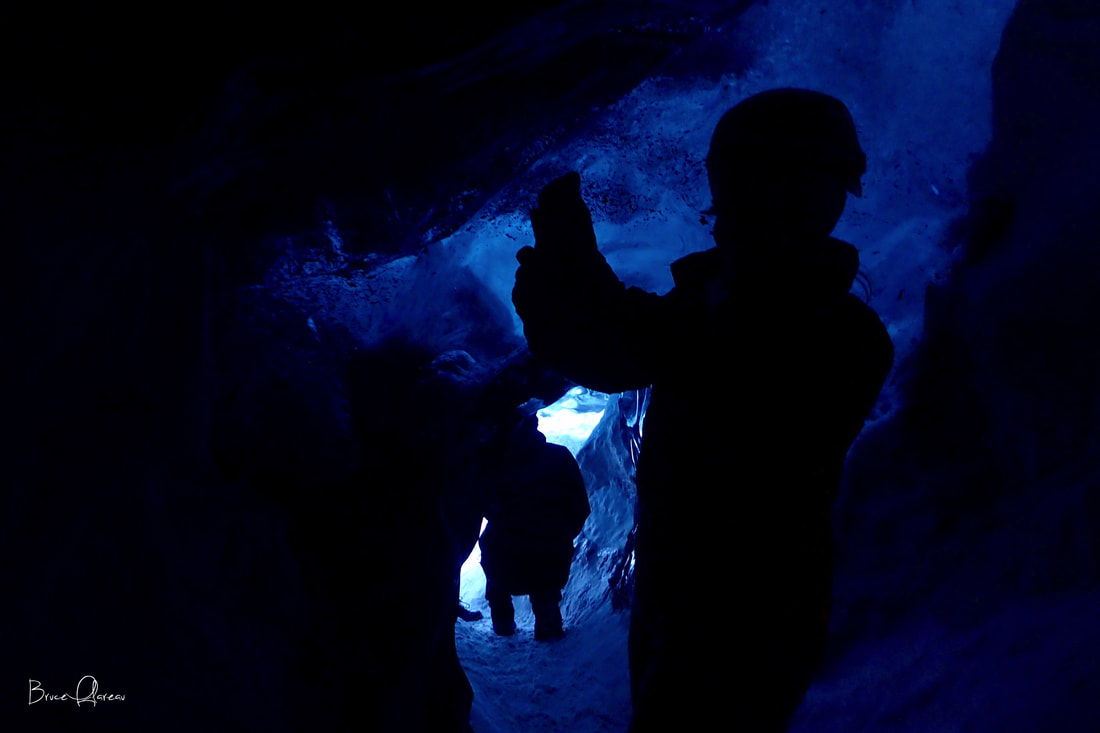
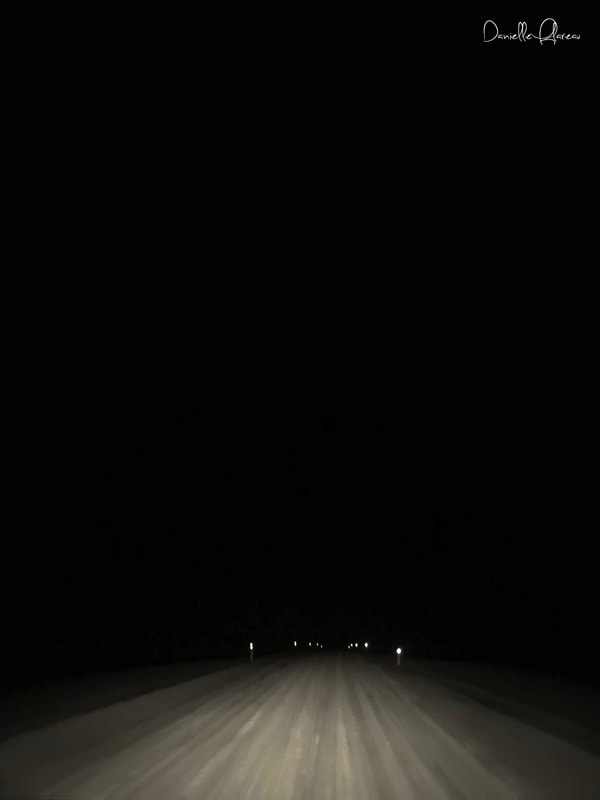
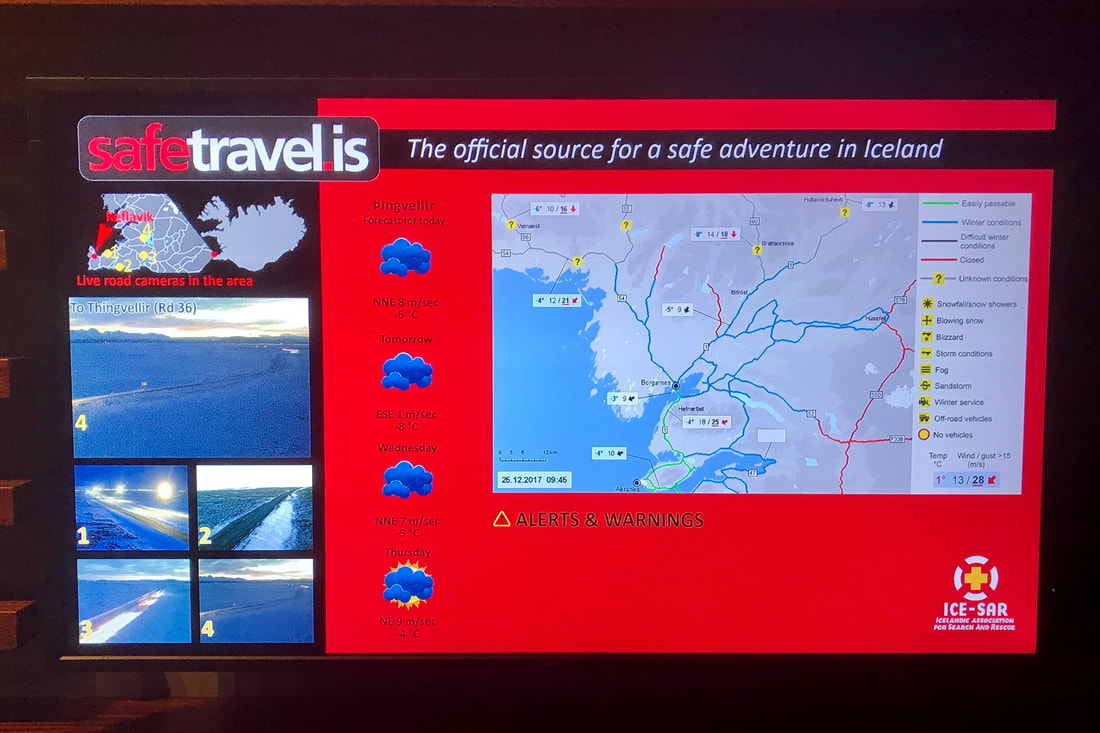
Rain jacket and rain pants Mid-layer: nano puff jacket or lightweight fleece Gloves Beanie Buff Ball cap Fishing shirts x4 Quick dry pants x2 Jeans T-shirts x3 Pajamas Rubber boots or other water shoes Socks Underwear Bras Passport Medications Insect repellant Sunscreen Sunglasses Camera and charger Knife Fishing gear Coffee mug: we took warm drinks with us on the boat Day 1: Blue Lagoon and ReykjavíkOur first stop was the famous Blue Lagoon. I recommend spending the money here and going with a premium package. It gets you a drink, robe, shoes, two face masks and entry. Make sure you pre-book this because it is a very busy place and many people weren’t allowed in while I was waiting in line because they only allow a certain amount of people in at a time. Once you make your way in you will head to the locker rooms where you change and rinse off before heading to the lagoon. Ladies... PUBLIC SERVICE ANNOUNCEMENT... put tons of conditioner in your hair and leave it in there while you are soaking. The minerals in the lagoon WILL dry your hair out. Throw your robe on and head to the lagoon. You will make the run through the cold into the warm water and it will feel awesome! Once in the water you can just relax, go to one of the water bars or put on your face masks. I ended up drinking an Icelandic smoothie made with Skyr. It was delicious and I highly recommend it. It was sort of cool to be drinking a smoothie in the freezing cold while soaking in a natural hot tub. I recommend bringing a plastic bag to put a camera in or a waterproof case so you can take some fun photos while you are soaking. I spent about two hours in the water before heading back to the locker room. There were blow dryers in the rooms for the ladies who would like to do there hair before leaving. From the lagoon we continued on to Reykjavík where we stayed at the Hotel Borg for the night. We got in late at night so we headed right to dinner and did not see much of the city. Since it was Christmas Day not much was open but we were lucky enough to get reservations at Sjávarbarinn. The chef prepared a special menu, which consisted mostly of their local top selling items. This is where I tried fermented shark (Kæstur hákarl) and a shot of Black Death (Brennivín), which is considered an traditional Icelandic dish. If you want to call yourself a "Viking" and prove your strength then try this out. It was not as bad as I thought it would be, but I did get some good advice from the waiter who told me not to smell it before I ate it. Note to self... I highly recommend this as well if you ever find yourself trying this item. Day 2: Snæfellsjökull National ParkA good portion of this day will be spent driving but it was absolutely breath taking. I highly recommend making sure you are at the park for sunrise, which is around 1030 or 1100. We stopped at Djupalon & Dritvik Coves where we hiked down to the beach. There are some pretty amazing rock formations and of course just listening to the roaring waves was extremely peaceful. We were a little surprised that everything in the park was closed, including the bathrooms, so be sure to plan accordingly. After exploring the park we headed to Hotel Egilsen in Stykkishólmur. This was my favorite hotel of the entire trip. It had a very cozy B&B feel to it and I slept in this tiny room up on the top floor. Breakfast was family style down in the main seating area. This is where I saw the northern lights for the very first time and our hotel manager was waiting patiently for us to arrive back so he could provide us with homemade hot beverages after being in the cold for so long. See below for tips and tricks when it comes to catching the northern lights. Day 3: Vidgelmir CaveThis cave is super cold so make sure you dress warm. The walk and entrance were around -4°C (25°F) and the back of the cave was around 0°C (32°F). It’s roughly a 1800 meters (roughly 1.1 mile) walk from start to finish. You will be supplied with a helmet and head lamp to be worn at all times in the cave. There are some pretty interesting geological formations inside this cave. If you get there early make sure to play some soccer with the cute puppy who guards the place. After the cave excursion we started the trek to the Hotel Grímsborgir and on the way we stopped off at Hraunfossar and Barnafoss to see two amazing waterfalls. There is a local story about two kids who were playing on an arch above the smaller of the waterfalls, when they were supposed to be home. They accidentally fell off and were swept away by the strong currents. The mother was so upset that she had the arch destroyed so no one else would get hurt.. Be careful around these beautiful structures as they can be dangerous. As far as getting here it is just a quick walk down to the viewing platform. It is of course windy so be prepared, but the views are totally worth the stop! Day 4: Mýrdalsjökull Glacier SnowmobilingSnowmobiling was a blast! A little scary at some points when the wind was really blowing but our guides did a really good job of keeping us all together like a herd of sheep. We went with Arcanum Glacier Tours who provided us with super warm one-piece suits, helmets and baclavas. They will also give you gloves and boots if you need them. After getting all geared up we loaded into a large bus and took a short drive up to the starting point. At the top they gave us a quick briefing on running the machines and then we were off. The tour was about 2.5 hours long and we stopped one time to take some cool landscape shots. After this excursion we headed to Icelandair Hotel Vik about 15 km away. Day 5: Vatnajökull National Park Glacial HikingBy far my favorite thing I did in Iceland!! For this tour you meet up by the visitor center in the National Park. The outfitter will give you crampons, ice axe and a harness. After everyone is suited up we hopped on a van and went for a 15 minute drive, which put us at the trail head for the glacier. At the trailhead we learned how to use the crampons and then we started the trek onto the ice. We spent about 2 hours in total hiking around and had some opportunities to get into some pretty amazing crevasses. I want to give a shout out to my guide Micheal from Mountain Guides. He was fantastic and I would highly recommend requesting him if possible. After finishing up this tour we headed to the Fosshótel Glacier Lagoon. Day 6: Langjökull Glacier Ice Cave and ReykjavíkI was told by a few people that while I was traveling I really needed to make my way into an ice cave so I put this at the top of my list. I thought the experience was fun but I found the glacier hike to be much more exciting. I was pretty surprised that when we showed up to the cave it was jam packed with probably 50 other people. This was a bit of a shock because the excursions up till that point had been pretty small. Regardless, it was pretty awesome to stand under a glacier and gaze at this majestic blue ice. For this tour I recommend going with Guide to Iceland. Our guide did a great job explaining things and educated us about glacier bay on the way to the cave. They will give you crampons and a helmet, which you will be required to wear while in the cave. After the tour we headed back to Reykjavik and stayed at the Hotel Borg. It was about a 5ish hour drive to get from this excursion back to the city. In all honesty, if I did it again, I would do everything the same except for flying out the next morning. I would have liked to have a full day in the city to explore some of the really cool shops and local places. Driving and SafetyThe roads in Iceland ARE dangerous. Interestingly, the locals I talked with told me most of the accidents occur because tourists will suddenly stop on the highway to look at something, which causes the car behind them to have to veer off the road. While I was there a terrible accident happened that ended up killing one person and critically injuring a dozen others. The roads in certain areas can be completely iced over, sometimes snow will completely block your view and at any time you can have sustained heavy winds or big gusts. So my advice is to be cautious of the cars around you, where you actually stop (i.e. use actual pullouts), know the weather conditions before driving and try to be familiar with some of the road signs. The signs can be very confusing and much of the break slamming I saw was people trying to figure out where to go. Check out the website below to look at some of the common signs you might see while driving there. One of the important things to know here is that there are so many roundabouts which really keep traffic moving. One of the locals told me to make sure I understood that in the roundabout the inside car actually has the right to exit so they can just cut over at anytime and if you hit them you would be liable for the accident. I am passing this along to you so you do not find yourself in some terrible predicament.
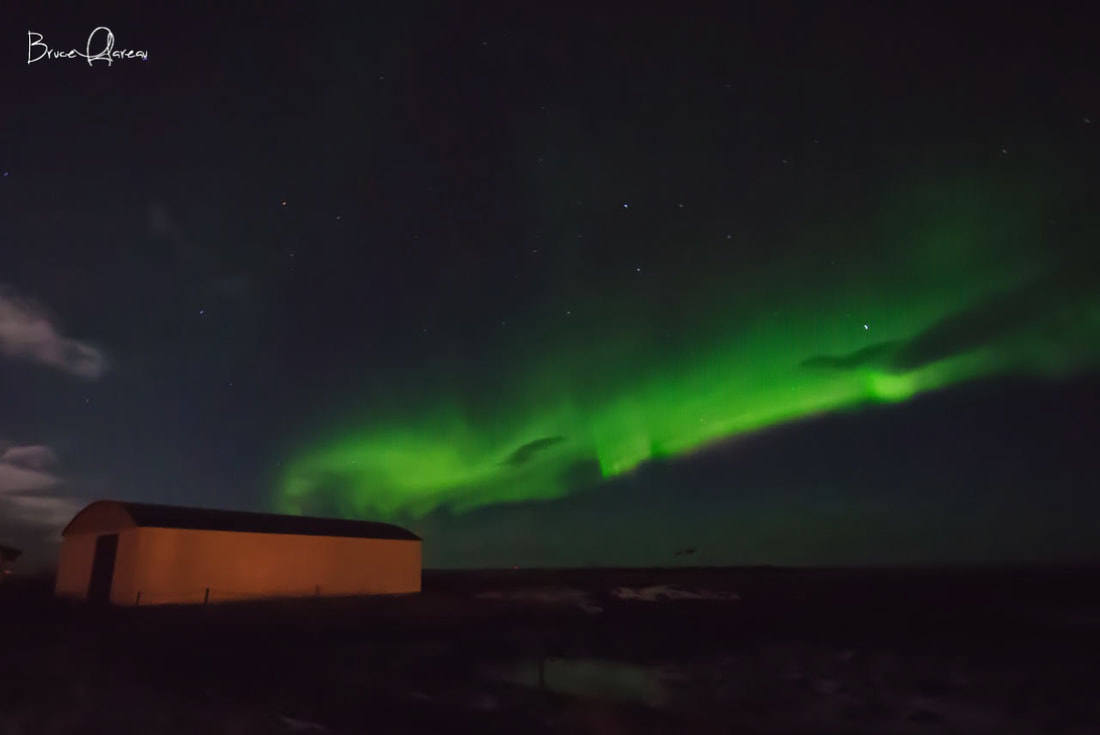
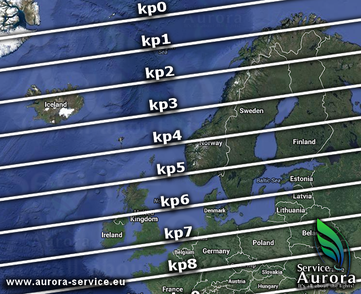
Aurora Borealis (Northern Lights)Pretty much every hotel I stayed in would have a sheet at the front desk that told you what the nights kp forecast was going to be. This number tells you the geomagnetic strength of the aurora. So a 0 pretty much means non-existent and a 9 means get outside because you can't not see the lights. Honestly the kp numbers change so frequently you are better off monitoring it yourself like we were doing. For example the night that the picture below was taken was predicted to be a kp 2. My dad knocked on my door at about 10:30 at night saying he could see the lights and asked if I wanted to drive out of town. I was honestly so exhausted from the previous few days of no sleep that I almost didn't go. However, I quickly pulled up the forecast and saw that in the next 20minutes it would be going to a kp 5. As you can imagine the adrenaline quickly kicked in. I was running down the stairs and putting my winter clothes on at the same time. I actually ran to the car just in my socks. We just started heading out of town looking for a place to hopefully catch a glimpse of the lights. It was what I imagine being on storm watchers would feel like. We ended up getting an amazing light show; they were dancing and fluctuating in size and color. It was absolutely breathtaking! Some tips for seeing the Northern Lights
Packing List
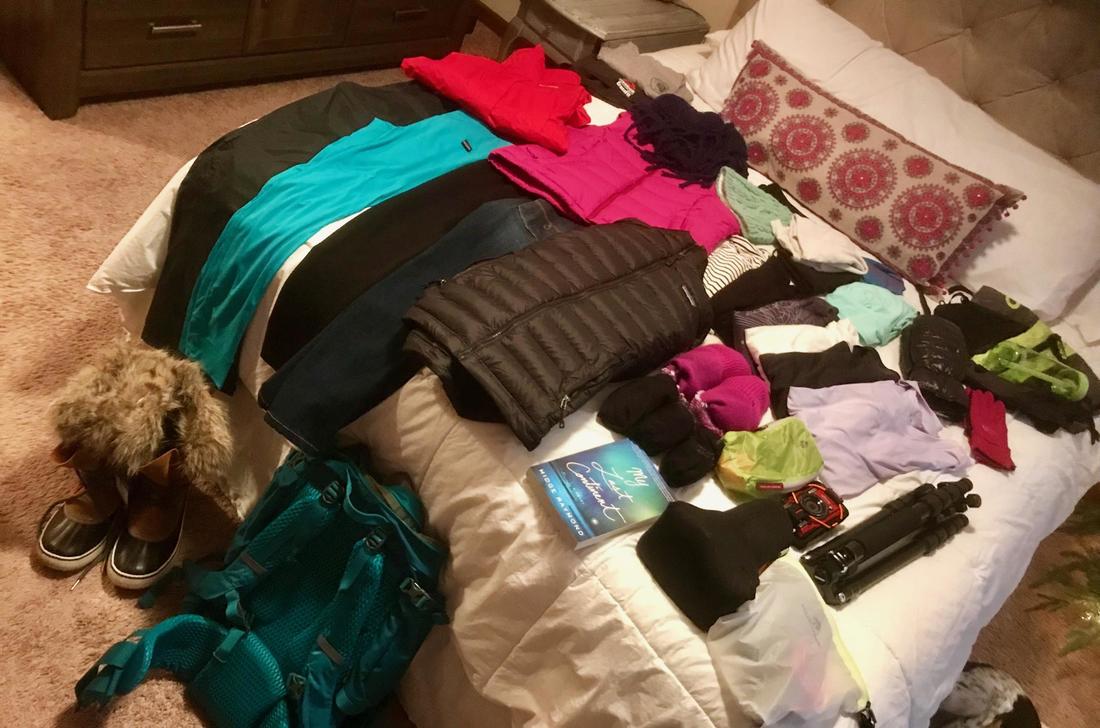
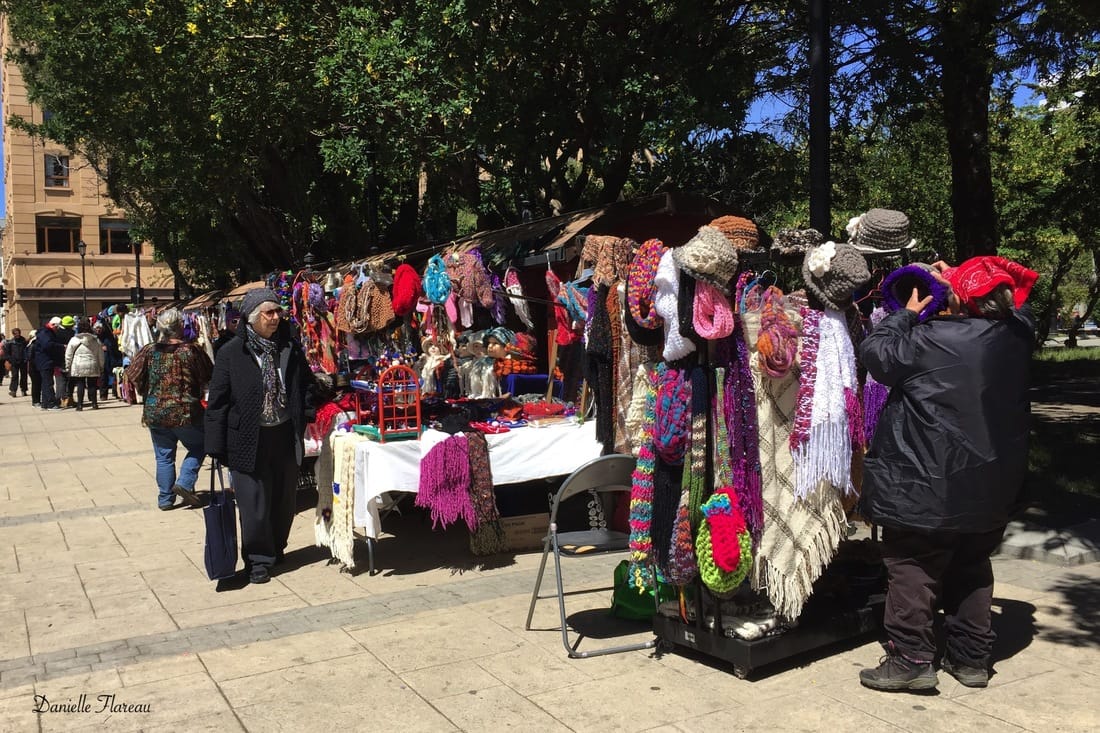
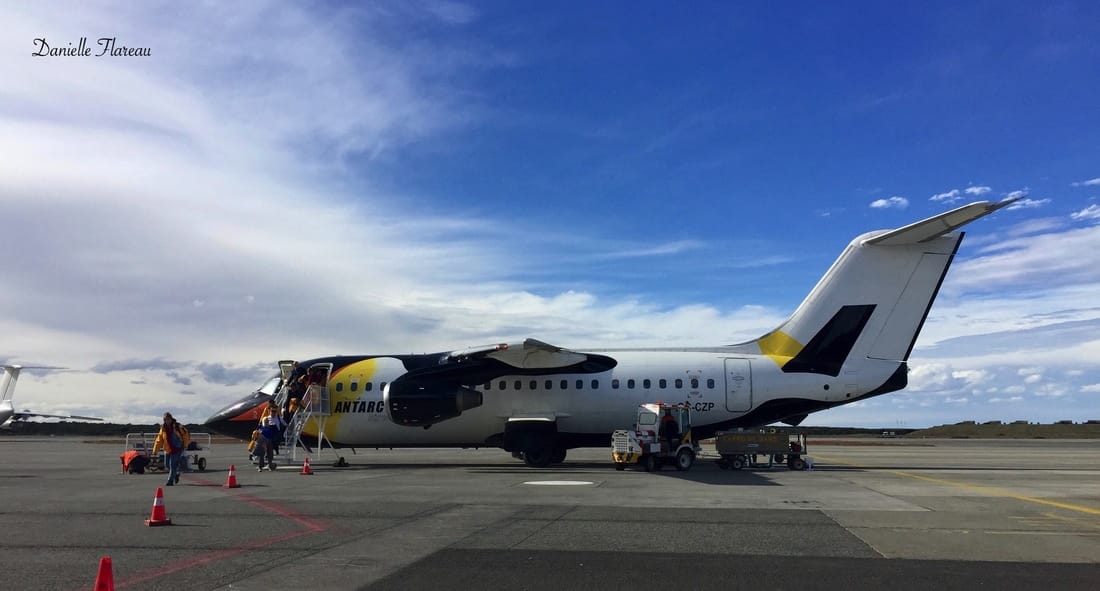
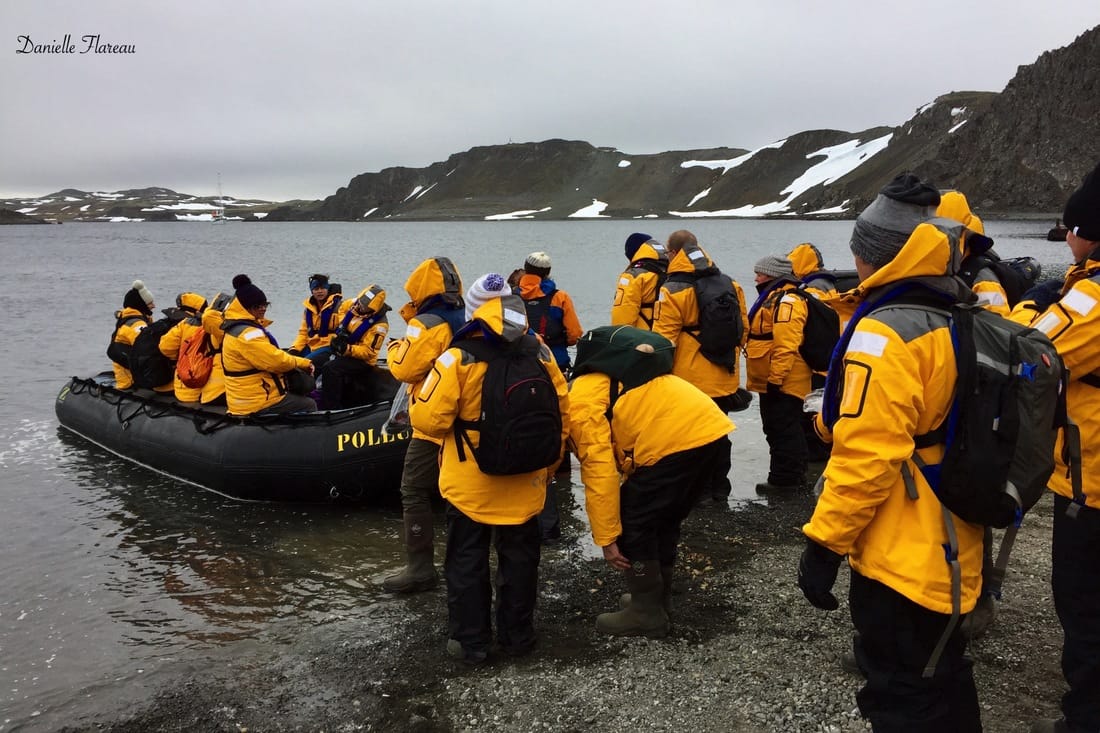
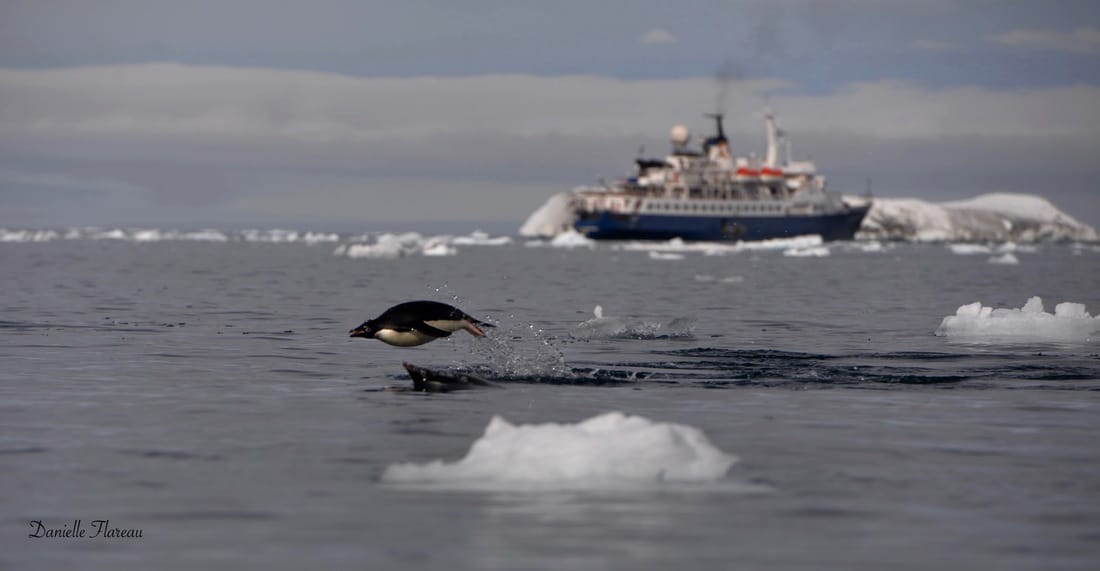
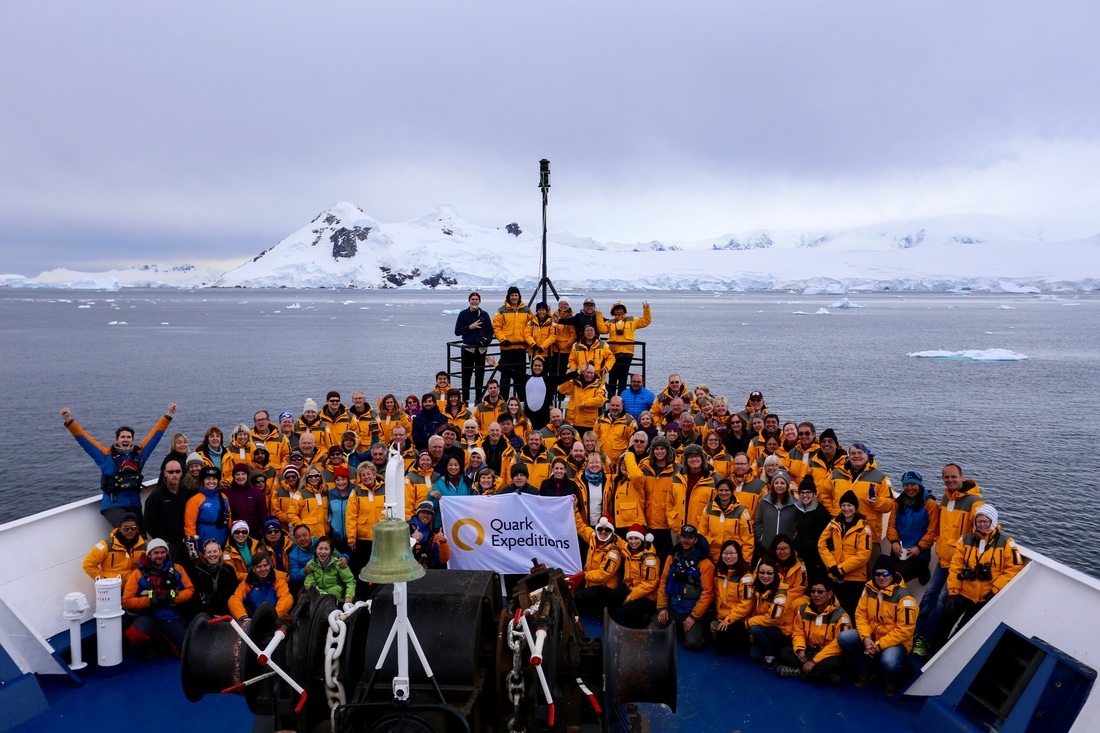
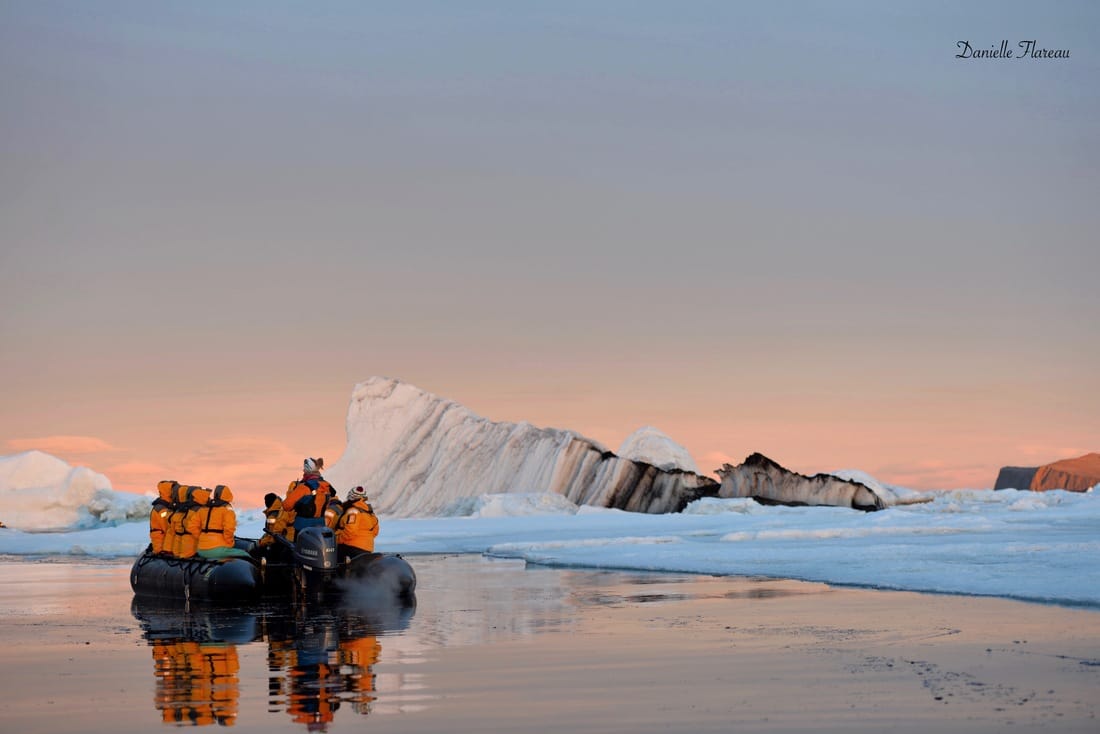
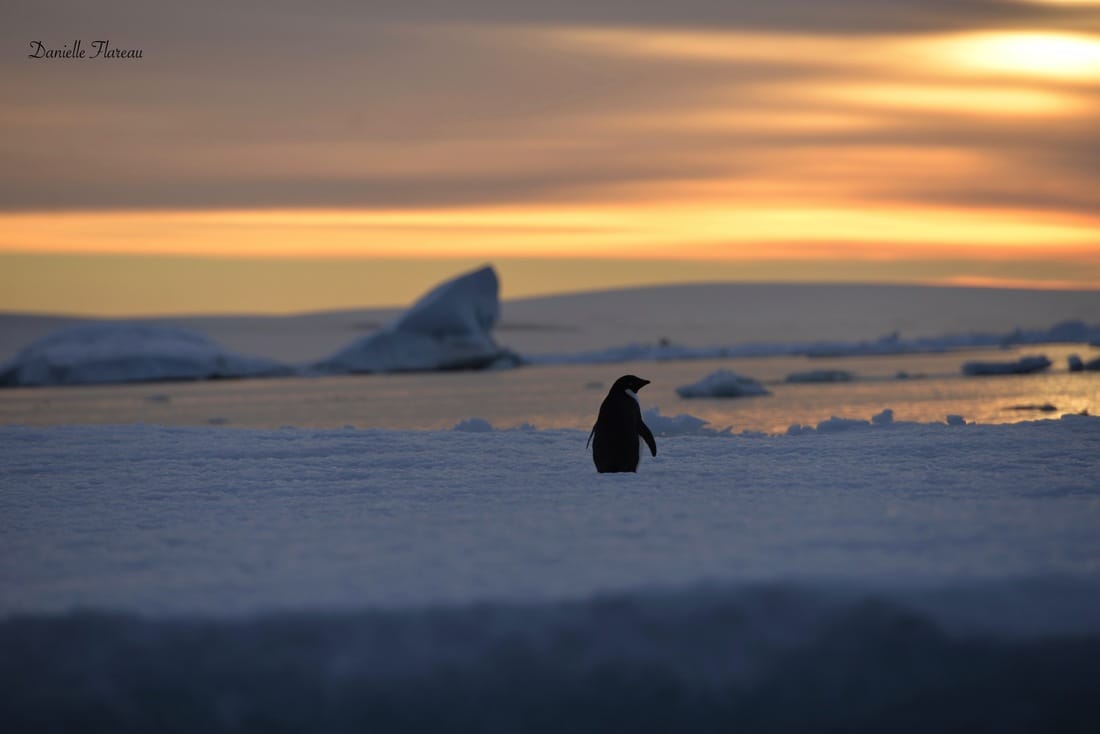
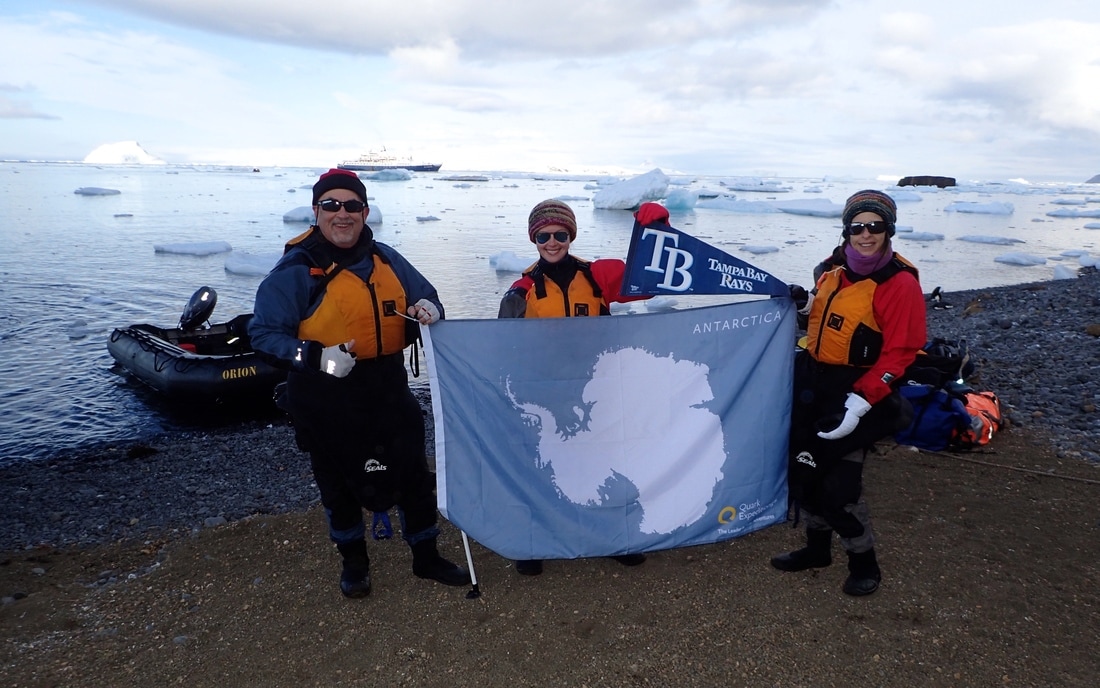
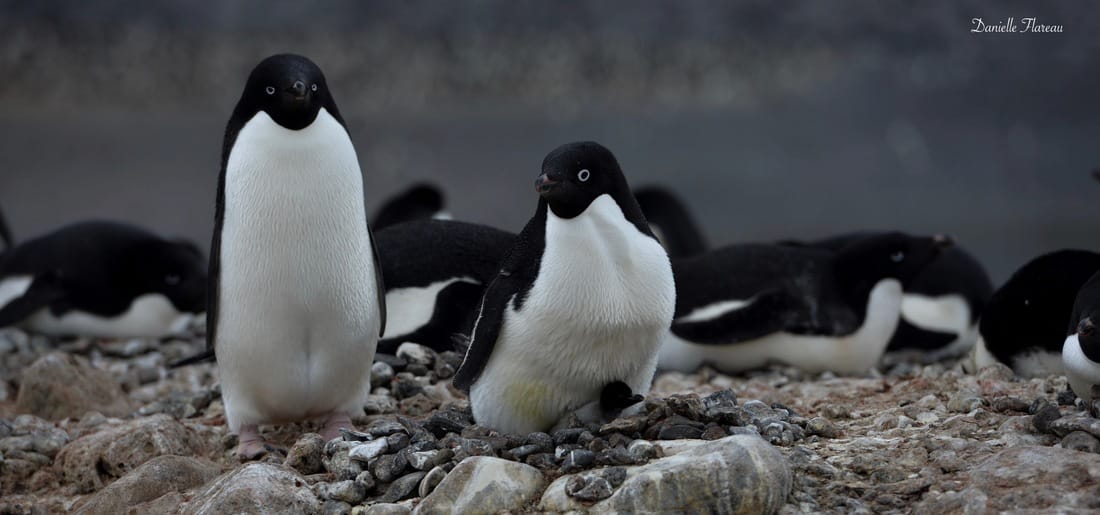
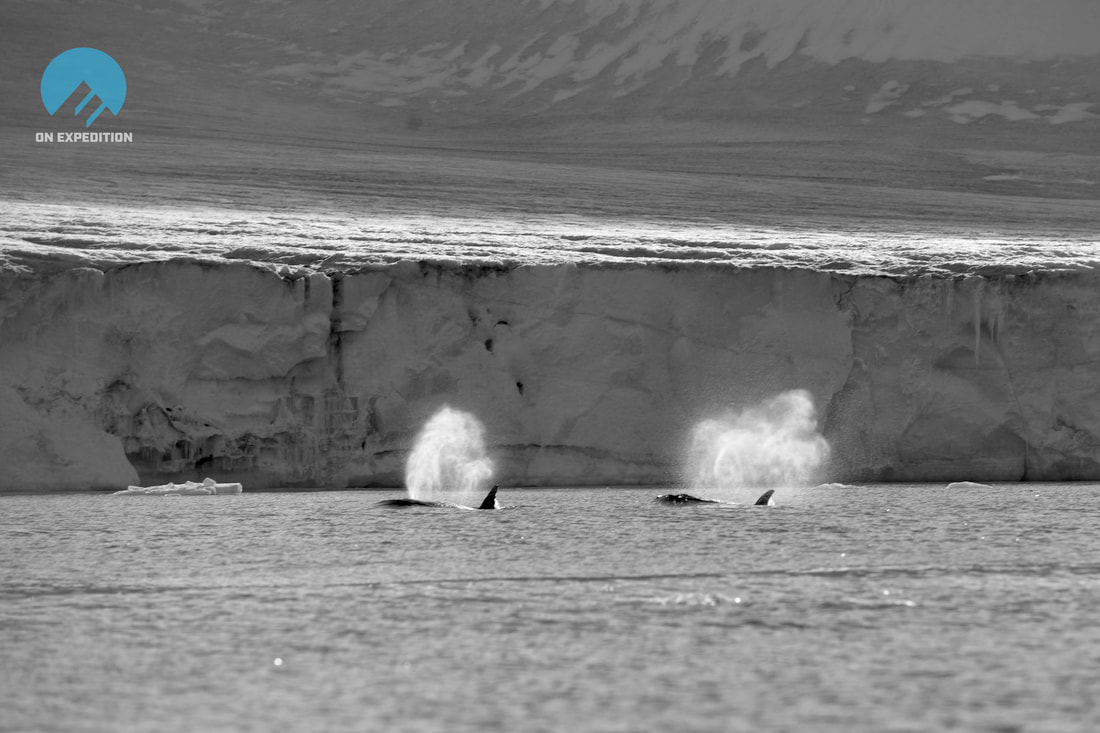
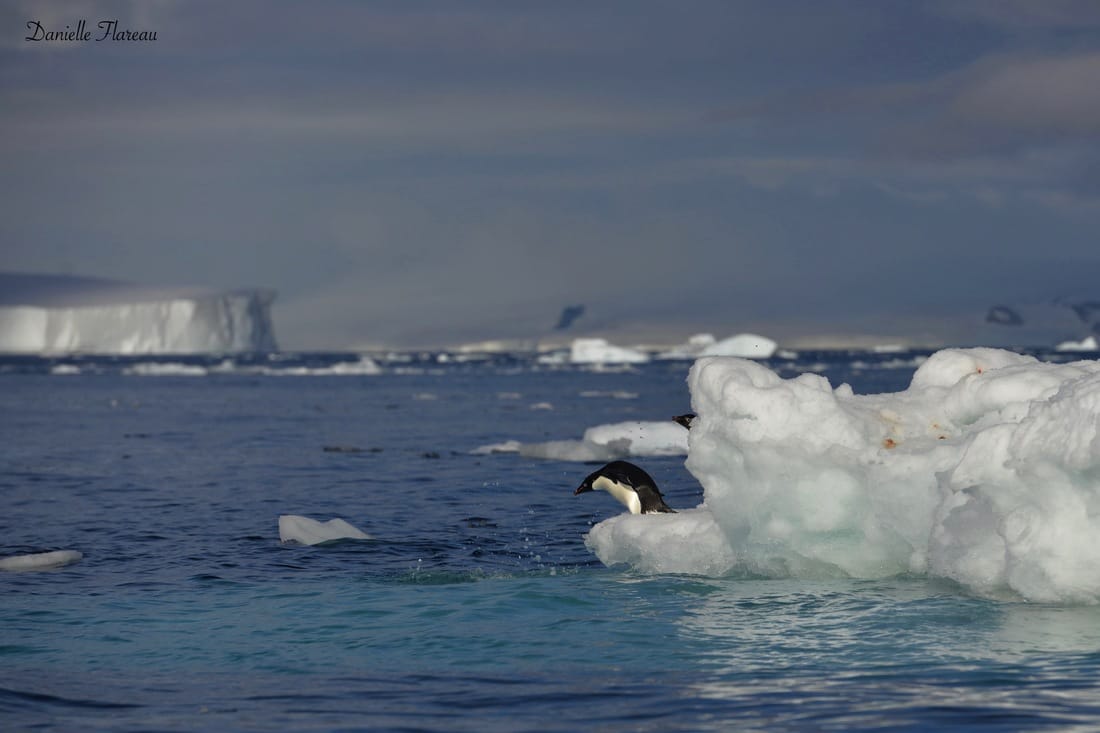
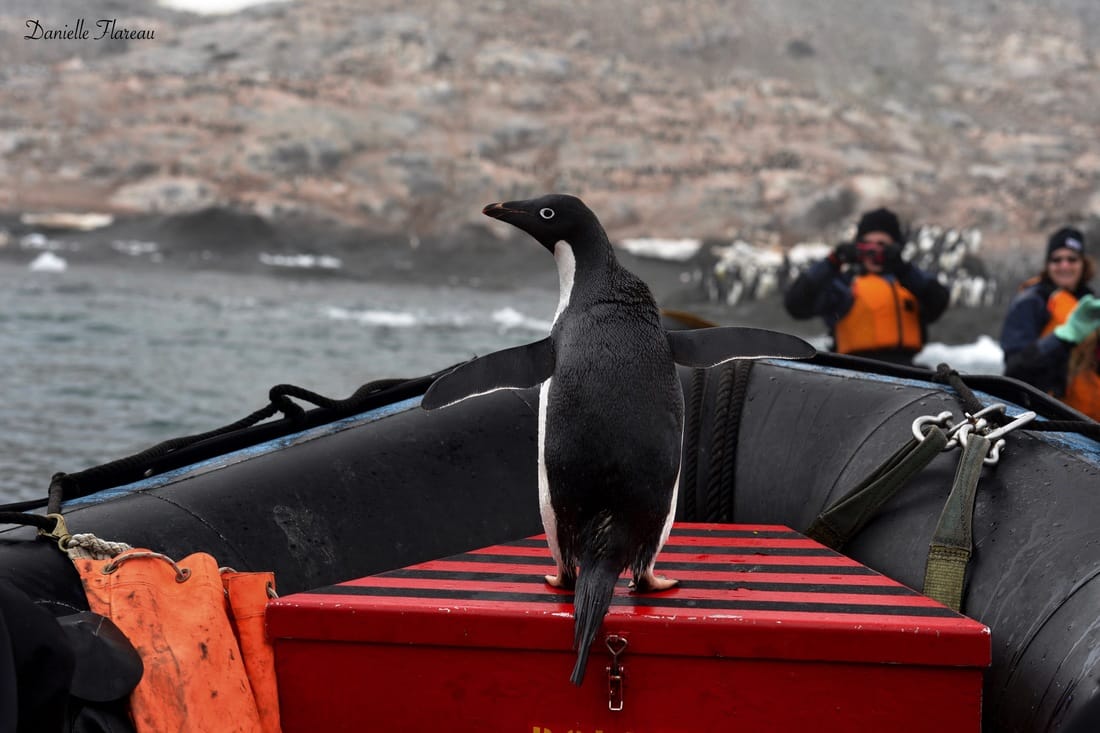
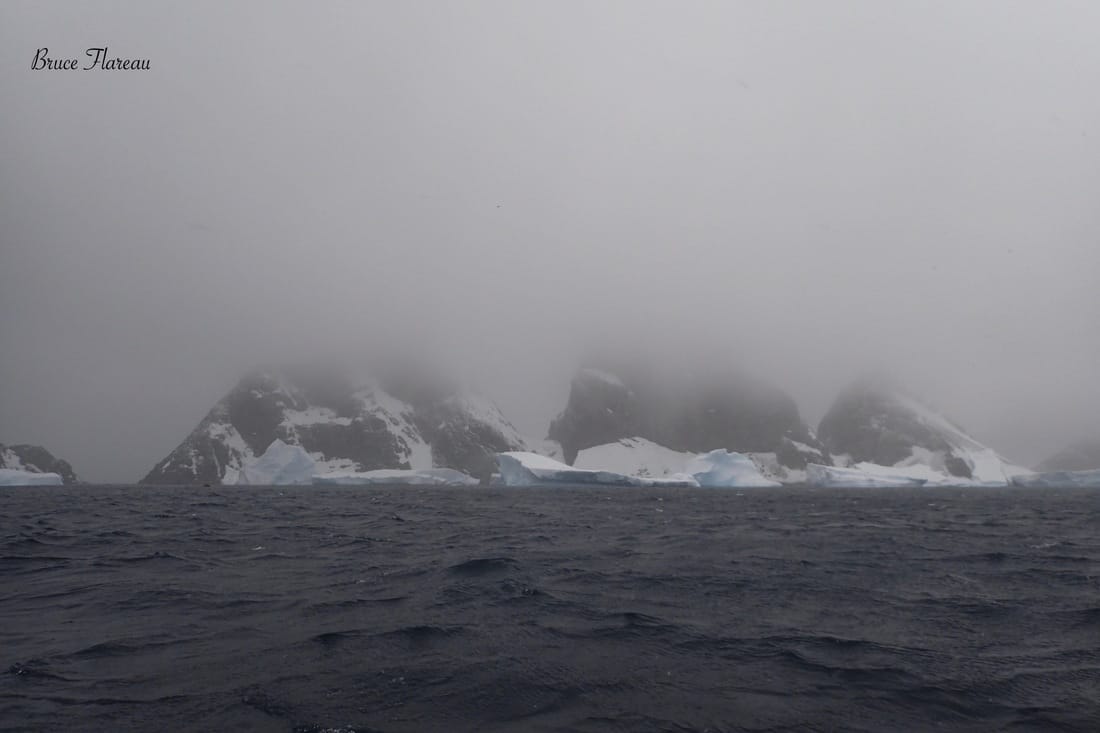
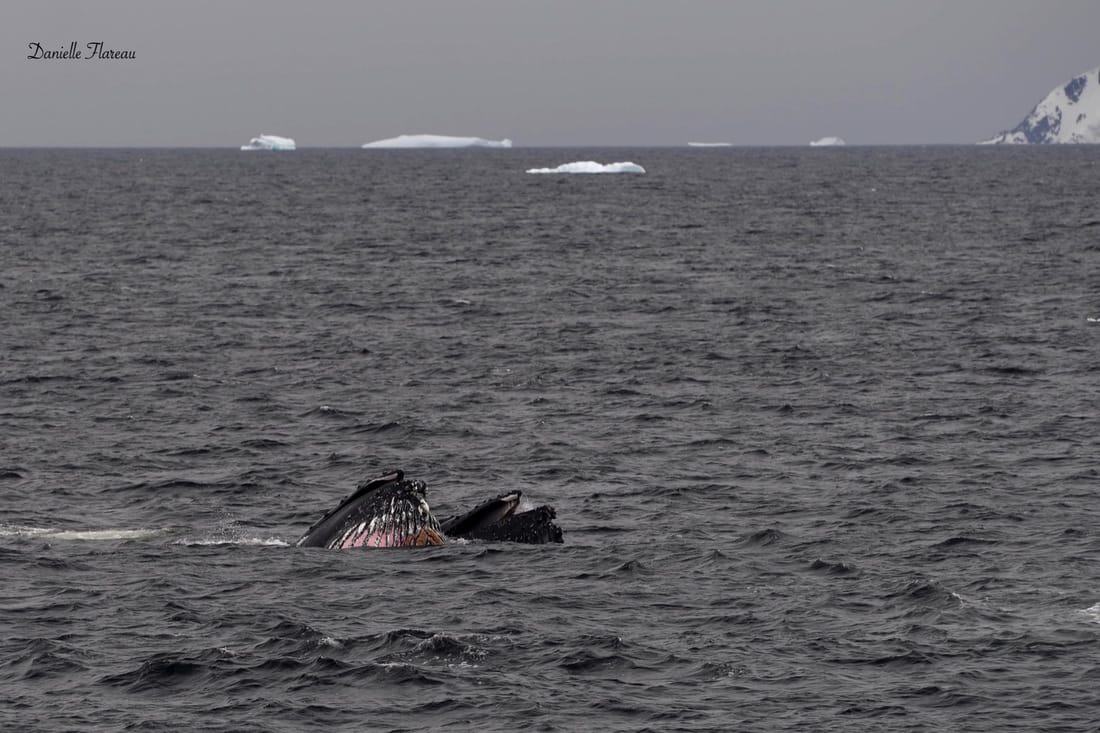
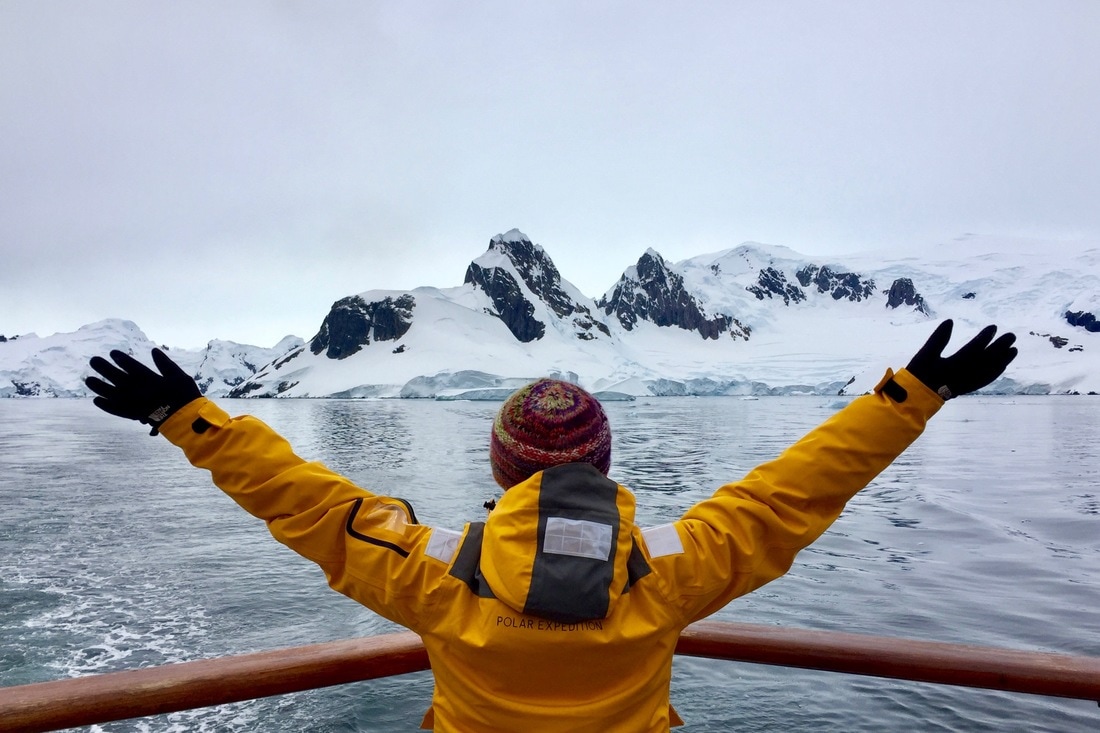
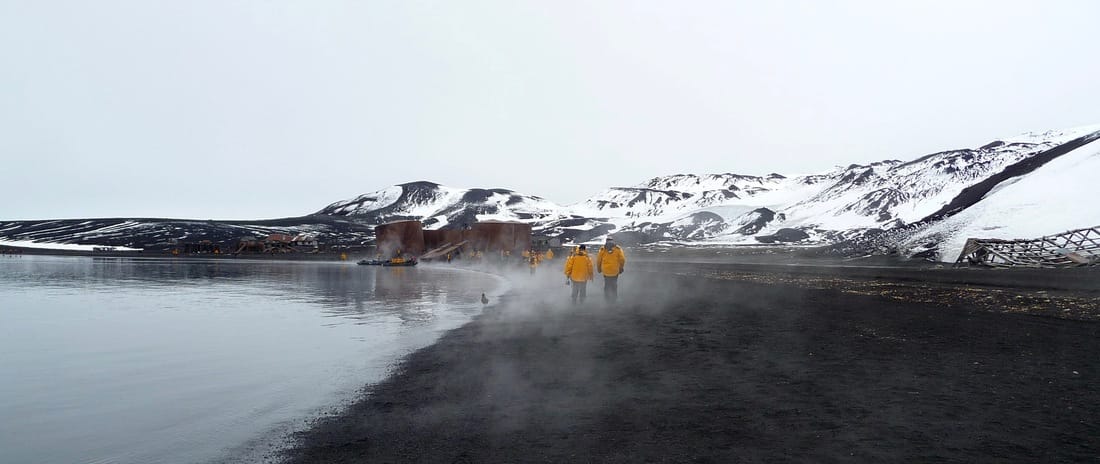
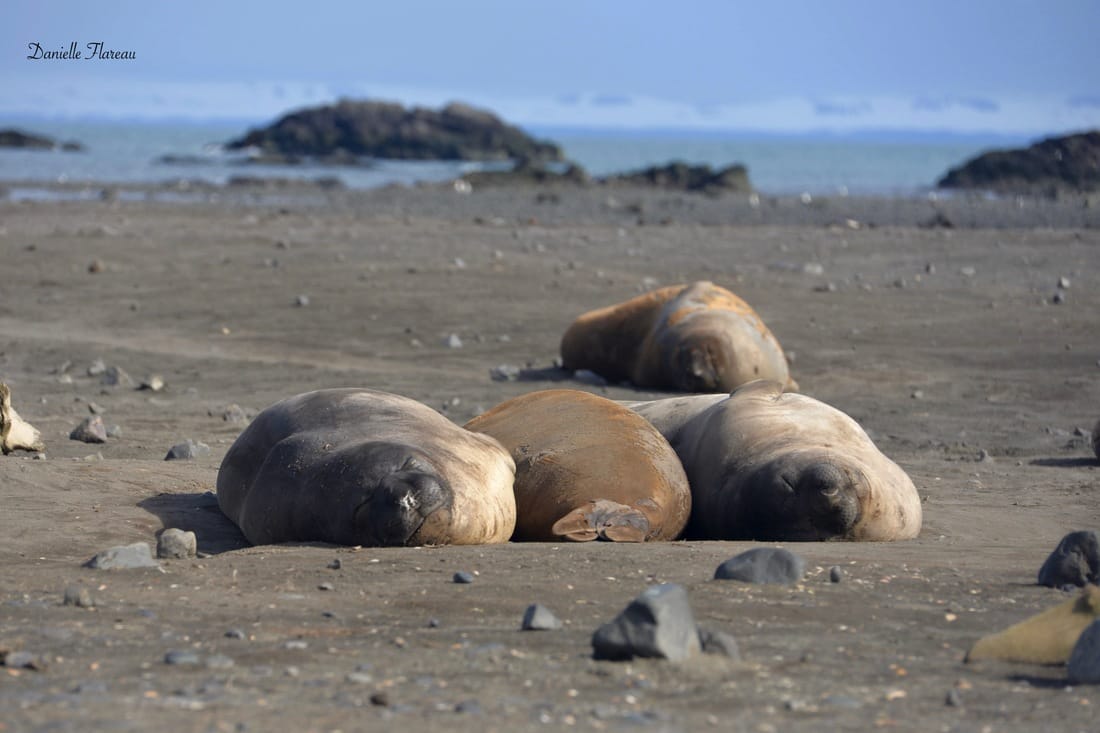
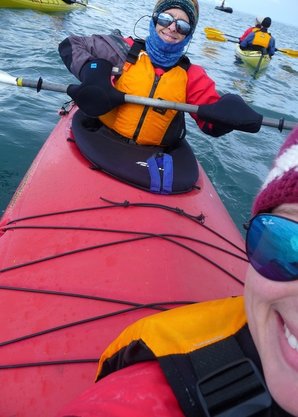
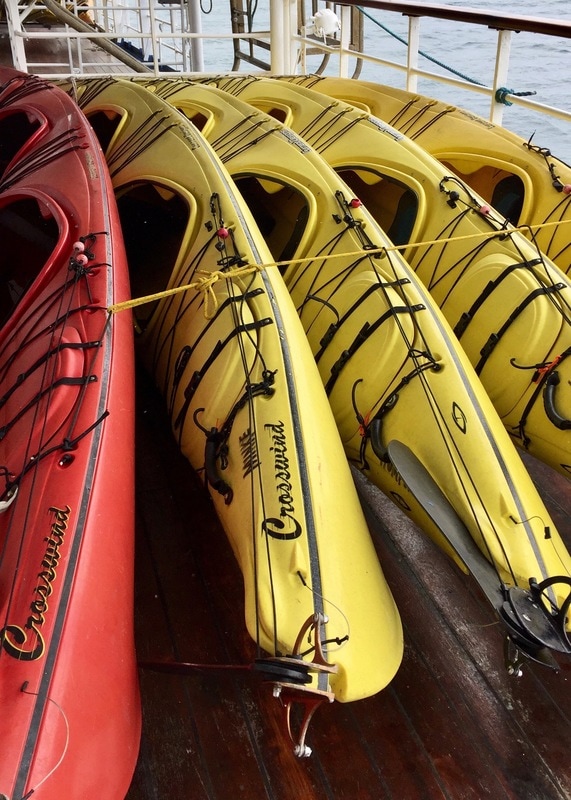
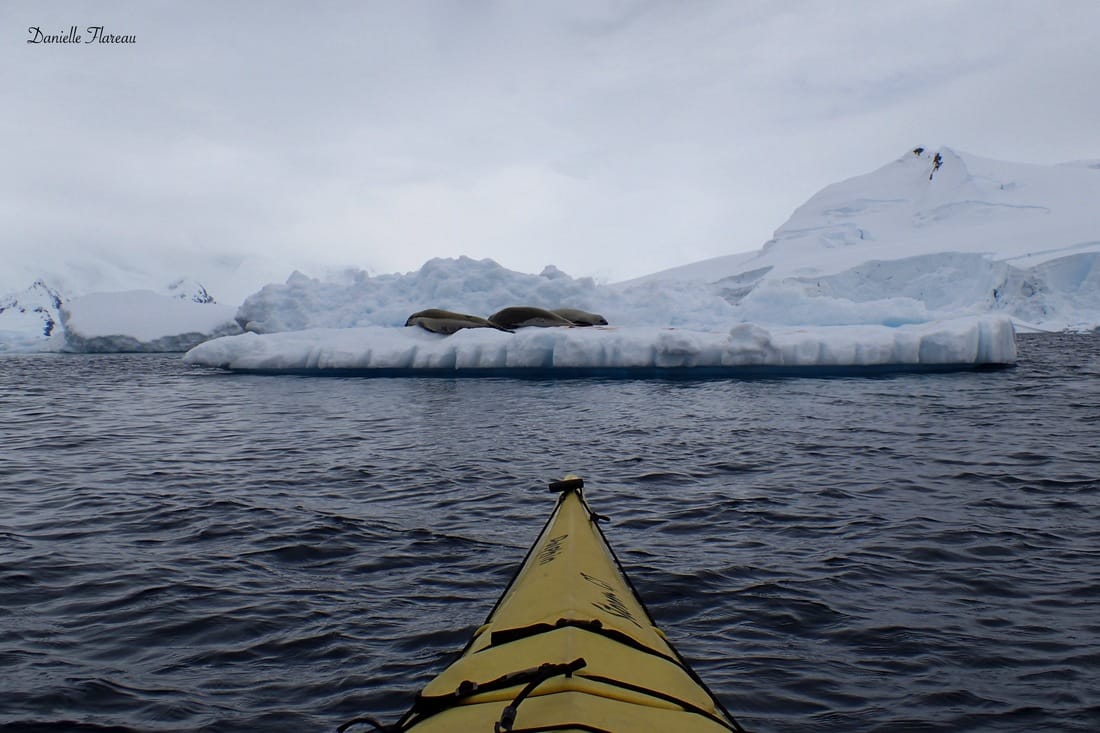
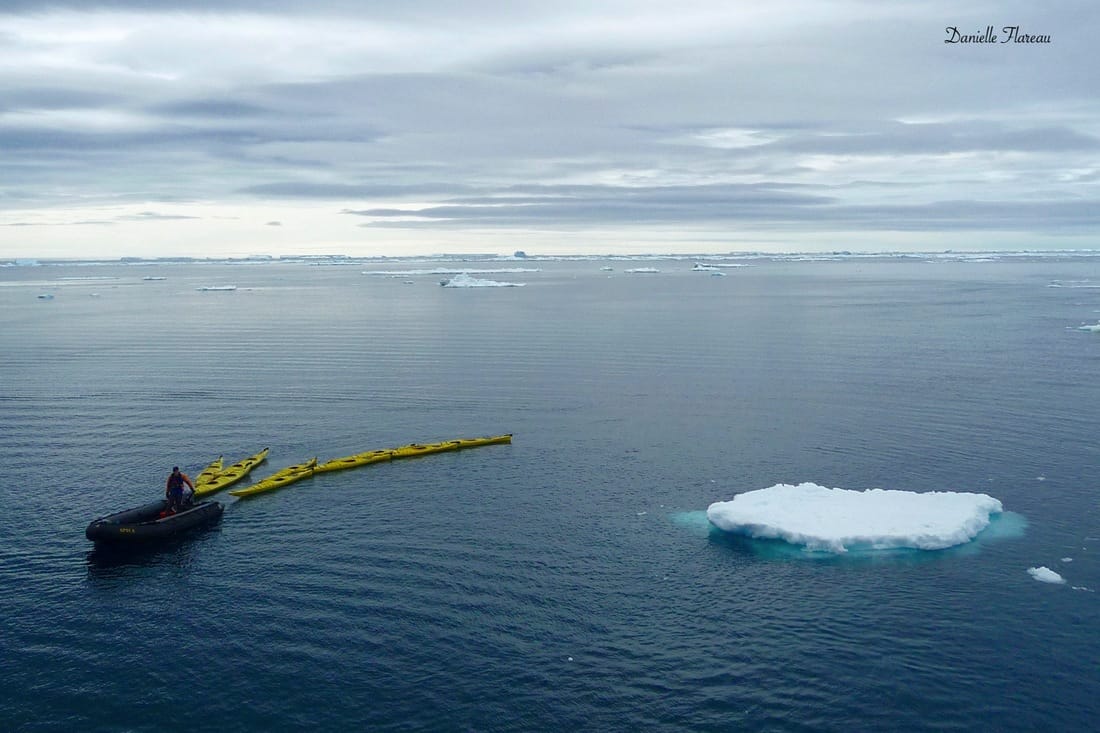
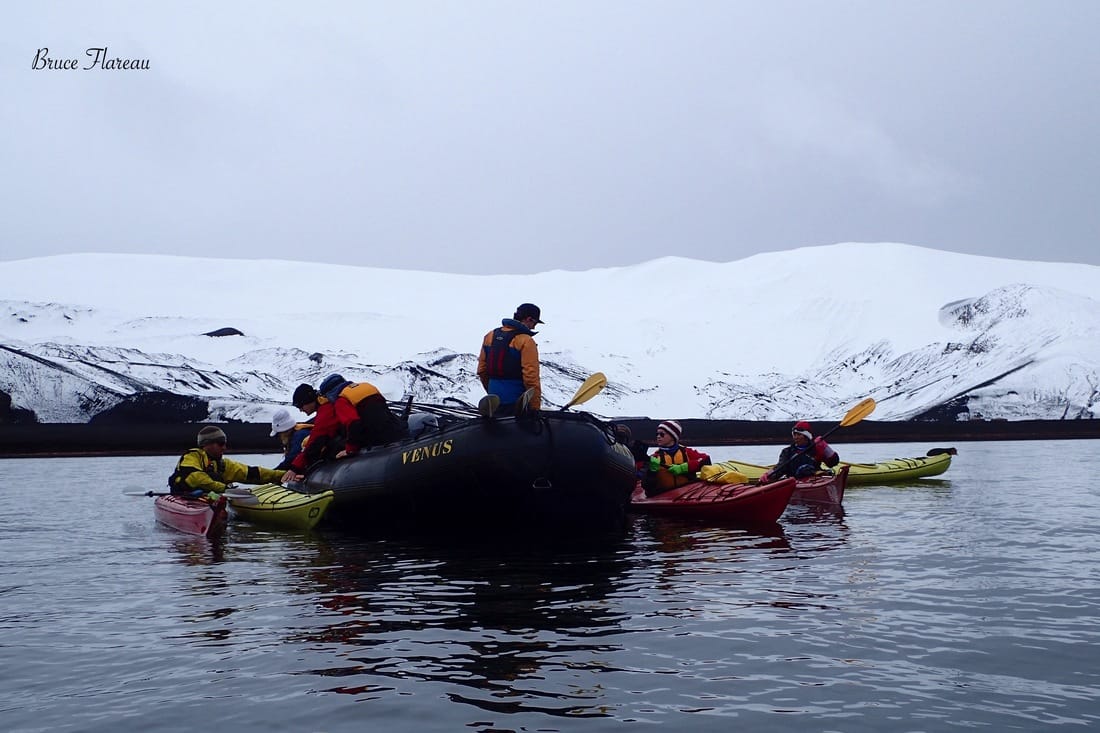
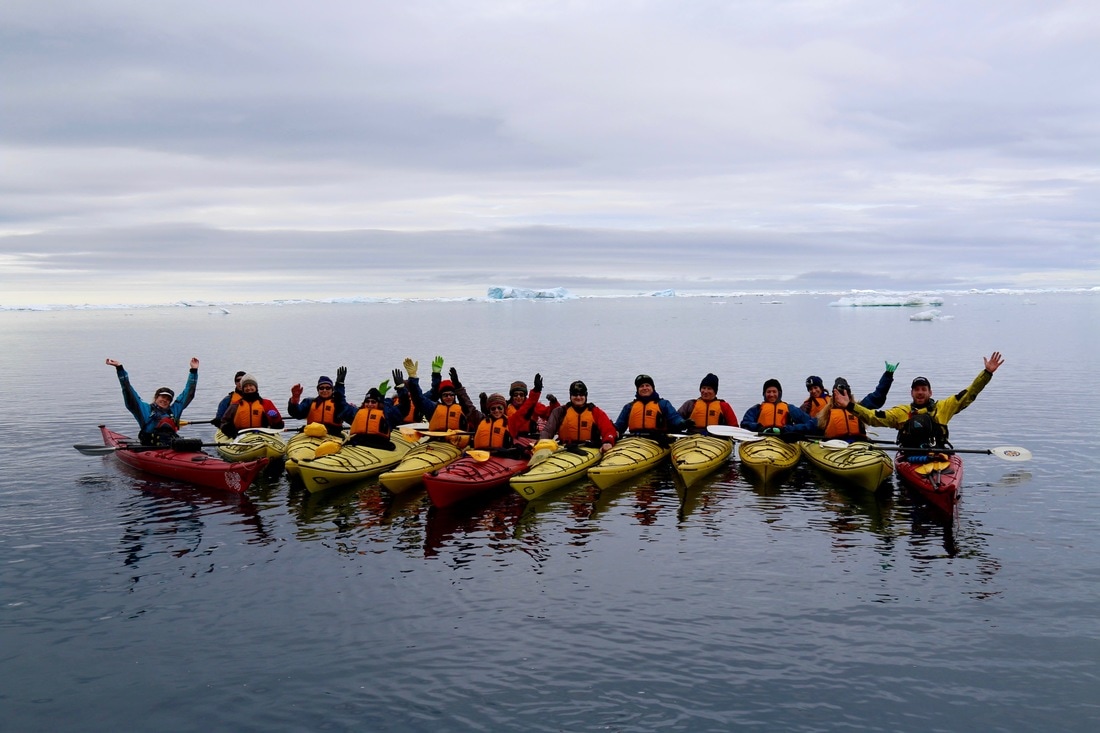
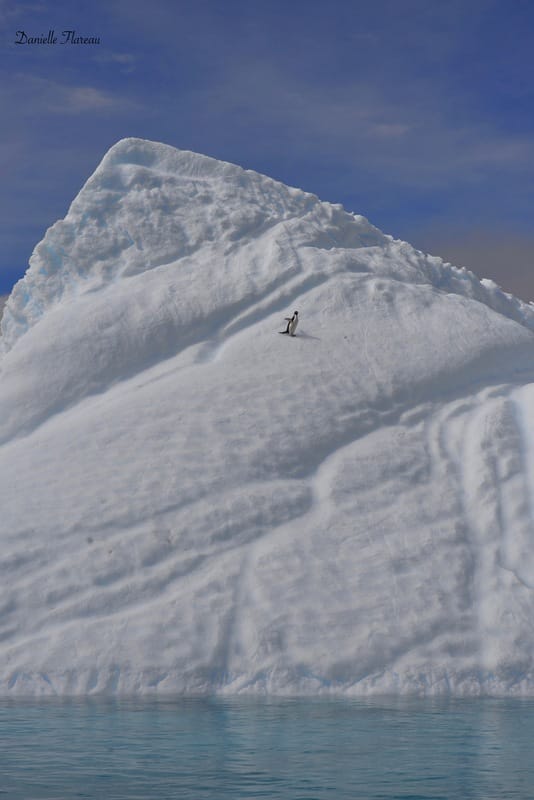
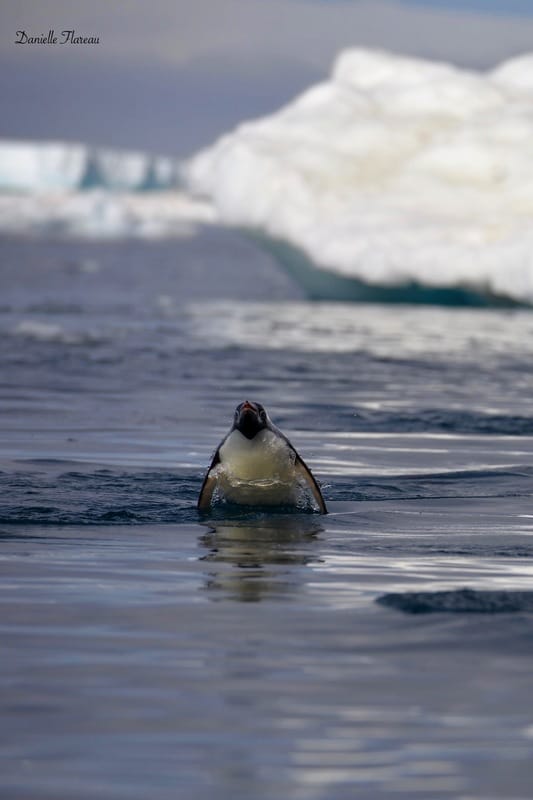
Punta ArenasPunta Arenas is where you will wait for your weather window to fly down to Antarctica. Therefore, the amount of time you will be here really depends on the weather. I thought I would be here for two days but the weather gods spoke and my window came a bit faster than anticipated. I recommend just touring the town and spending the afternoon shopping in the main square. You can pick up some crafts before heading head over to Sotito's for some fish soup. This is a traditional dish so of course I had to try it. I will warn you that if you are not okay with an entire fish being in the bowl, yes including the bones, do not order it. That being said... IT WAS FANTASTIC! The Journey to the Sea AdventurerGetting to Antarctica is a pretty epic journey all on its own. You've spent countless hours getting to Punta Arenas and now you are just sitting around waiting for your ultimate weather window. If you travel with Quark this "down" time will be spent gathering your gear, repacking your bags and sitting through some safety briefings. I assure you this briefing does not last super long, but it lays out some ground rules that have been established by the International Association of Antarctic Tour Operators (IAATO). The idea behind this association and briefings is to preserve Antarctica for future visitors and the many fragile creatures who inhabit this wonderful place. At the end of this briefing you will have dinner with your travel mates and you should be given a time frame that you need to be packed to get to the airport. In my case that time was midnight for a 2:00 am flight. You will want to have your boots, parka, gloves, hat, scarf and waterproof pants on when you step off the plane in Antarctica. That being said, you don't want to overheat on the plane so do your best to keep most of that gear off until you are just about ready to land. The pilot will let you know when you are making your descent. This would be a really good time to start "gearing up." When you step off the plane you are officially in the South Shetland islands. Take it in! You are officially here! The trip you have been dreaming about is literally happening! I still remember that feeling and I am pretty sure I will never forget it. Next is the really fun part. You have to make a 2 km trek to the zodiacs waiting to pick you up and take you to your home. As you wait for your turn to get on a zodiac be sure to keep your eyes on the water. You might get lucky and have your very first penguin encounter. The VoyageThe key to surviving your Antarctic trip…BE FLEXIBLE!! I cannot stress this enough. The weather in Antarctica is very unpredictable and plans WILL change at the last minute to accommodate the new conditions. Honestly, this makes the adventure that much more exciting. You are truly embarking on an expedition and can end up exploring some pretty remote and untouched places. The Quark expedition team did everything in their power to put us in really magnificent and hard to reach places, which just made the experience that much more awesome! It was greatly appreciated and I could not possibly thank them enough for it! I will go ahead and give you the rundown of the itinerary that our trip followed but I can 100% guarantee you that your itinerary will be different. Having said that I have no doubt that your expedition team will do everything they can to put you in the most amazing places depending on the wants of the group and the current weather patterns. I think it would be more beneficial to show you some of the experiences I had while traveling so I can either entice you to travel here or solidify your decision to travel here. This is such an absolutely breathtaking place for so many reasons and I know you are going to love it! December 14 - Frei Station, Snow Hill Fast Ice Sunset Cruise, Erubus and Terror Gulf It was our first day on the ship and we were all so excited to get out and experience Antarctica. However, everyone on board thought our first excursion would be the morning of day two but the expedition team had other plans. That first day we were able to head out for a sunset cruise where we spotted some of our very first penguins and got to experience a truly remarkable pink sunset! December 15 - Paulet Island and Brown Bluff Continental Landing Our first stop of the day was at Paulet Island where there were roughly 100,000 nesting pairs of Adele penguins. After landing we headed up the beach to explore. Our expedition leader had mentioned the word nesting and I took that to mean the penguins would be sitting on eggs. I was pleasantly surprised to not only find eggs but some very fluffy chicks! During this excursion we could move up and down the beach but I found that no matter where I stood I was surrounded by these adorable little penguins. It was truly an amazing experience! Our afternoon excursion brought us to Brown Bluff, which would be our first and possibly only continental landing. I kayaked the first portion of this excursion and landed for the second half. I remember landing on the zodiac and stepping up onto the beach where this giant Antarctic sign was waiting for you to take a picture. The entire experience just seemed surreal. My family took our "we were here" shots and then started trekking down the beach to find some nesting chinstraps. On the trek down one of the guides was walking the opposite direction and told us that there were orcas passing the ship. I jokingly asked if we could jump in a zodiac to see them and her answer was "ya, get out there!" As if landing on Antarctica wasn't cool enough, now we had an opportunity to get up close and personal with some orcas! This day seriously could not get any better! We hurried back to the landing sight where one of the guides picked us up and we were off. We zipped through the ice hoping we would catch a glimpse of the orcas. For a brief moment we lost them and thought our viewing had come to an abrupt end. However, as luck would have it they popped up off the starboard side of our zodiac. We sat for a few minutes just watching them, said our farewells and then headed back to the ship. December 16 - Gourdin Island and Astrolabe Island As we approached the island we were informed that there were some leopard seals in the water hunting and that earlier in the morning some of the zodiacs had witnessed a penguin being killed. While we were staging, just waiting for our turn to land, we were graced by not one but two penguins in our zodiac. My mom had the pleasure of being smacked on the back of the head as the first penguin came flying out of the water, landing at our feet. He looked pretty stunned, probably as stunned as we were. While we were all busy looking at the first guy hanging out in the aft of the boot a second penguin jumped up on the bow. They hung out for a little while before making the leap back into the water. Come to find out this is a pretty rare occurrence so it became quite the talk of the ship. Our afternoon excursion was a bit more like the Antarctica I was expecting. Our expedition leader came over the PA system to let us know the conditions outside were looking a little "sporty" and that of course our excursions were optional. There were about 60 very brave souls who decided to come along for the zodiac ride. As we stepped into the zodiac we were graced with howling winds, swells and snow. The plan was to circumnavigate Astrolaube island and that is exactly what we did. As rough as the conditions were there was something majestic about being able to experience it. December 17 - Wilhelmina Bay, Enterprise Island and Bailey Head?? It was in the Gerlache Strait on the way to Wilhelmina Bay that we stumbled upon some feeding humpbacks. We spent about an hour watching them before moving on. As we continued on we passed through Graham Passage, which held breathtaking views of glaciers. My mom and I just found a spot in the back of the ship away from the crowd and took in the spectacular view. Eventually we made our way to enterprise island. Here we saw a bunch of crab eater seals, most of which were hanging out on the ice clearly resting after chowing down on some krill. We stopped by an old sunken ship that was used to store whale oil. It unfortunately caught fire and the crew sunk it hoping to save the prized cargo that was stored on board. December 18 - Bailey Point, Whalers Bay and Livingston (Elephant) Island Today we got super lucky and were able to take part in three different excursions. We woke up nice and early and headed out to Bailey Point, which is home to nesting chinstrap penguins. After grabbing some breakfast we headed back out to Whalers Bay. This was a beautiful area and I was so glad that we ended up kayaking the first portion of it. After landing we headed down the beach to see some whale bones and the areas that they used for processing whales for oil. We also made sure to dig our hands into the sand to feel the warm water being heated by the active volcano beneath our feet. I can attest that the water was hot! After finishing up we headed over to elephant island where we kayaked up the coast listening to the elephant seals on the shore make loud grunting noises. The sky was blue and the water was relatively calm; such a perfect day! After about an hour we headed to the beach where we stood in the center of a group of sub-alpha-males that were just resting on the beach. According to one guide an adult male could take up an entire zodiac and would probably spill over some. That is a pretty big seal! Elephant island was unfortunately our last excursion and so as we left the island by zodiac we said our silent goodbyes. It was a great way to end the trip! KayakingI cannot stress this enough… kayaking is a MUST! Let me just repeat that in case you missed it. Kayaking is seriously a MUST! Signing up does not mean you have to paddle every morning and every afternoon. It just means you have the option to do so. Every morning we would meet to discuss what the kayak excursion and the zodiac excursion for the day would entail. Then you had the option to decide which trip you wanted to go on. I really enjoyed kayaking because we usually split the time, which gave us about an hour and half of kayaking plus 30-45 minutes on land. This way you get the best of both worlds. I think the major difference between the zodiacs and the kayaks is the intimacy you feel with the environment and the close encounters you can have with the wildlife. For example, I had a leopard seal swim over to my kayak and pop his head up to check my mom and I out. They certainly look big from the zodiac but I assure you they look way bigger when you are sitting in a kayak. If you choose to partake in the kayaking you will be provided with a dry suit, life jacket, booties, dry bag and pogies (neoprene covers for your hand). I highly recommend bringing a carabiner to clip your waterproof point-and-shoot to your life jacket. You can stuff it inside your life jacket and use it for quick pictures. The kayaks do have bungees in front and behind your seat but it can be difficult to get your camera out of the dry bag since you need to be vigilante about your surroundings so you don’t end up floating into an iceberg. I was fortunate to be in a double kayak most of the time so my mom could paddle while I was taking pictures. If you are really into taking pictures it may benefit you to double up. One of the many wonderful things about kayaking is that you are the first to leave the ship and usually the last to come back, giving you the most amount of time to explore. The kayakers were usually dressed and loading the zodiacs about 15 minutes before the rest of the ship was ready to embark. After loading up the zodiacs you take a short ride to a put in point. From here you will load your kayak from the zodiac with the help of one of your kayak guides as well as the guide on the zodiac that brought you out. The first time you tackle this task will be a little awkward but by the second and third time you will be a pro. As far as weather goes they will not take you out if the winds, swell or both are bad. It was very apparent that safety is their number one priority. You also have a zodiac that follows you the entire time you are kayaking. They are there in case anything happens and/or if you want to get out early. This zodiac is also available for storing some extra gear that you may not want to carry on your kayak, but may want for the landing after your awesome paddle. Lastly, I just want to give a quick shout out to Tara and Sean, our kayak guides, for such an awesome time! They were fantastic and truly made the experience worthwhile! PhotographyI brought a fish eye, teleconverter, Nikkor 20-70 and Nikkor 70-200. I legitimately only used the 70-200. There is maybe one time where I contemplated switching to the 27-70. If I came again I don’t think I would cart all this gear here, especially with the 20-kilogram (~ 44 pounds) weight requirement. Instead I would bring a waterproof point and shoot and the Nikon with the long lens. A little caveat to this is that my biggest focus is wildlife photography as opposed to landscape shots. If you are all about landscapes you may want to pack differently. Also, I cannot guarantee you will be as up close and personal to wildlife as the passengers on our cruise were, so take my advice with a grain of salt. If you are worried and aren’t over your weight limit I would suggest bringing it. As always it is better to bring something and not need it then to not have it at all. Penguins are very photogenic creatures so you shouldn’t have a hard time getting a great photo of them. I was so lucky to be there when they were nesting so I got some great shots of parents caring for their young and incubating eggs. Here are just a few tips for photographing penguins. First, be patient! The chicks need to be kept warm by the parents until they are fat enough (usually around three weeks) to insulate themselves. You will have to patiently wait for dad or mom to stand up so you can get a glimpse of that adorable little chick. Which brings me to my second tip, which is be ready! Once dad or mom stands up you will only have a few seconds to get your shot. They may rotate the egg or chick and then sit back down. If you are really lucky you may get to experience them feeding the chick. Third, if you shoot in manual mode take a few test shots before you see the chick. You can check your histogram before hand and not have to fiddle with adjustments when you only have a limited amount of time. Lastly, once you get your award winning shot just take a few moments to sit and watch without looking through the lens. This can be so hard for photographers but you are in one of the most remote places on the planet and you should just take a few moments to truly enjoy the experience. As for other animals such as whales and seals, I feel like the majority of those interactions are a combination of being in the right place at the right time and a little bit of luck. Just remember that these are wild animals and so there are no guarantees about what you will see. My advice is just to be ready with your camera and willing to explore. PackingI just want to cover layering really quick before we get to the packing list. I cannot stress dressing in layers enough! You will absolutely want at least a base layer, insulating layer and windbreaker/waterproof layer. You can add more if you need it but I was nice and toasty with just that. If you are kayaking your wind breaker will be the dry suit and if you are doing day excursions it will be the yellow jacket provided by Quark plus whatever waterproof pants you bring. Musto pants or other OFFSHORE WATERPROOF gear You will get wet. This is not a question of if but when. You will want to have waterproof pants that can go over your boots. This may seem counterintuitive but this will actually keep you the driest as opposed to tucking your pants into your boots that Quark will provide. I don’t really recommend using rain gear or ski pants because those aren’t really waterproof but many people did use them and seemed okay. Waterproof Boots If you go with Quark they will provide you with Muck Boots. If you have to purchase your own boots for the trip I highly recommend the arctic series from muck boots. I wore these the entire trip and felt that they keep my feet warm and dry, even when I was standing in the water after a shore landing. I thought they were comfortable and very easy to walk in. Waterproof watch Time is not a huge issue on the ship because the expedition leader will keep you posted about where you need to be and when. However, on land it was nice to know when you needed to be back by to make sure you had a ride on the last zodiac. Carabiners These are great for clipping gear to your bag. I also really recommend them for clipping your camera to your life jacket if you are kayaking. Dry bag If you are kayaking this will be provided to you, but I recommend it for everyone especially if you do not have a waterproof backpack. You will get wet during some of the landings so make sure that your gear is protected. Vest Base layer bottoms x3 I brought one pair of pants and just changed my base layers every day. Fleeced lined pants This will be your mid layer, which will insulate you and keep you warm. Don’t skimp on this layer. Undershirts x3 I used Patagonia wicking shirts for my base layer. These dry really fast if they get wet, which is important. You really want to avoid anything with cotton here because it will take forever to dry. Sunglasses There was only one excursion where I really could have used my ski goggles but for the most part I was fine with just using regular sunglasses. You definitely need them as it is super bright in Antarctica. Closed toed shoes for the boat I brought toms and worse those on the plane and on the boat. You don’t want to wear open toed shoes on the boat just in case the seas get rough. You will appreciate the added grip if you are experiencing some nice swells. Scarf Beanie x2 I brought two beanies in case one got wet and of course it did. The first one was not dry in time for the afternoon excursion so I was glad I had brought a second one. Gloves and glove liners x2 I recommend two pairs in case one gets wet, which is very likely. Its better to have two and not need it then to have one soaking wet pair and spend the day freezing. Kitchen cleaning gloves I picked this up from the kayaking guides. They gave us plastic kitchen gloves to go over our liners or gloves. These kept your gloves from getting soaked, which in turn keeps you warmer. Buff and/or fleece neck gator Ball cap I used this a lot on the boat so I didn’t have to wear my beanie while I was inside. Bathing suite If you are looking to participate in the polar plunge and take a nice little dip in the ocean you will want to bring a bathing suite, rash guard or some other form of clothing you don't mind getting soaked. One nice outfit for the last night They will have a send off on the last night that consists of drinks and a slideshow with pictures from your trip. Sleeping outfit I just brought one t-shirt and one pair of shorts and that was good for the entire week. Fleece pullover x2 I only brought one Columbia pullover fleece and wish I had brought two so I could alternate them. I ended up getting water down my jacket during one excursion and it would have been nice to have a second fleece to change into. Underwear Bra and/or sports bra SUNSCREEN!! The sun in Antarctica is strong! Make sure you apply sunscreen before each excursion because it is so easy to get a sunburn here (especially on the face). LuggageSince you will be making a 2 km (~1 mile) trek down to the ship I recommend a backpack that is waterproof as opposed to a rolling or hand-held bag. Depending on the weather you may find you are in the splash zone of a zodiac and you definitely want to keep those electronics safe. It would also make it a lot easier if you bring a small duffel bag with your clothing in it as opposed to a rolling bag. It’s just gravel and ice so wheels wont do you much good. If you want to bring extra items just to have in Punta Arenas you can do that and then leave them with the Chile based crew. Just make sure you have a spare bag to put those items in as that will not be provided.
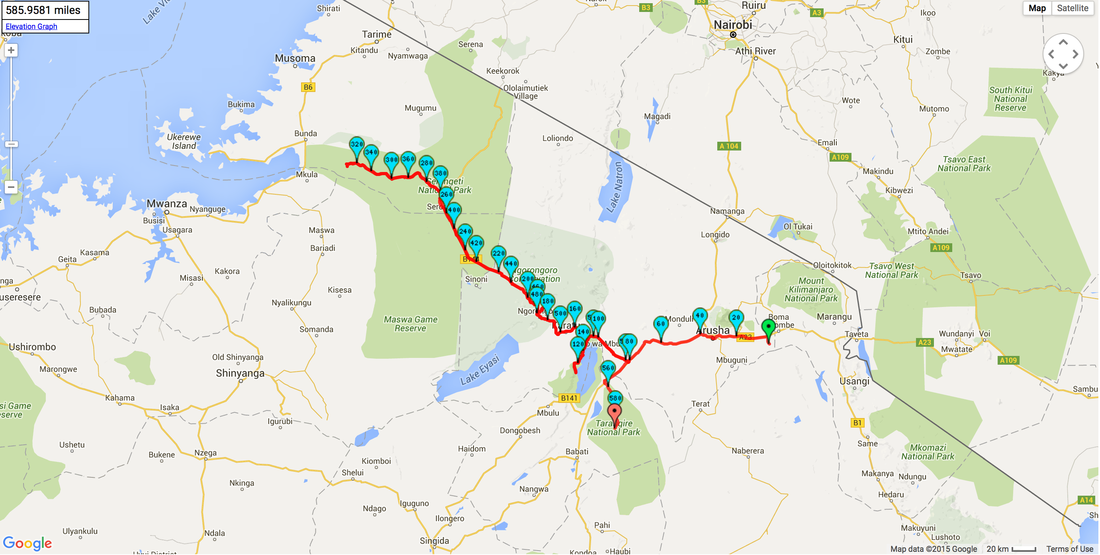
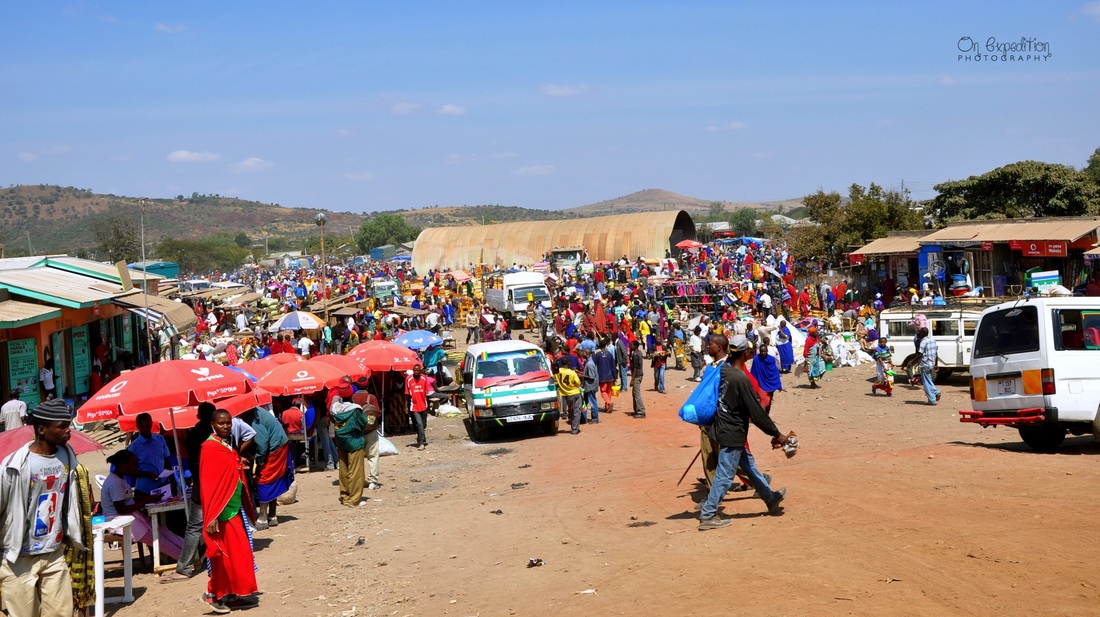
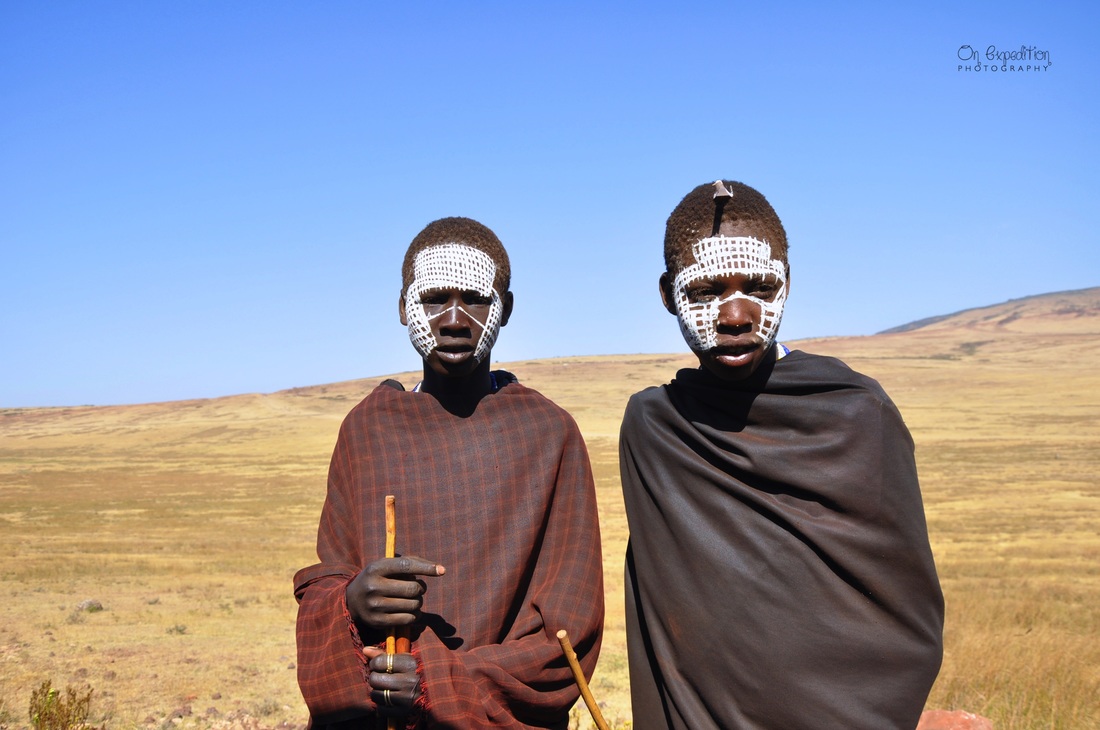
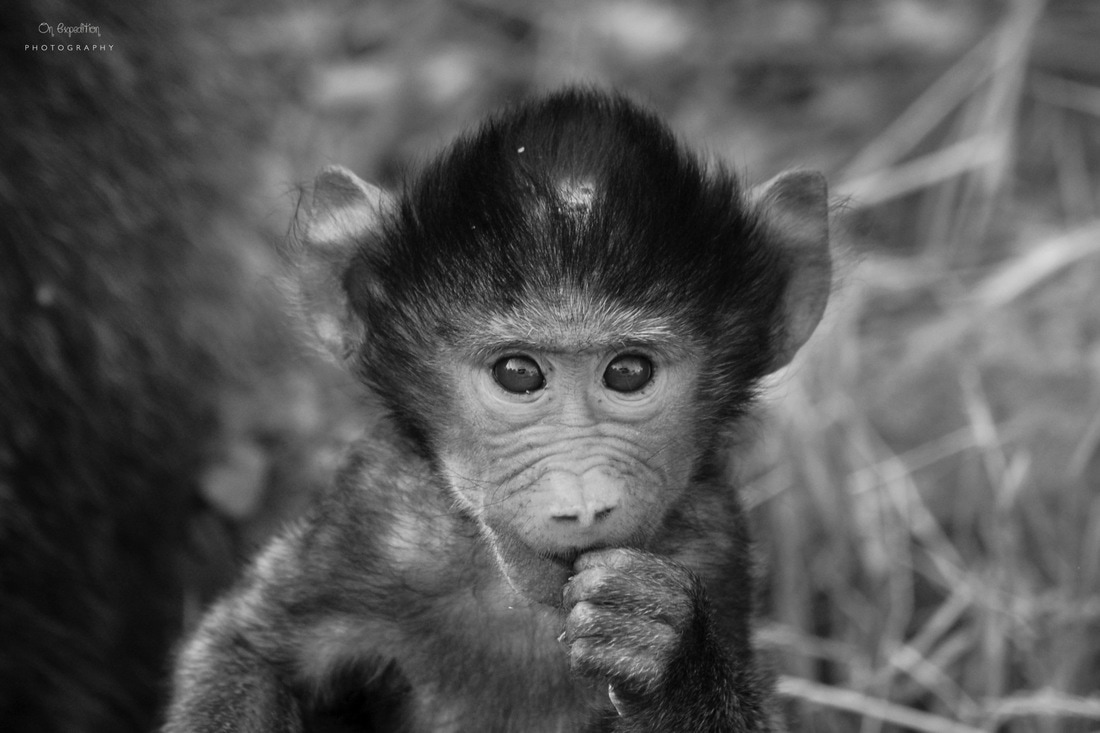
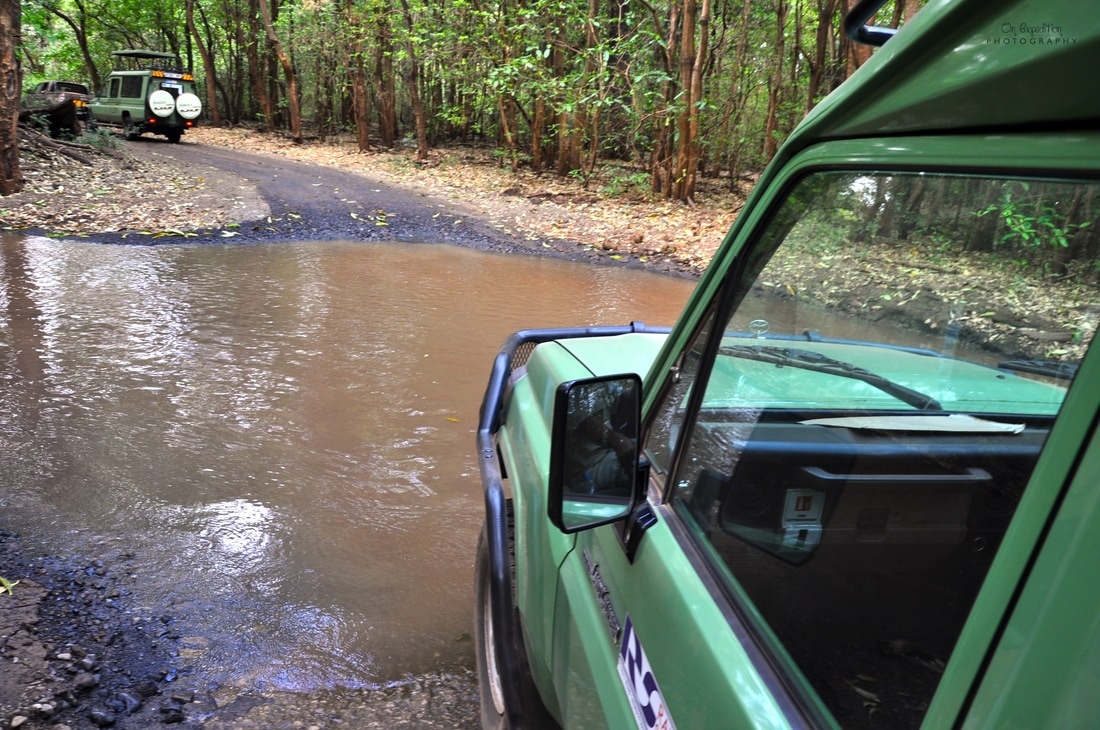
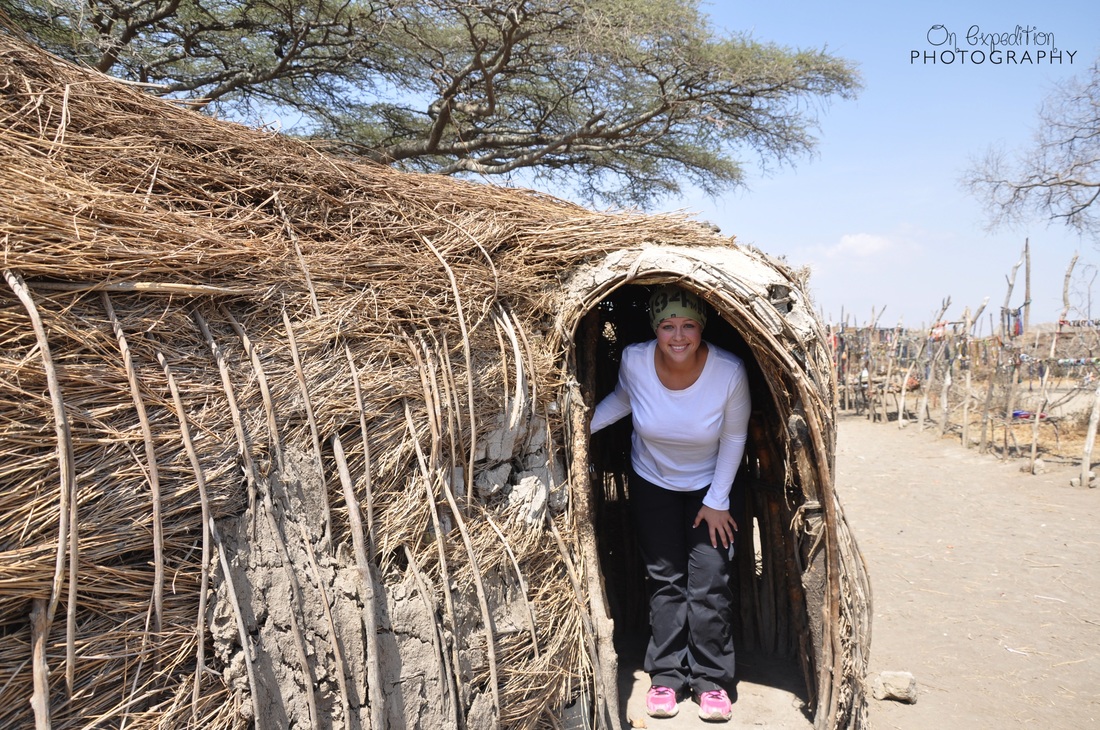
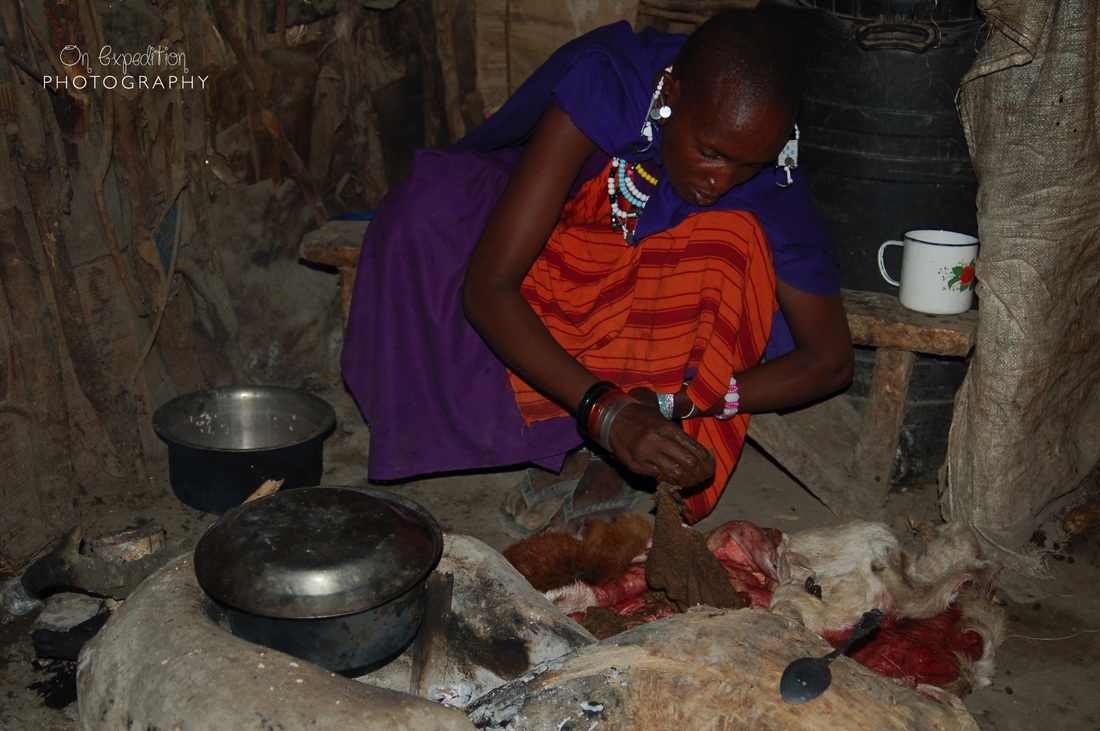
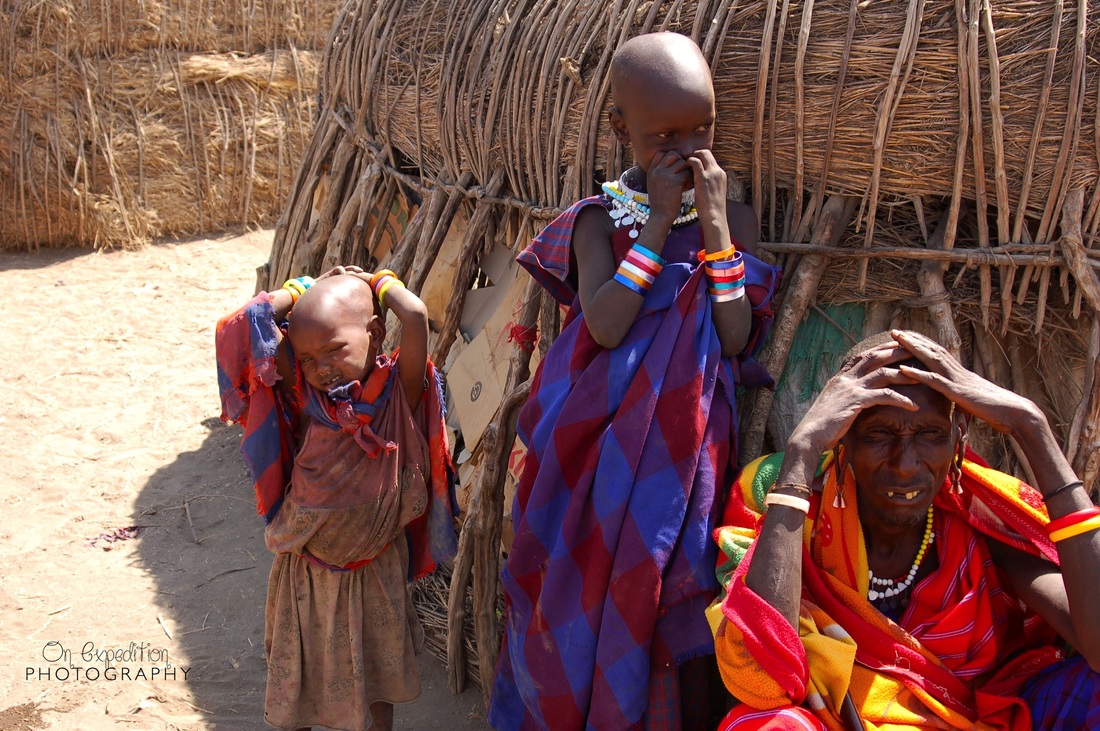
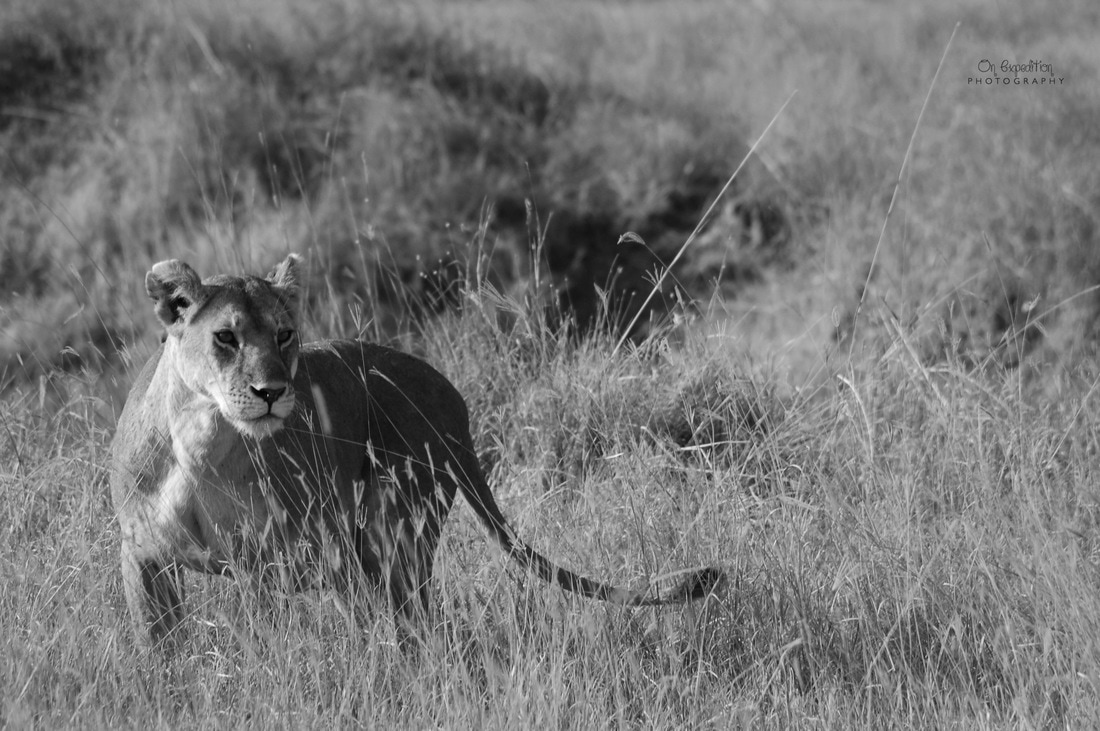
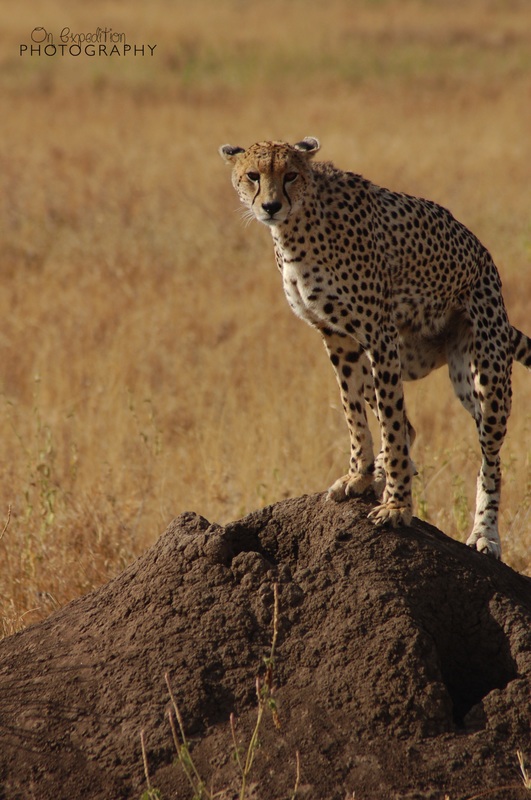
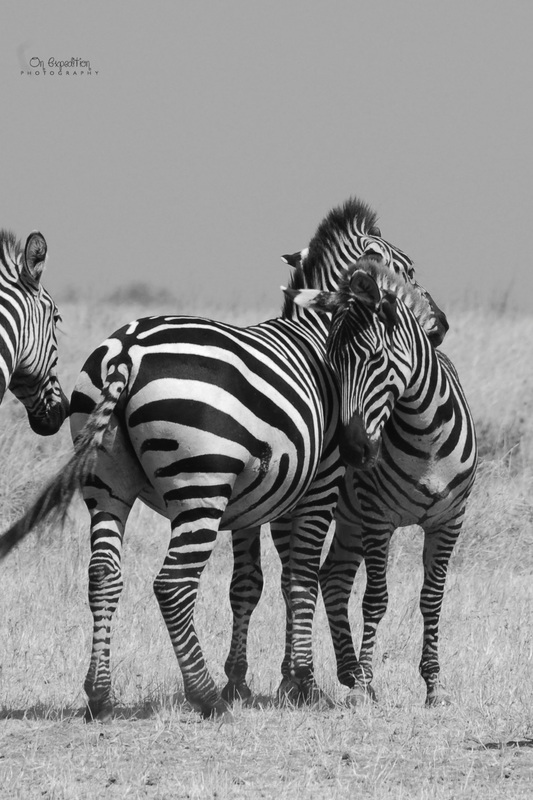
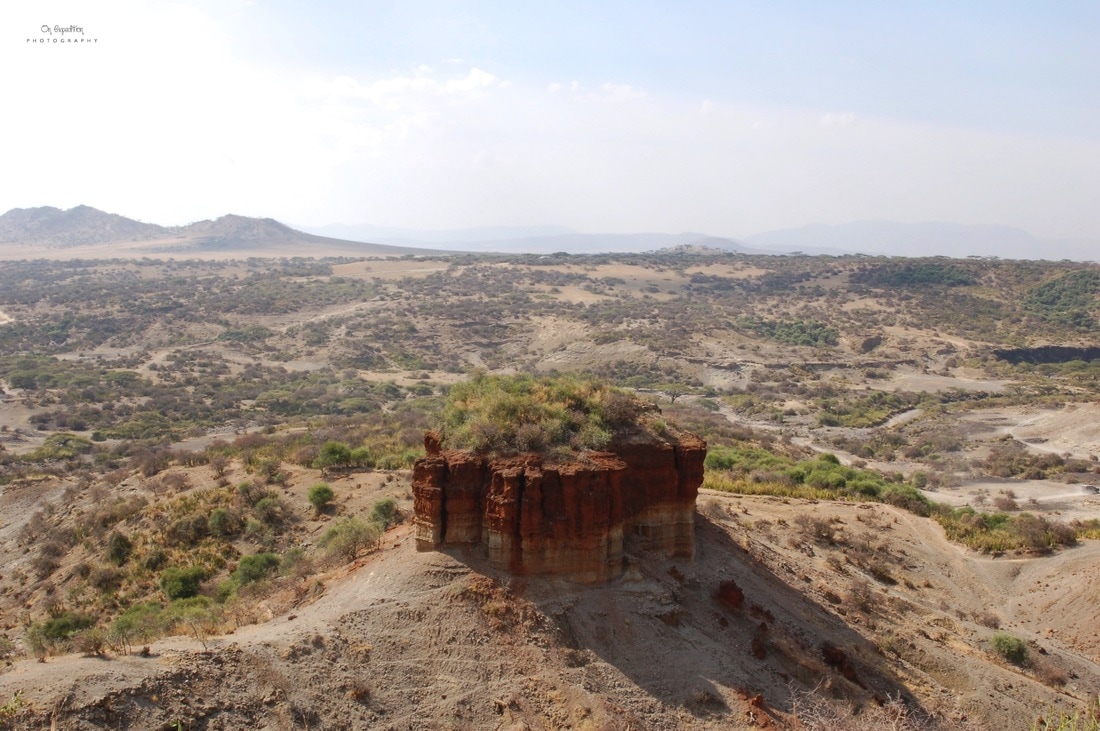
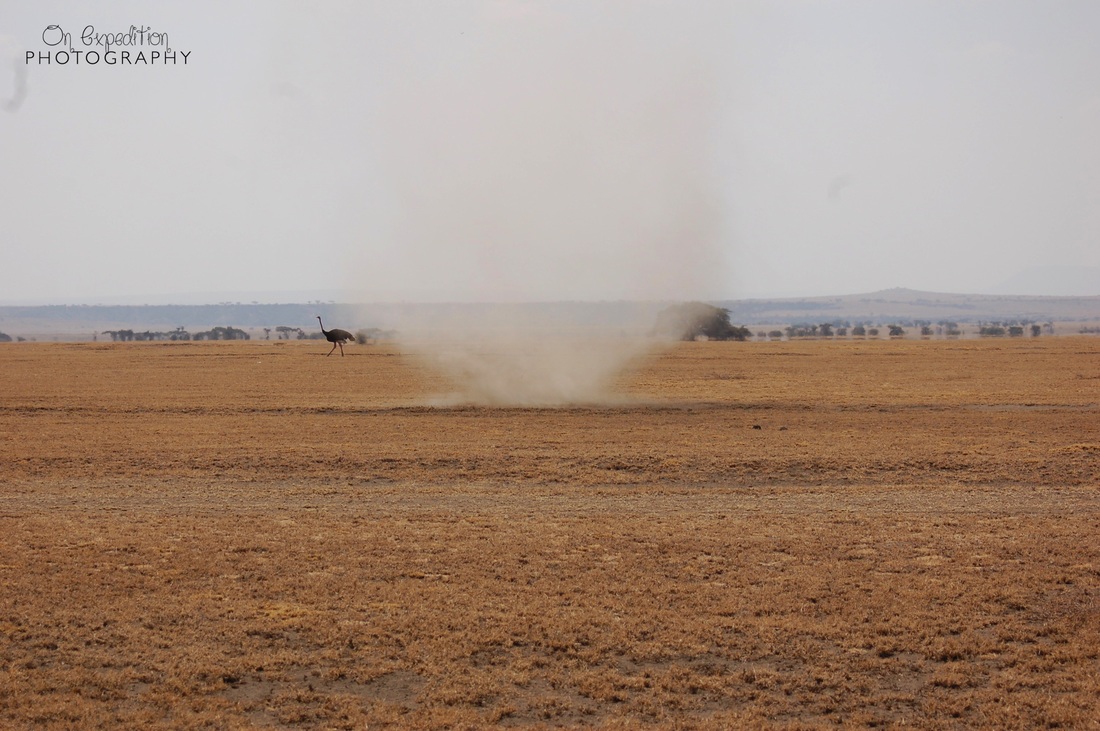
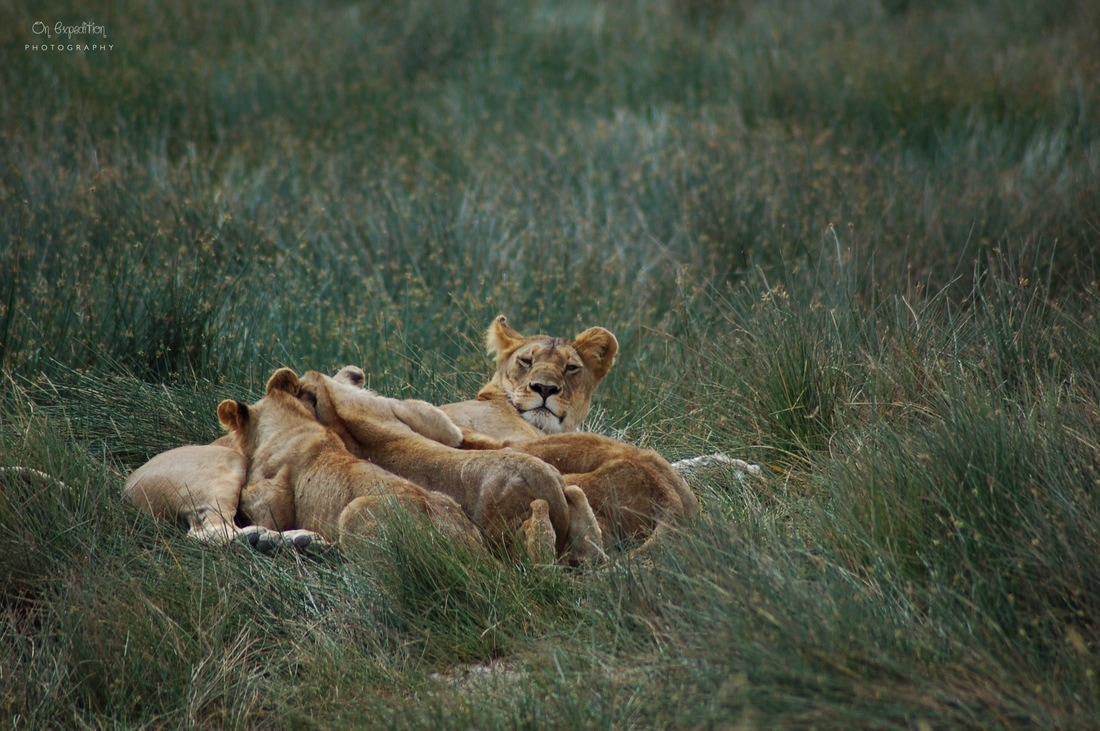
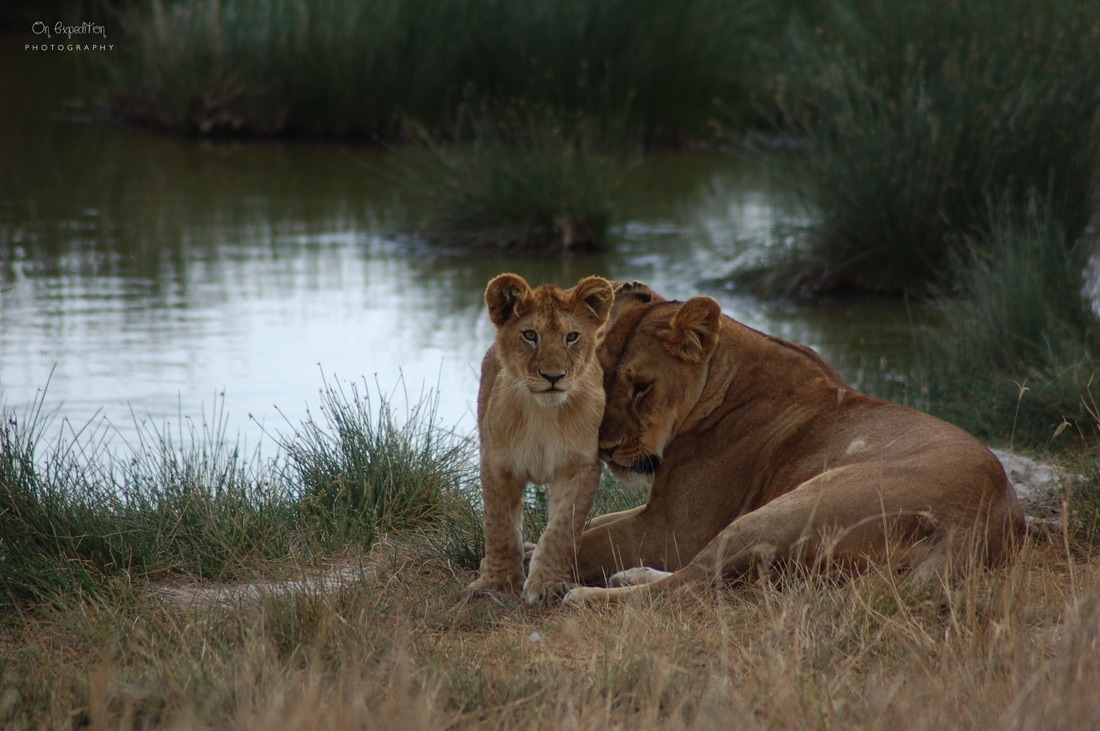
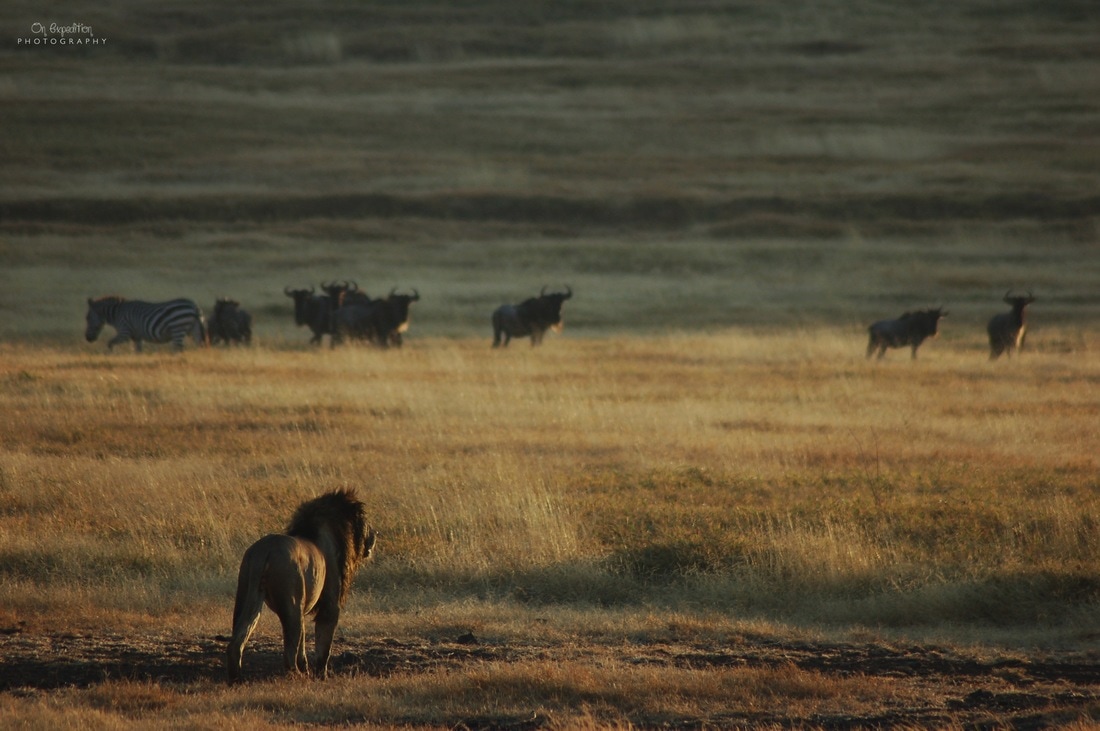
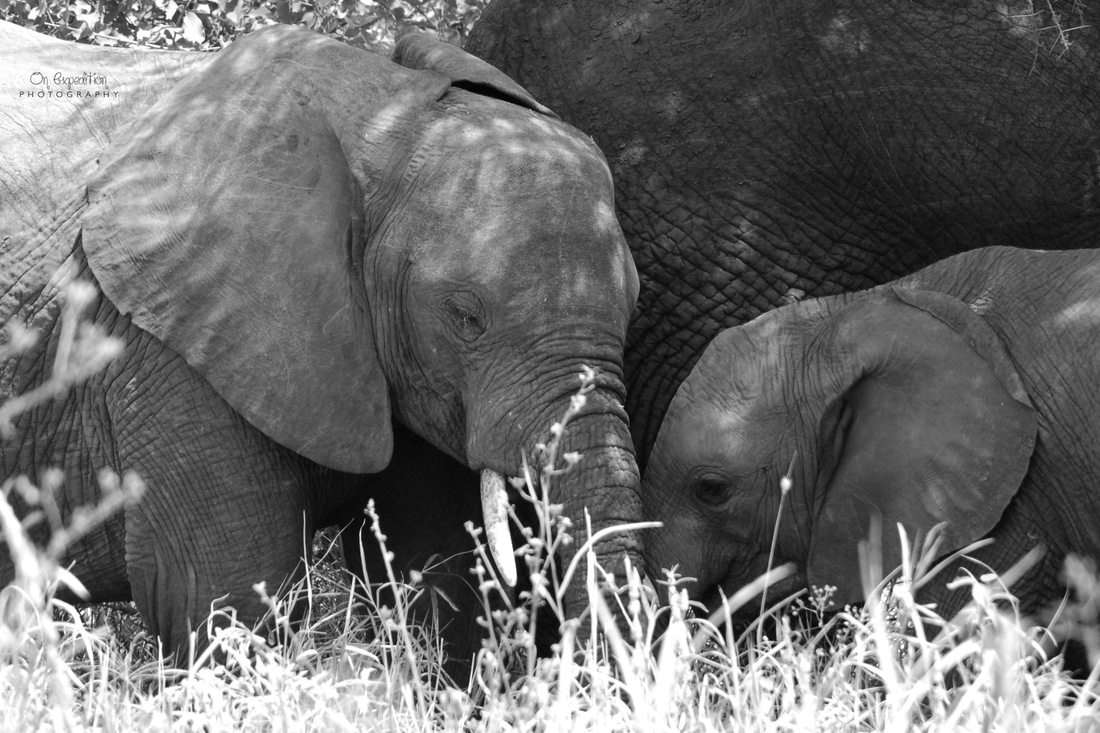
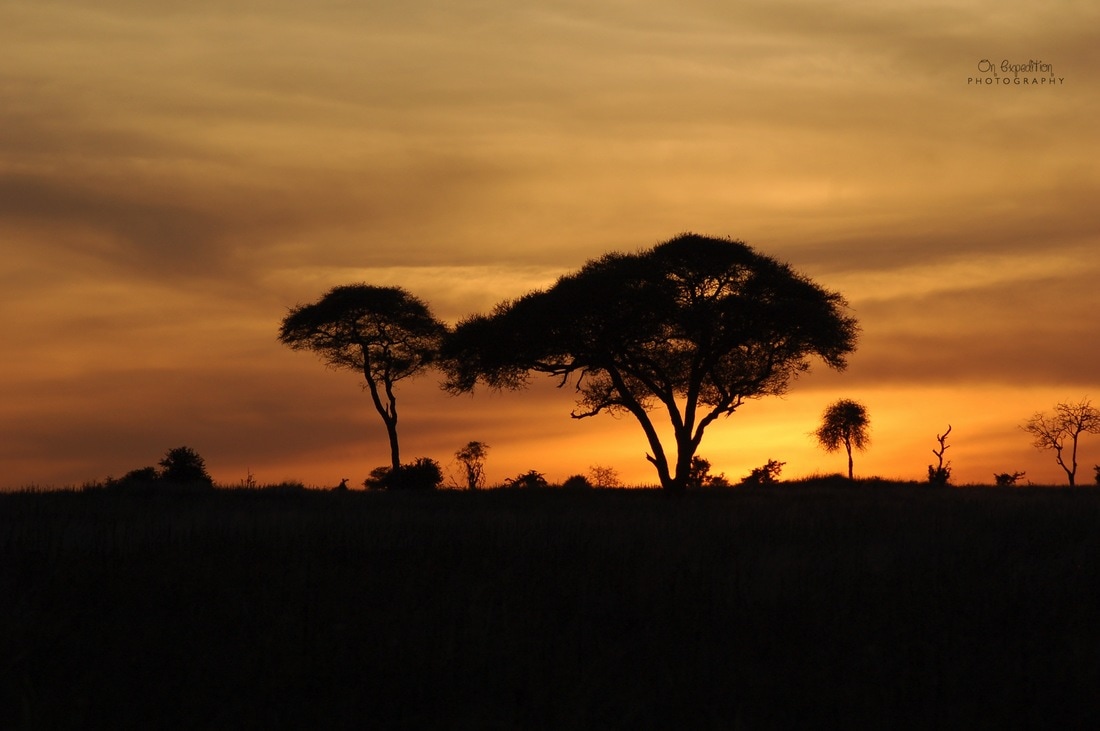
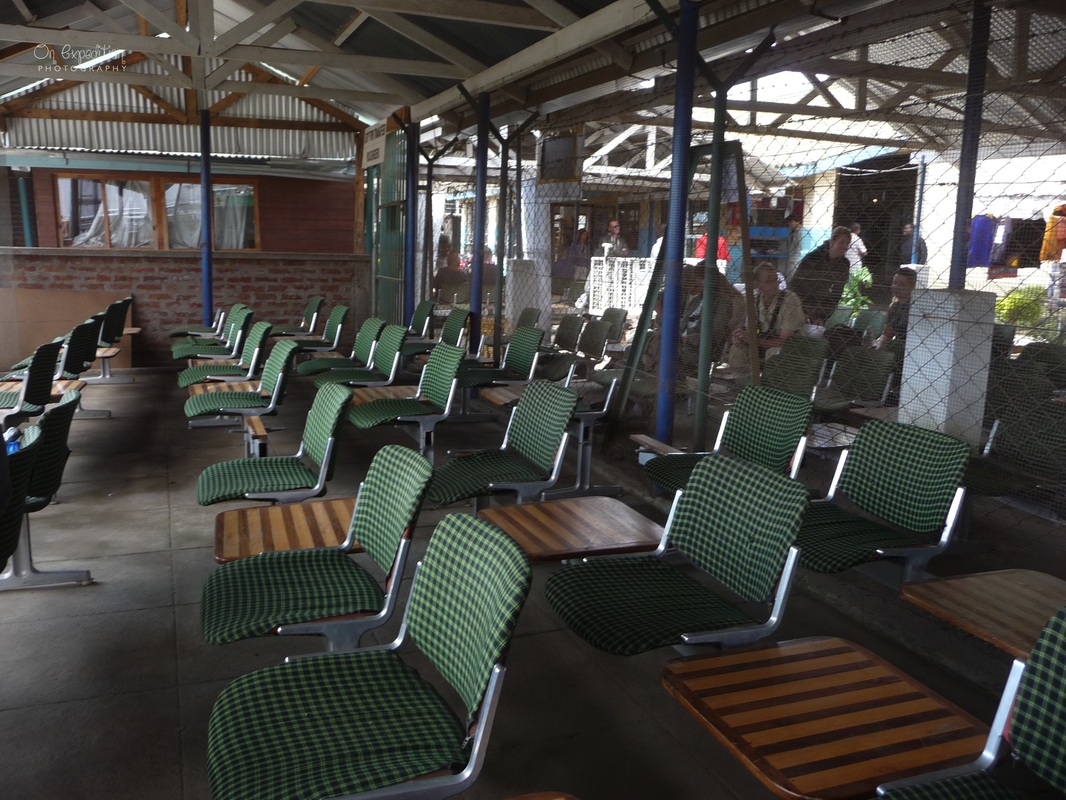
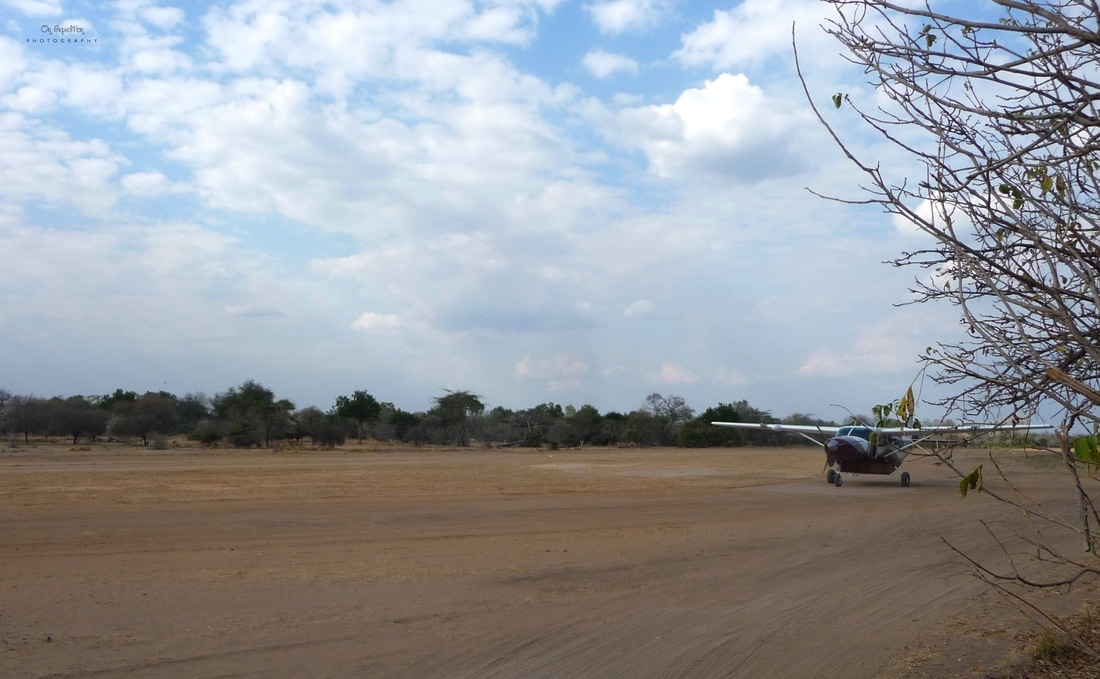
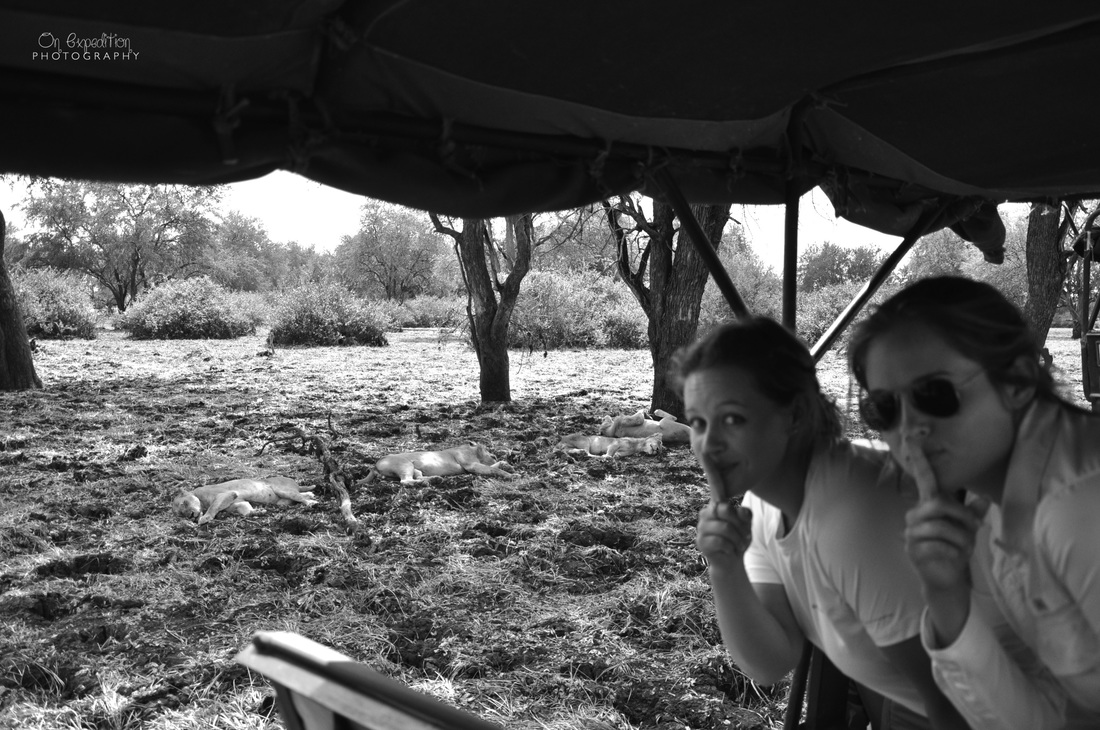
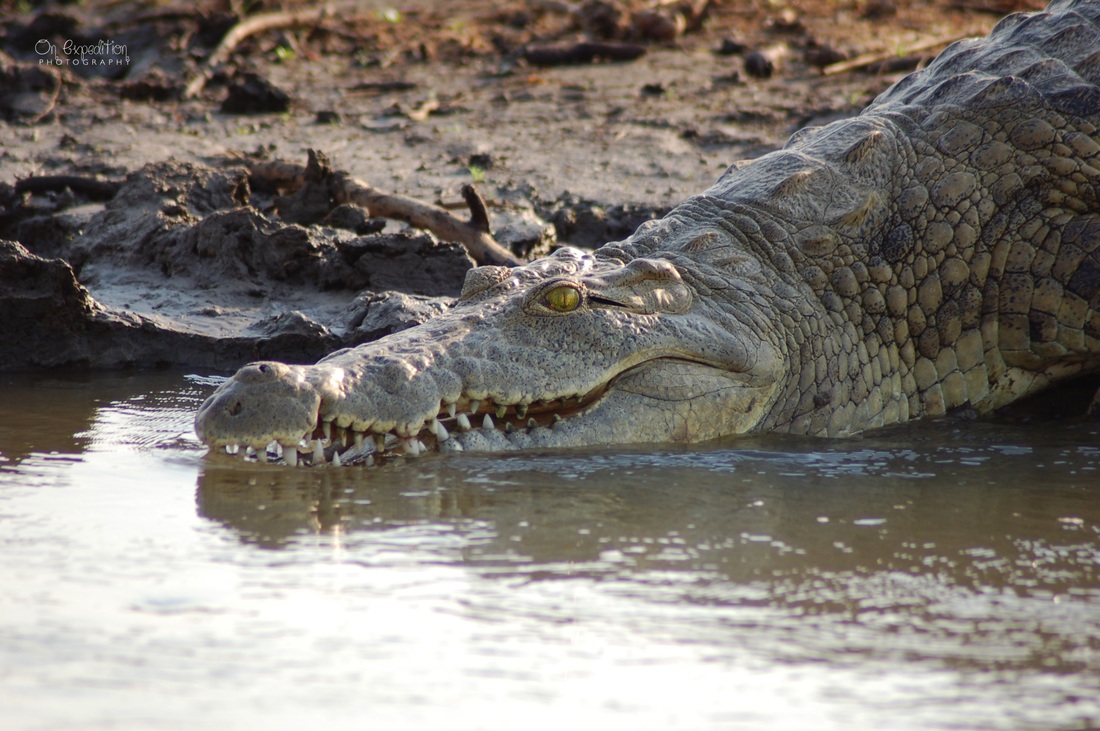
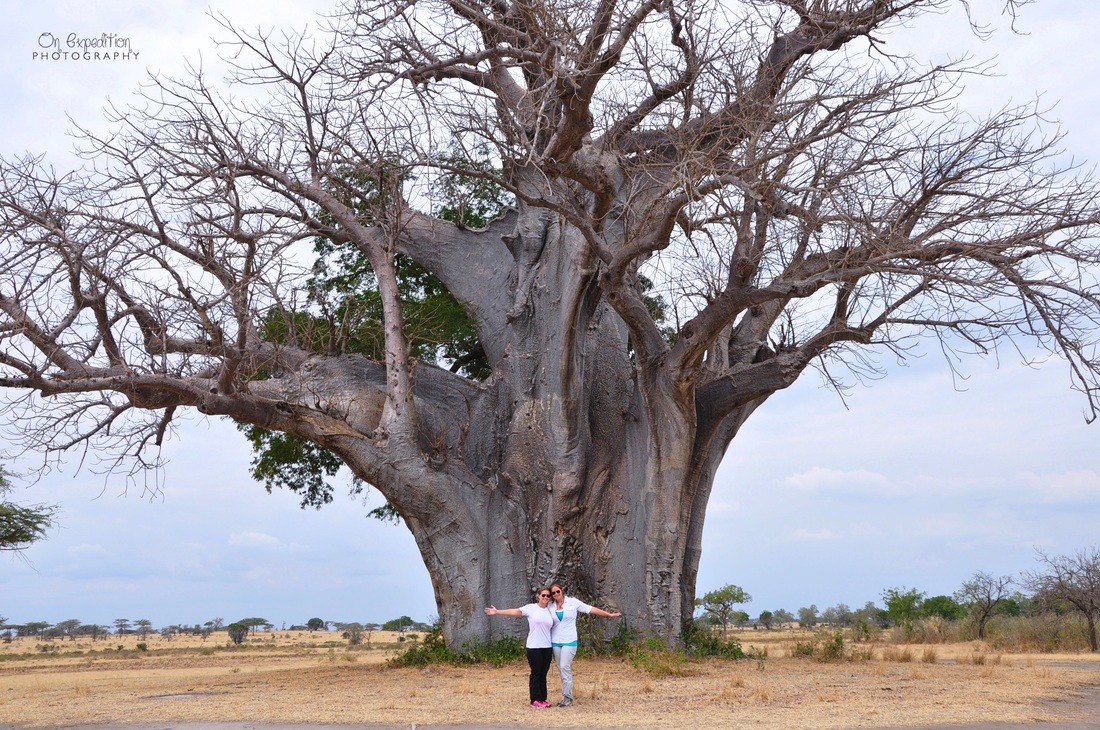
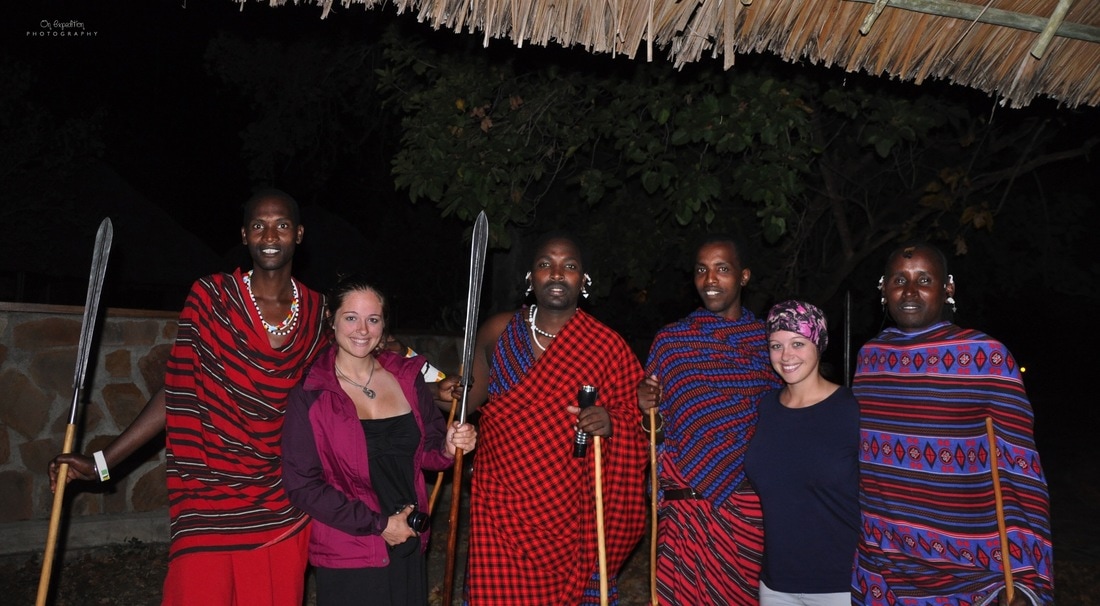
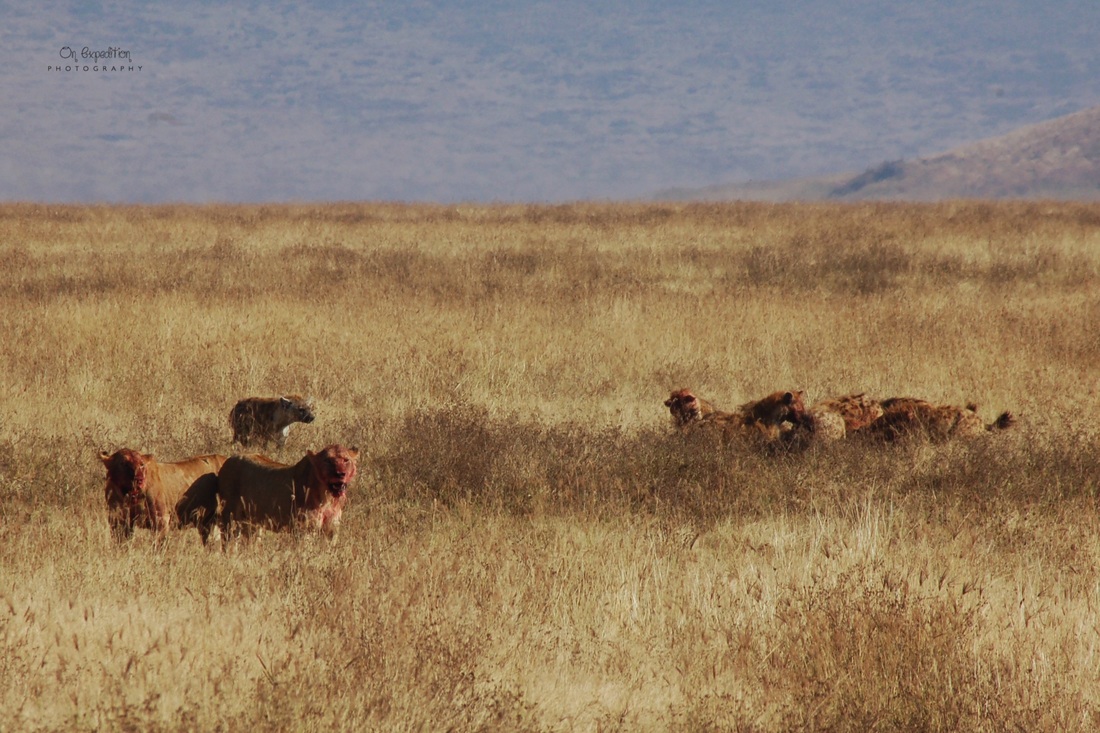
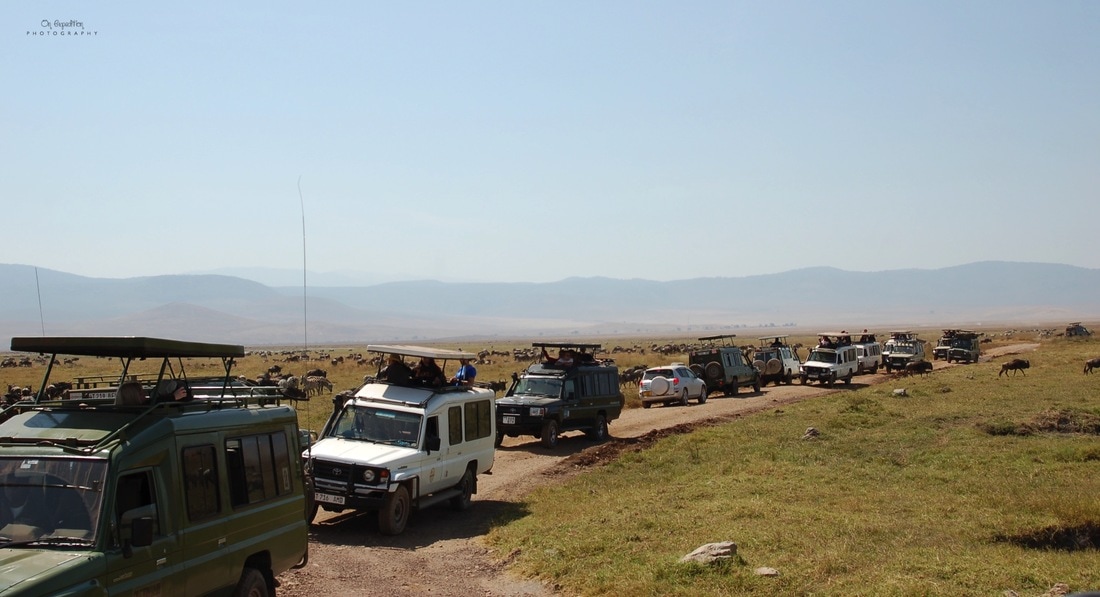
Getting ThereI flew into Kilimanjaro International Airport (airport code: JRO). The airport is the size of a few big rooms put together. Once you pick up your bags you will need to head to customs, which is a very chaotic and confusing place, so be prepared for this. There aren't really lines so to speak so when you see an opening in a lane, take it. If you are traveling with a tour company this will be one of the times they really come through for you. Get ready to cut everyone in line and I mean everyone; you are about to cut what little semblance of a line does exist, which is great for you but if your traveling on your own this will make your wait just a little longer. Anyway, you will pay your entrance visa fees, get a stamp and be on your way. The fee when I was there was $100.00 per person. Once exiting the airport, you can grab a taxi. We had a prearranged driver so we found him and hopped in our vehicle. Drivers in Tanzania seem to make up their own rules of the road but I have to say it really works for them. They beep when they want to pass another vehicle and surprisingly I never saw an accident, so whatever they are doing works. Nonetheless, it’s a little scary when you are driving straight into traffic. Once again, just be prepared for this. We drove over 600 miles in roughly two weeks, most of which was on unpaved and bumpy roads. Even though we covered such long distances it didn't feel like it. We took adequate stops and there was always something to look at out the window. We passed markets, locals, villages, schools and Masai juniors on a consistent basis. This was the trip of a life time and even better because I got to share it with my family!! ArushaMy family’s first stop was Arusha, which is a wonderful little spot. We came straight here after the airport with no stops in between. After 27 hours of traveling and a taxi ride I was ready to get into my room and just relax. After entering into the Arusha Lodge, which I highly recommend, I was handed an iced coffee, warm rag and was pointed in the direction of my very nice and very private room. I just remember thinking, seriously, iced coffee? And let me tell you, that is the best coffee I have had in entire world and that’s a pretty bold statement if you’re a coffee drinker! If you aren't a coffee snob yet Arusha is going to solidify this for you. I thought I liked coffee before arriving here but boy was I wrong. There is nothing quite like drinking fresh pressed coffee every morning that comes from a local farm. I was only here for one day and during that time I was able to explore the hotel grounds that are filled with coffee and other produce. It was a real treat and I was certainly sad to leave my delicious coffee but I was ready to get on safari. Lake Manyara Lake Manyara is the first place we stopped on our adventure. As you drive through this park you will wander your way through some pretty dense forest. Be on the lookout for elephants and monkeys, since those are primarily the two inhabitants of this area. The monkeys here are unbelievably curious. They will come right up and check you out. If you are lucky you might catch some of the young babies playing with each other or getting a ride from mom. When we were there the park was relatively dry but we did get to drive through some very deep water and put the snorkel kit on the truck to some use. Needless to say that was pretty awesome! Masai Village En route to the Ngorongoro Crater we stopped at a Masai village where the oldest son of the head of the tribe greeted us. He was our tour guide for the afternoon while we were in the village. He took us into a Masai hut and explained the difference in the shape and what takes place inside the hut on a given day. Before we left he asked if I was married since he had not acquired his first wife and he was at the age when he was to do so. He also wanted to know if we have multiple husbands in America. While I was flattered by his offer I was surprised by his question. It never occurred to me that it would be strange or uncommon that I choose to live in a society where monogamous relationships are the norm. This is why I love to travel! It opens your eyes to so many perspectives. We had an awesome afternoon in the village and made some incredible memories! If you have this opportunity, take it! SerengetiThe Serengeti was my all time favorite place! If I went back to Tanzania I would spend the majority of my time here. In total we drove over six hours to reach the gates of the Serengeti Park. When we first arrived in the park I saw nothing and I was pretty disappointed. It looked like there were no animals and other than some acacia trees I didn't see much in the way of healthy vegetation. I had this image that we would just drive in and there would be lions everywhere. What I didn’t realize is that I saw nothing because I had an untrained eye. I was pretty skeptical when my guide told me to trust him, that he would find what we were looking for, but I soon learned that I had the best guide in Africa and he is definitely skilled at finding things. He taught us that the bush is filled with animals; you just have to know where to look. We were looking by the roadside, while our guide Fred was looking 100-300 meters into the bush. Once we knew what to look for it was game on. I remember Fred spotting a cheetah (what seemed like a mile away) on the first day. He quickly pulled the jeep off the road and we were flying through the bush to catch the cheetah. I felt like I was on national geographic racing along side the animals as they run in the Serengeti. We pulled up to find a cheetah perched on a termite mound. My family and I were so excited! She hung around for a bit, had a good yawn and then disappeared into the bush like she was never there. We learned so much from our guide about tracking, the landscape, the vegetation and the wildlife. Guides there go to college for two years in order to do their job. It’s the equivalent of a four-year degree in the states. Fred was one of the most intelligent people I have met. He spoke five languages and was self-teaching himself Chinese. Moral of the story, if you have a guide, use them. Fred loved questions and teaching us so I know other guides would love it too. We saw all the big five minus the rhino in the Serengeti. We saw so many lions that I lost count. It was more than I could have dreamed of! Oldupai (Olduvai) Gorge There is a little discrepancy between the name of this gorge so you may see it referred to as either the Oldupai or Olduvai Gorge. At the actual site they will call it the Oldupai Gorge. This gorge is still an active dig site during the dry months and visitors can go to the dig site with a proper guide. Human remains were found here over 100 meters deep that show evidence of increasing cognitive complexity, hunting, tool making and nomadic behavior. There is a museum and viewing area open to the public where lectures are held. On the way to visit this site be on the lookout for dirt devils. Ngorongoro Crater This is such an interesting ecosystem. I had some very amazing encounters here with a lot of different lions. By far though my favorite was watching a nursing mother. Her cubs were so vocal and playful. We watched them for over an hour before they headed off. This is also where I watched two lioness take down a cape buffalo. As if that wasn't awesome enough about 20 hyenas ended up stealing the catch from them. When it was all said and done the event took about 20 minutes. This made me feel like I was watching a National Geographic special. You can check out a picture from the event below under the photography section. I wish I could emphasize just how majestic this place is but there are no words. I think it truly is one of those things you just have to see for yourself. Tarangire Elephant Reserve I absolutely love elephants so visiting this site was a lot of fun for me. We did not have any trouble finding elephants. Watching the baby play was just adorable. He was such an energetic little guy and clearly mom wanted nothing to do with his craziness. The last night we were there we saw the most beautiful sunset. It was a perfect ending to our Tarangire tour before heading over to Rufiji River Camp. Arusha Airport Arusha airport is a tiny airport that serves the Arusha area (airport code ARK). We took a hopper flight from here to the Rufiji River Camp. The airport was a little confusing as far as baggage goes but nonetheless we and our bags ended up on the plane. In country flights only require one pilot, which was strange for me since in America they require two. The pilot was hilarious. His briefing included telling us that it wasn't worth teaching us how to put our five point harness on because if we crashed it really wouldn't matter. If we wanted water we could find it stashed in the cargo area; help ourselves! I got to sit up front for take off and landing, which was awesome!! Rufiji River Camp The rufiji river camp was an entirely different experience then anywhere else in Tanzania. You have to fly here via a hopper plane. You will land on a dirt runway, which they may have to clear of the local critters; it is pretty awesome to watch. When we arrived we were escorted to our accommodations, which I would put in the "glamping" category. We stayed in a canvas sided tent but slept in real beds and had a bathroom with cool to luke warm water. As if our accommodations weren't cool enough, we were also given a Masai warrior to guard us from any animal attacks. Our warrior carried a spear with him everywhere and told us that he did have to kill a lion once. However, the real threat at Rufiji river camp is actually hippos and not lions. Hippos are mean, dangerous and pretty much the most feared animal there. If you get in their way they will stomp you to death. We didn't have any problems with animals but they were there just in case. At night around two in the morning we kept hearing wooping noises, which come to find out is actually zebras. During the day we went on safari looking for animals. Our guides were awesome and made the experience a memorable one. Shhhhhhh.... we wouldn't want to wake the sleeping lions behind us! PhotographyMy best piece of advice for photography is expect everything! Always have a camera ready because you never know what's going to happen or what your going to see. A lion ambushing prey can happen so fast and you will want to be ready! We watched two lions take down a wildebeest and then have their prey stolen by hyenas. That being said, this is a trip of a life time and you don't want to spend it looking through a view finder! Take some great pictures but remember to enjoy the experience too. As far as camera gear goes I took everything I had and could possibly carry. My gear included a Nikon D50, 24-70 lens, 70-200 lens, Panasonic lumix and a gopro. Tanzania can be very dusty so I recommend storing your gear in plastic bags to help minimize how much dust gets on the camera. After all you want those pictures to literally be spotless. Quick Tips 1. If your guide asks how early you want to go on safari your response should be, "what's the earliest we can leave?" I kid you not the saying "the early bird gets the worm” is more than applicable here. The earlier you head out the more time you have for spotting and the less likely you are to be crowded by other cars also looking for the same animals that you are. 2. Bring a no spill coffee container with you. Sometimes we were heading out early and it would have been nice to bring some coffee or tea into the jeep for the ride. There are no to go cups in Tanzania. 3. Learn how to say the words listed below in Swahili: Locals appreciate the effort and your guide will be talking on the radio about animals other guides have found. You are going to want to know what you might be driving to see next. If you are really adventurous there is a great website with common phrases that can be found here: http://www.tanzaniawildlifesafaris.com/swahili-phrases.php Hello- Jambo (*jambo jambo means you are very happy to see someone) Welcome - Karibu Thank you- Asante Thank you very much- Asante Sana Cheetah- Duma Elephant – Tempo Giraffe – Twiga Hippo – Kiboko Lion- Simba Packing List Packing for this trip was harder then most trips. I had read countless blogs about what to bring and I felt like everyone had something different. Even when I got there I heard different things about colors you should wear and not wear from my guides. One person said white was good and another one said it was bad. What I ended up gathering on this trip is that neutral colors really are the best while on Safari. In town you can wear whatever color you want. So I took a guess on packing and went for it. We had a weight limit of 30 pounds for our gear including all bags since we took a puddle jumper into the rufiji river camp. I had no problem keeping my gear under that weight limit.
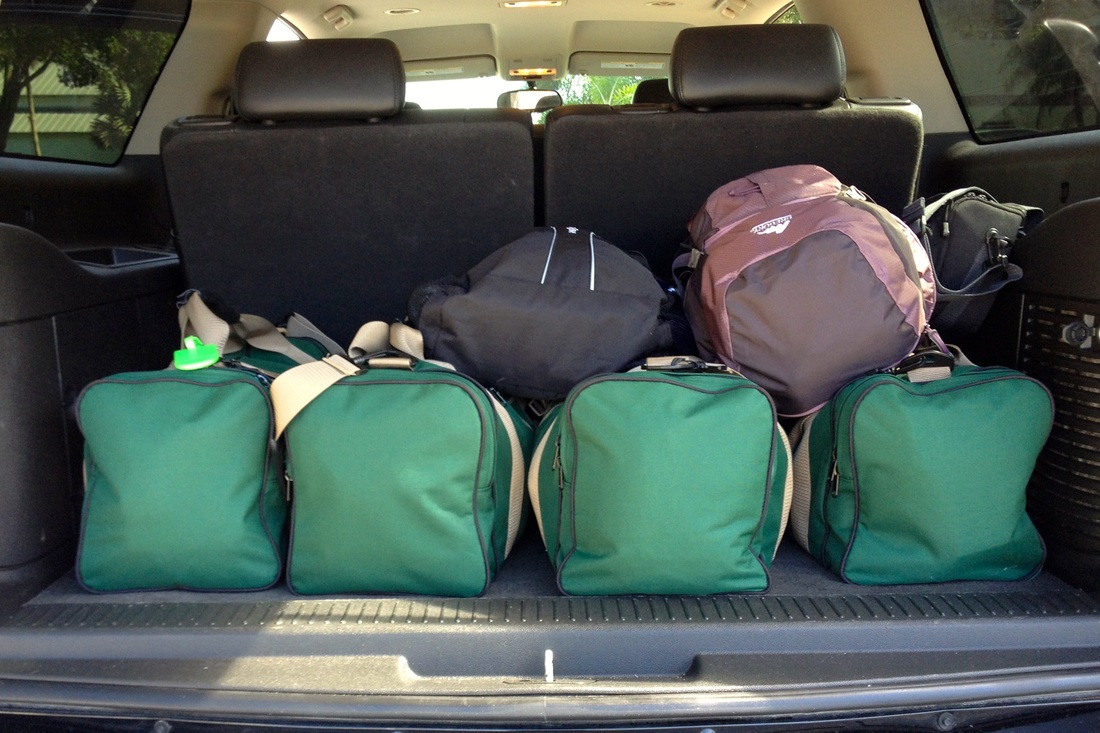
Packing List
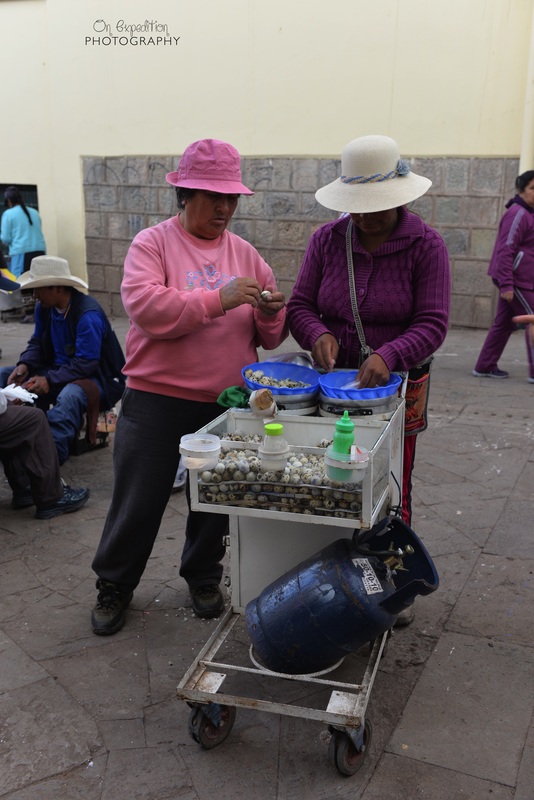
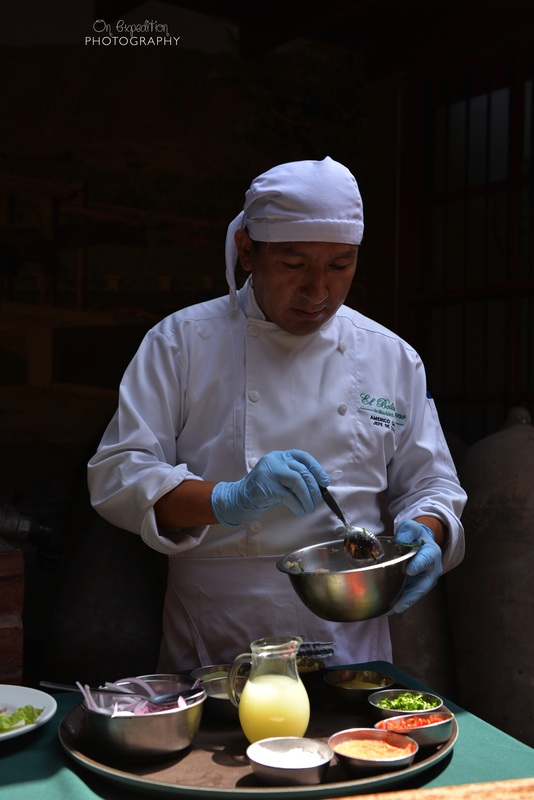
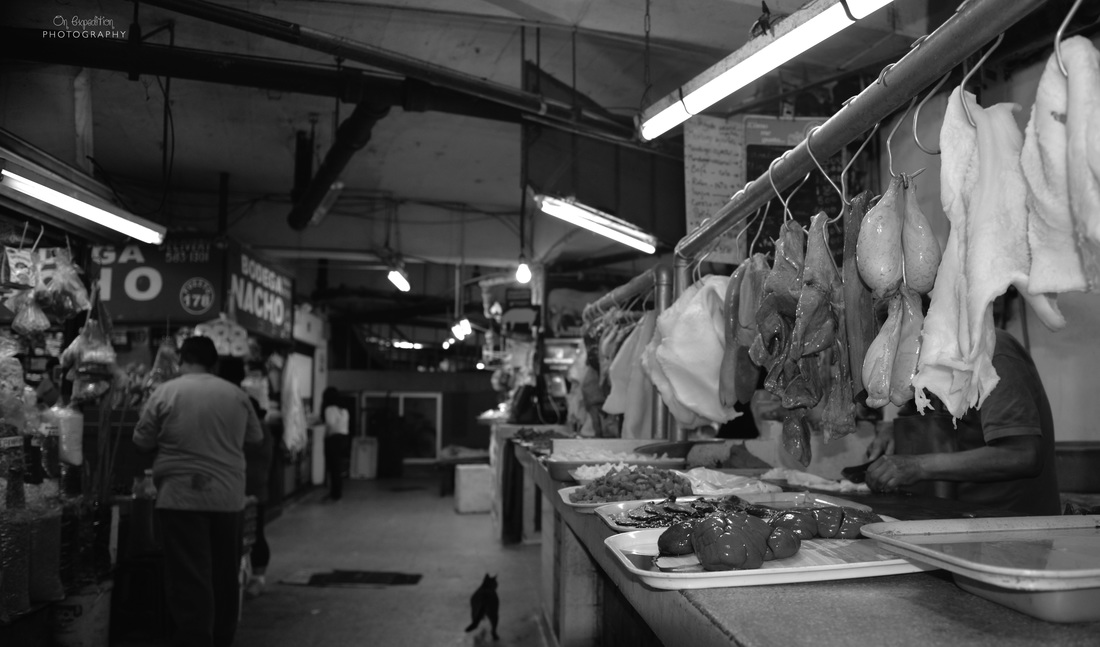
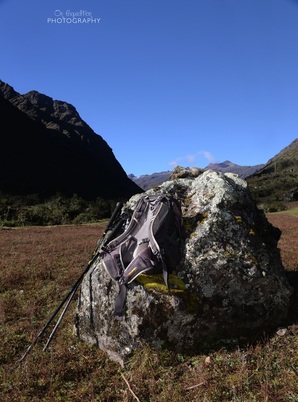
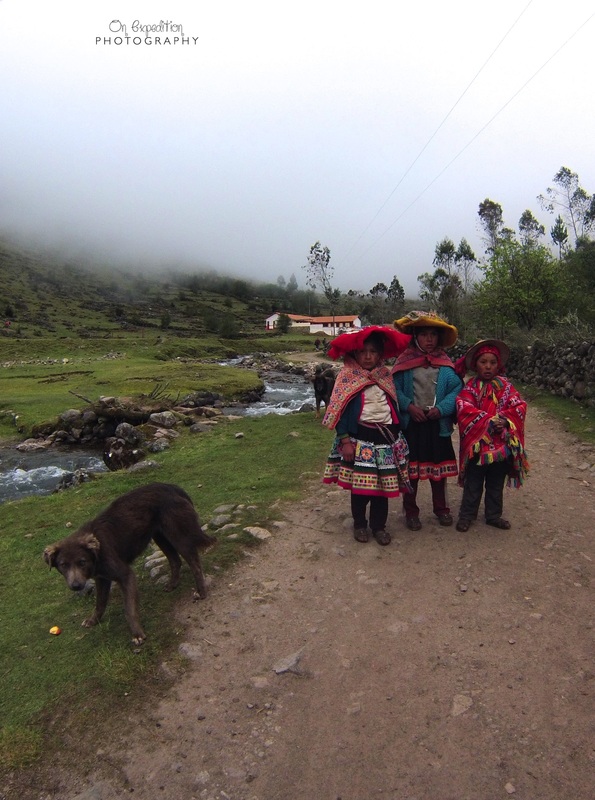
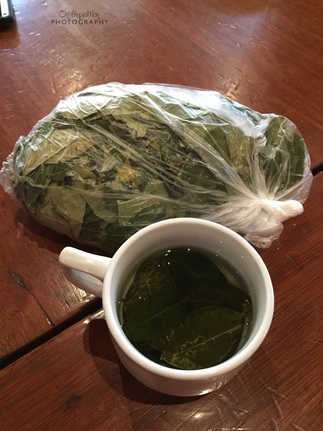
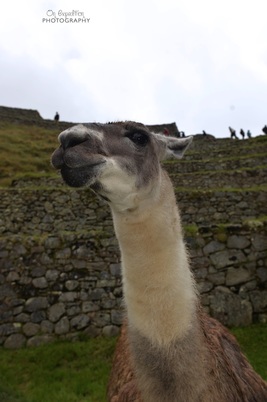
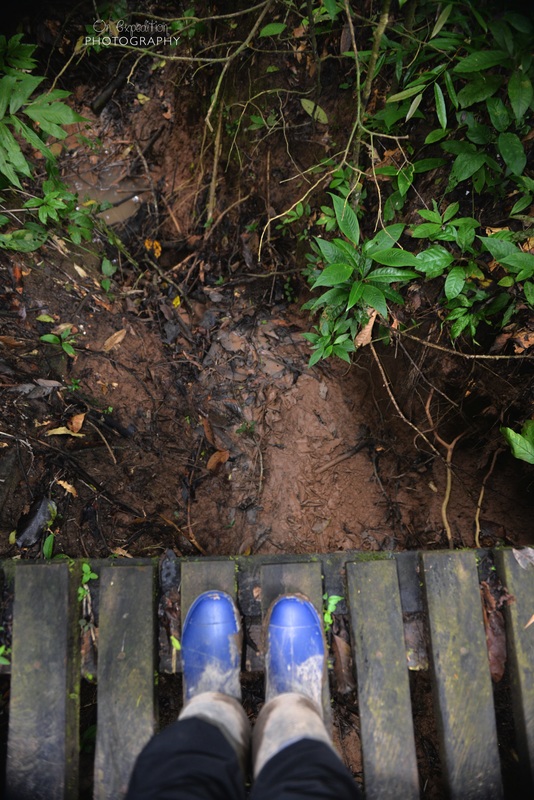
The Coast The coast is usually sunny, with little rainfall and makes up about 10% of Peru. This area houses the largest population of people, houses, beaches, valleys and deserts. Most travelers enter Peru through Lima, a very easy to navigate airport. When you arrive you will have to fill out both a customs form and an immigration form. The immigration form has a top and bottom section; fill out both parts. The immigration officer will keep the top part and return the bottom part to you. YOU NEED TO KEEP THIS IMMIGRATION CARD! DO NOT LOOSE IT! Every hotel or hostel you go to will ask you for your passport and immigration form. Without this you may need to pay additional tax. You will also need to return this form before you leave the country. No one told me this when I got there and I had a moment of panic when I couldn’t find it at our second hotel. There are lots of things to do in Lima but I would certainly say my favorite things were visiting the San Francisco catacombs, learning to make ceviche and pisco sours, strolling through a local market and visiting the world’s largest public fountain display. Lima is known for its ceviche and pisco sours. If you are in Mira Flores I would recommend Punta Azul. They had fantastic ceviche, great pisco sours and the staff were so friendly and absolutely hysterical! The prices here are also great! The Andes The Andes, also known as the highlands, take up about 30% of Peru and is dominated by temperate weather that is constantly fluctuating. Cusco: Cusco is the main destination for travelers entering the Andes. It sits at about 3400 meters or 10,800 feet. This is a big change from sea level and many people experience symptoms of altitude sickness once arriving. This can include anything from headaches, light sensitivity, nausea, feeling tired, having loss of appetite and not sleeping well. I would talk with a doctor about taking diamox, which can help with altitude sickness. Nonetheless, staying in Cusco is a great way to start acclimating to the altitude. Cusco has some great markets, a beautiful central park, great views of the "white Jesus" (you'll know it when you see it) and buildings that were built to incorporate the foundation of Inca ruins left in the city. Cusco also houses the famous 12 angle Inca stone. Head out and explore the town, but take it easy the first day and give yourself some time to acclimate. Ollantaytambo: If you are hiking the Lares Trek or Inca trail you will stop in Ollantaytambo. I loved this little town. There are ruins here within walking distance of the city located by an outside market. This town has great food and great accommodations. This town is located at 2900 meters or 9200 feet so if you were not feeling super great in Cusco from the altitude you will most likely start to feel better here. The Lares Trek: This trek is higher than the Inca trail with its highest point at 4600 meters or 15000 feet. This trail is considered the local trail and as you walk you will see houses, llamas, farms, and local people. The trek takes about 3 days, although this depends on where you camp and what trails you take. If you will be making this journey you will spend the first two days walking uphill and you will summit the highest point on your second day. You will not have a classic porter with you on this trek and instead will be accompanied by donkeys and horsemen. This means you can have a bit more weight then the Inca hikers. Since you will be trekking through local territory with kids you could bring some giveaways. I brought colored pencils, stickers and crayons. Some other people in my group gave out hair ties, toy cars and small games. The kids loved them! The Inca Trail: If you are hiking the Inca trail you will only be allowed to give your porter 6 kilograms or 13 pounds of weight. That will include your sleeping bag and camping mat if you choose to get one (and I recommend that you do). 6 Kilograms is not a lot of weight so keep that in mind when you are packing. This weight restriction is a government rule and there are checkpoints on the trail that porters will have to go through. The Inca trail is a step-filled hike and when you think there just wont be any more steps, oh look, more steps! The classic trail hits the highest point around 4200 meters or 13,800 feet. The trail is limited to 500 people per day, with only 200 of that number being trekkers. Interestingly enough a team of 11 trekkers may require almost 20 porters to haul all the gear they will use. The trail is usually walked somewhere between 4-5 days and campsite locations will depend on weather and landslide alerts. Coca Tea: I made this its own category because I cannot stress enough how much you should drink this tea! Your guides, porters, locals and every traveler will be drinking this as it gives you a nice energy boost, which you will need because the altitude will leave you feeling tired. The tea will be offered to you at breakfast and lunch. Sometimes it is available in tea bags but usually you just steep free leaves in a cup of water. The minimum amount of leaves you should use is ten and then anything over that is just to your own liking. As a side note there are some countries, such as the United States, that have made coca leaves illegal to possess. So, enjoy them in the Andes but leave any extra you have with your porters. They will certainly love you for it!! Peru Rail: The train to get to Machu Picchu has very nice accommodations and provides snacks and drinks along the way. The train leaves on time, and I mean right down to the second, so do not be late. You will line up by car letter and will be checked in before entering the train. Here is the link for the rail: http://www.perurail.com/ Machu Picchu: Get there early! The first bus leaves Aguas Caliente at 5:30 am and Machu Picchu opens at 6:00 am. The early you get there the less people and by 10:00 am there will be a lot of people. The only bathroom is outside of Machu Picchu, which is at the bottom of the ruins. Keep that in mind as you hike up all the steps to get to the top. The best view is certainty from the top of the terraces. This lets you overlook all of Machu Picchu. This is where I would recommend you go, especially as the sun is starting to come out. There are also two trails at the top that lead to the sungate and the Inca bridge. Bring your passport with you because at the entrance there is a station to stamp it with the date and picture of Machu Picchu. I would do this on your way out rather than on the way in. You can bring snacks and drinks with you but there are no garbage's around so what you carry in you need to carry out. Machu Picchu is around 2400 meters or 7900 feet so altitude sickness will not be much of a concern here but you may find it more difficult to breath while walking up the steps. Just take your time... the turtle always wins the race! My biggest piece of advice for packing for the Andes is to pack layers! The temperature and weather fluctuate so frequently that you may find yourself in a tank top one minute and then in a fleece jacket the next. Rain Gear: If you have pants and a jacket I would bring both. While I was at Machu Picchu it went from a quick sprinkle to very cold, hard downpour. Rain gear made a huge difference. When it did stop raining I was nice and dry, which made for a better remainder of the day. Weather on the Lares and Inca trail can also change very quickly so having rain gear handy is a must. I recommend keeping it on the top of your pack rather than stuffed at the bottom. Bag Liner: I took the extreme thermolite reactor liner (check the gear tab for a link). This liner can add an extra 25 degree F/ 14 degree C to your bag. Since it got to be freezing the extra warmth certainly helped. Hiking Poles: I brought my poles with me because they have a go pro attachment for the top, which was very handy, but it was a pain carrying them around to all of the other places I traveled to because they did not easily back into a small duffel. You don’t necessarily have to bring these with you but I would definitely recommend renting them. Your guides will have them and will also recommend them. The terrain is rugged with lots of up and downs. The poles are great for helping you step up and down and if you happen to get off balance at all they are great for preventing a nasty fall. Poles are not allowed into Machu Picchu so if you are only going there and not hiking you definitely do not need them. Fleece Jacket: It can get cold in the Andes! I was there in May and it was literally freezing at night! Hiking Boots: I would recommend wearing hiking boots that have ankle support. The terrain is pretty uneven and there were more then a few saved ankles in my group from having higher hiking boots. Bag Cover: I would have a bag cover handy for your backpack in case it starts to rain. Some people used ponchos (like the ones you would see people wearing at Disney) that covered themselves and their backpack. Check the gear tab to see my bag cover. Toilet Paper: There are a lot of places, especially in markets, that you have to pay to use the restroom and toilet paper will not be provided. I would bring at 1-2 roles of campers toilet paper to use. The Lares trek bathrooms all had toilet paper at the campsites but many of the Inca trail bathrooms did not. Plastic Bags or Dry Bags: The Andes can be very damp and gear can get wet even when it is not raining. I would try t keep your clothes and camera gear in bags to keep them from getting wet. I would bring a variety of bag sizes if possible. You may find yourself unpacking and repacking your stuff pretty frequently as you change locations and activities. I brought a mixture of quart, gallon and dry bags. The Amazon The amazon is a hot, tropical region, characterized by lush vegetation that takes up roughly 60% of Peru. The amazon was one of my favorite parts of the trip. There were so many exciting things to learn and see. My guide did a wonderful job of finding all sorts of critters like tarantulas, toucans, and monkeys. He also told our group about the legend of the “El Chula Chaqui”, which can take the shape of any human being. Guides in the jungle never call out to someone they cannot see and for good reason. They do not want to be lured jeep into the jungle and lost forever. Our guide also showed us a plant that is used for dying. I was on the hunt for some war pant and after mixing the plant with some water he painted my face. Truly awesome!! Bug Spray: There are lots of little critters in the amazon and taking some preventative measures with bug spray could really save you some itching at the end of the day. I brought a 0.475 oz bottle of repel 100-bug spray. I did not have any problems with running out of bug spray. For those of you who have known severe bug allergies I would talk with a physician about bringing an epi-pen. The locations are remote and once again better to be safe then sorry. Rain Boots and Hiking Poles: I would highly recommend these as the amazon is wet and trudging through muck can sometimes have you stumbling a little. I would double check where you are staying because these may be available for rent or even free of charge. The lodge where I stayed had a boot room with hiking sticks and boots, which were available for guests to use for free Long Pants and Long Sleeves: The longer the sleeves and pants the less bites you will most likely get. It may be a little warm and wet, since it is a rain forest, so I recommend quick drying, wicking materials. I also recommend loose fitting rather than tight fitting clothes. I wore leggings on my first day of hiking and some bugs with exceptionally good biting abilities were able to get me through my pants. I asked a few different guides about the color of your clothes while in the amazon and I got varying answers about dark versus light colors. I was wearing dark colors and seemed to do fine while another girl I was with was wearing lighter colors and also had no problems. High Sock: I recommend high socks for two major reasons. The first reason is you will most likely be wearing rain boots or at the very least high hiking boots. The boots can sometimes rub so covering your ankles can help prevent any chaffing. The second reason comes back to those lovely bugs again. The more skin area you can cover the less bites you will most likely have. Rain Gear: Since it is a rain forest I would expect some rain. I had both rain pants and a rain jacket. If I went back I would probably only carry my rain jacket. The pants I had were fast drying and with the rain boots it would have been difficult to slip the pants on if it did start pouring. Bag Cover: I would have a bag cover handy for your pack in case it starts to rain. Check out the gear tab to see my bag cover. Quick Tips Tip #1: Pack LIGHT! Be PORTABLE! Just about everything you do in Peru will most likely have you moving pretty frequently. A lot of the areas are not rolling bag friendly and just about everything is uphill and/or will require a bit of walking.
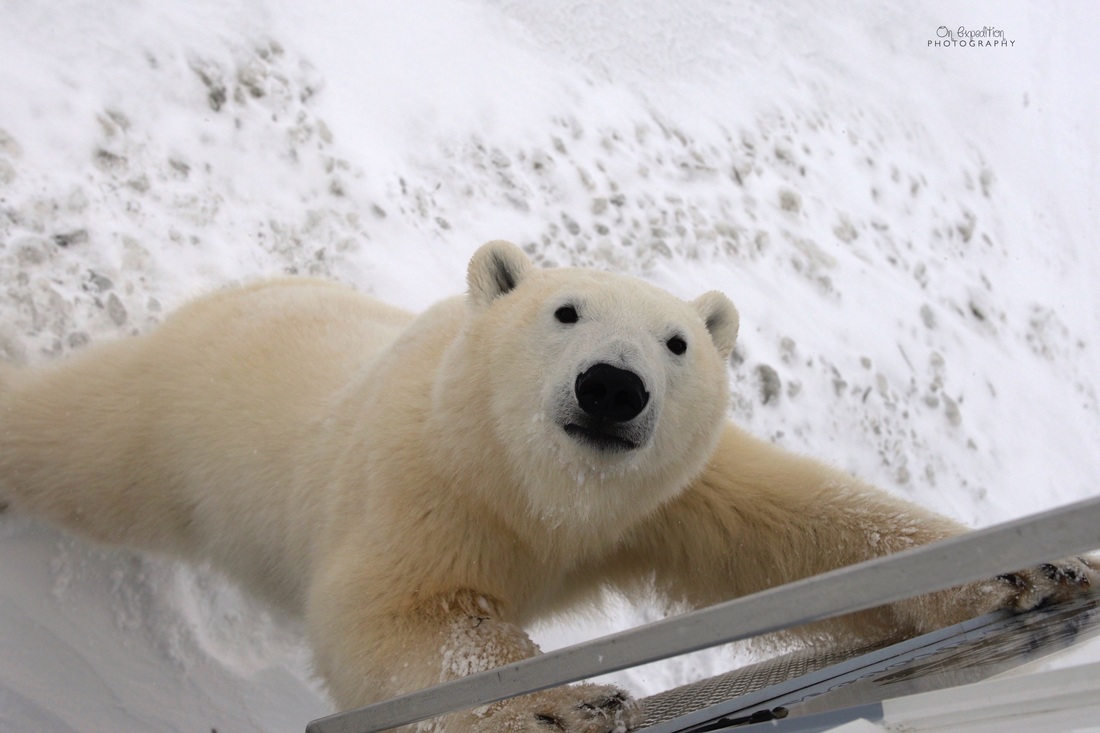
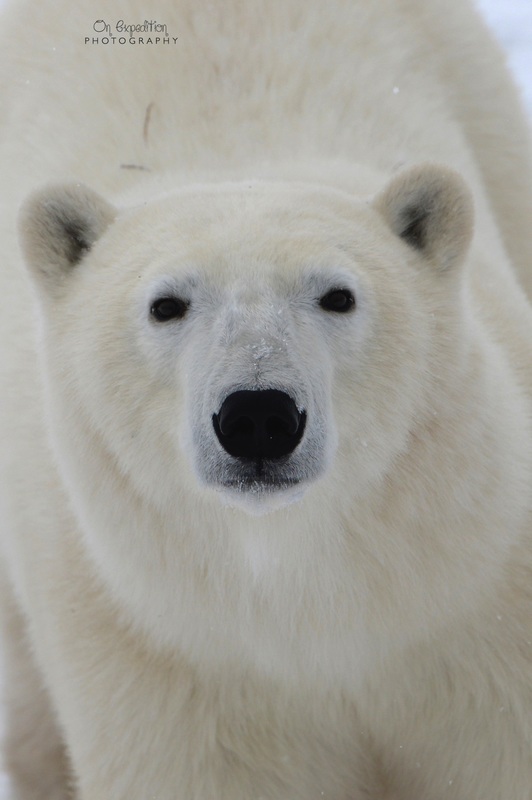
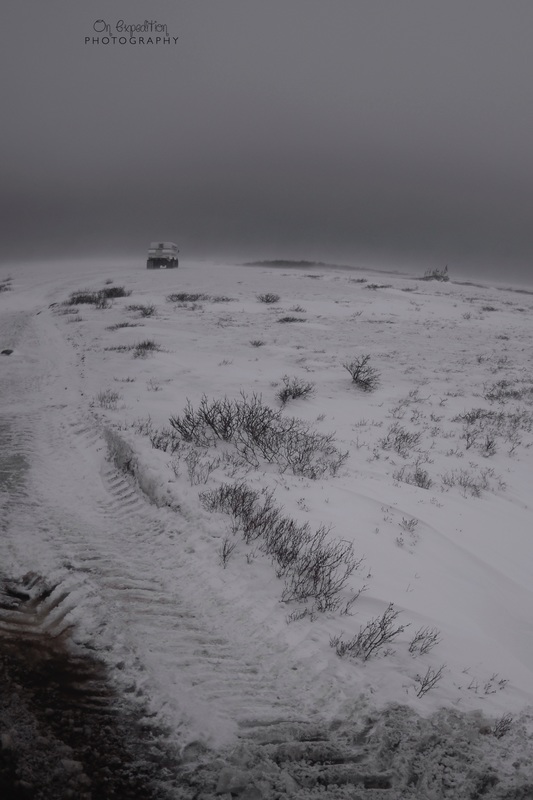
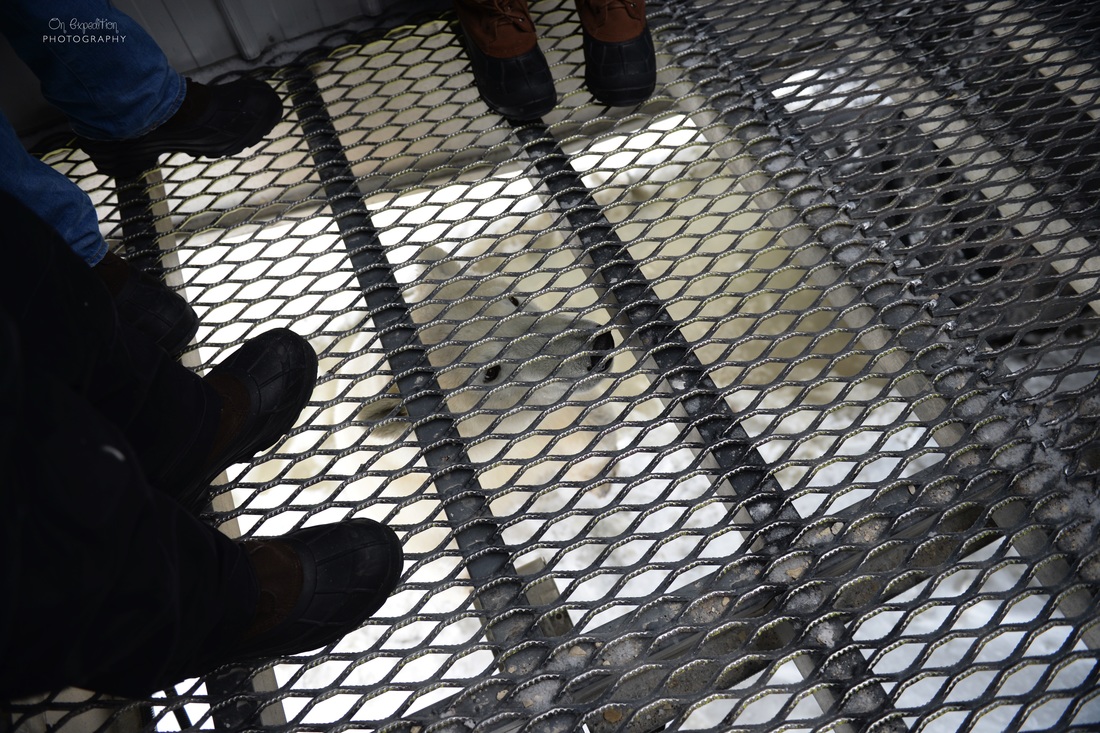
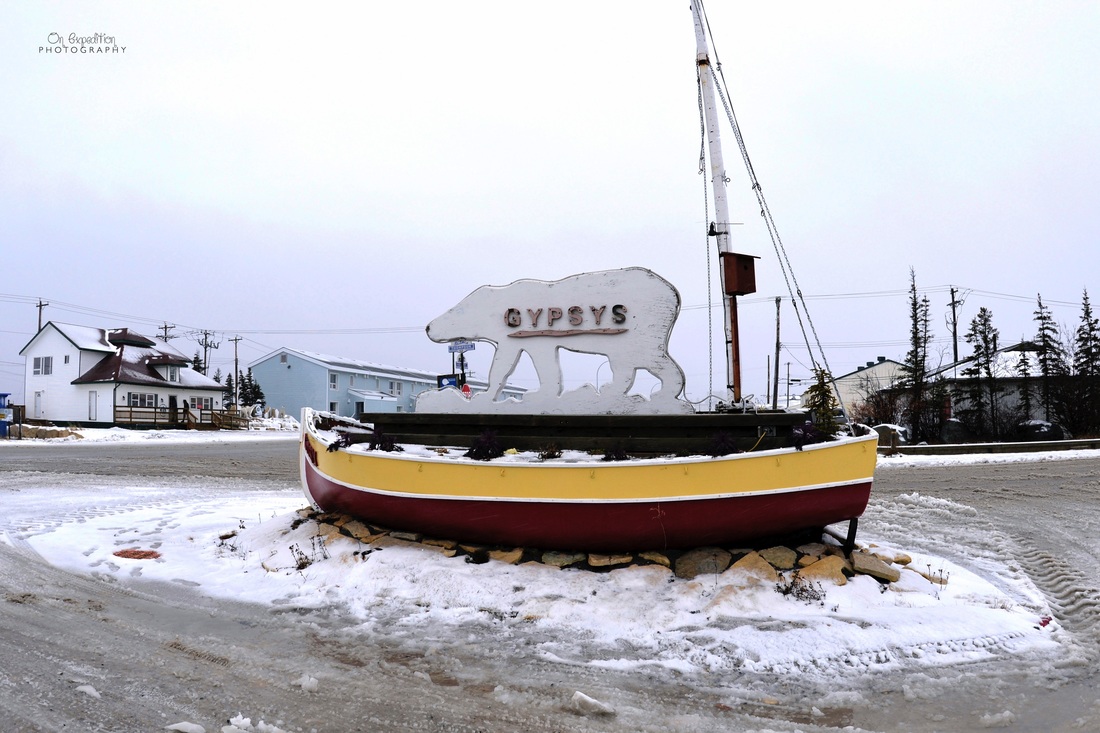
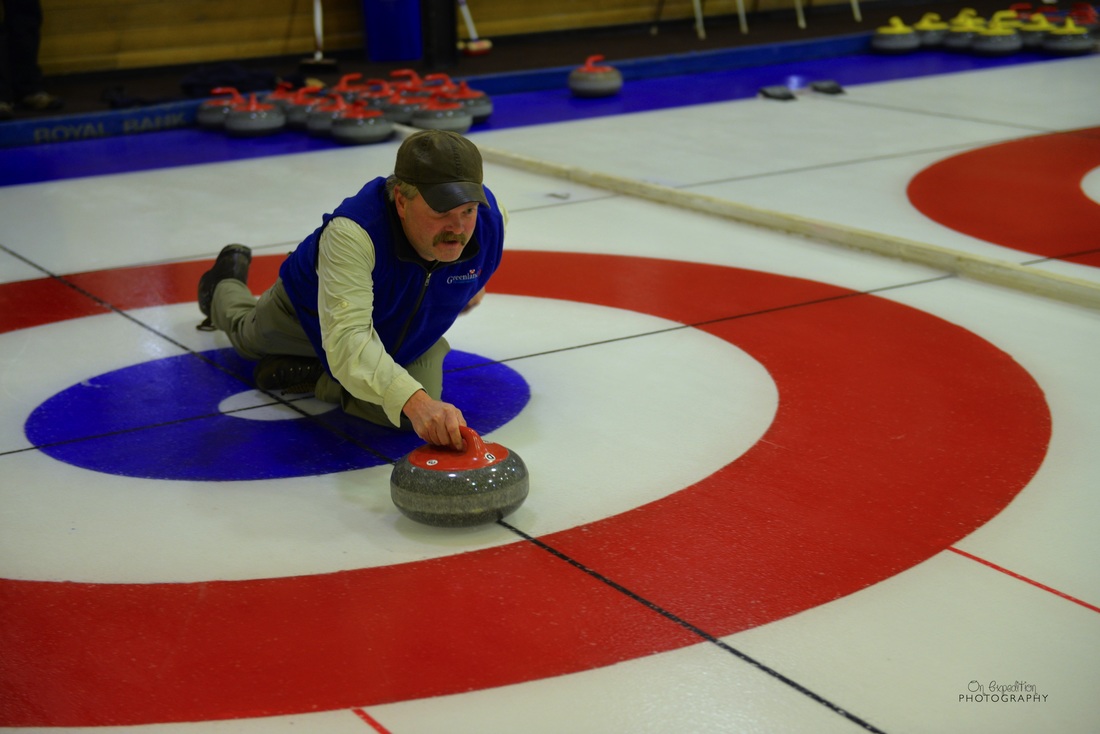
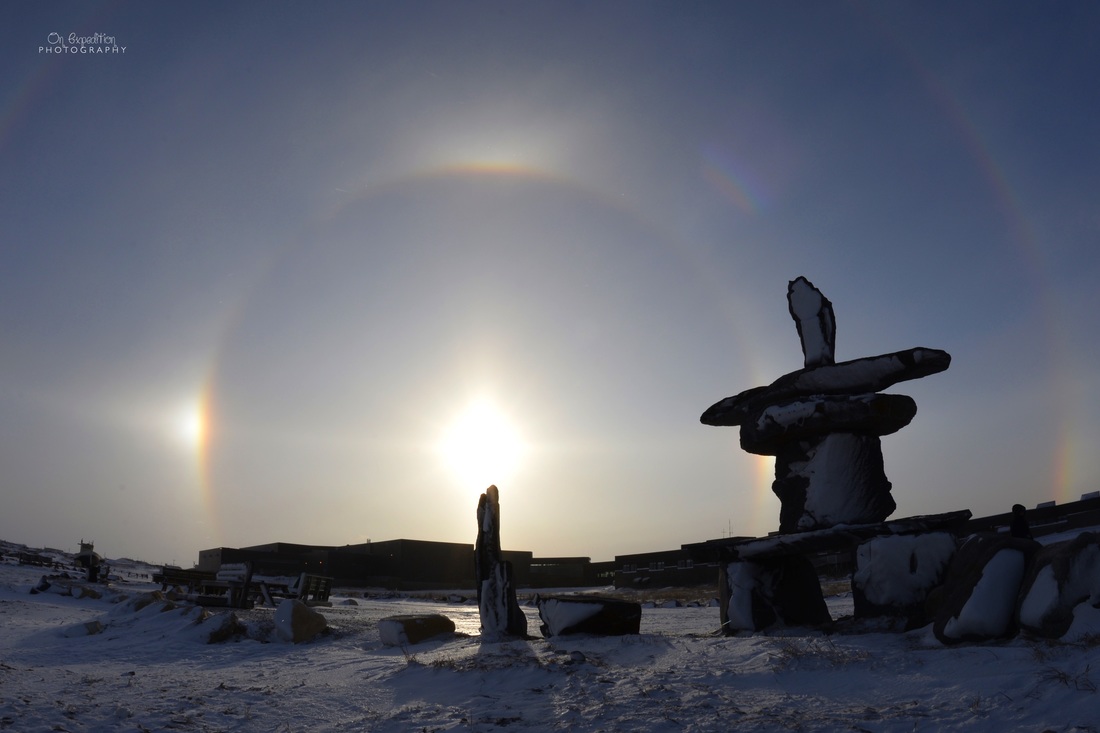
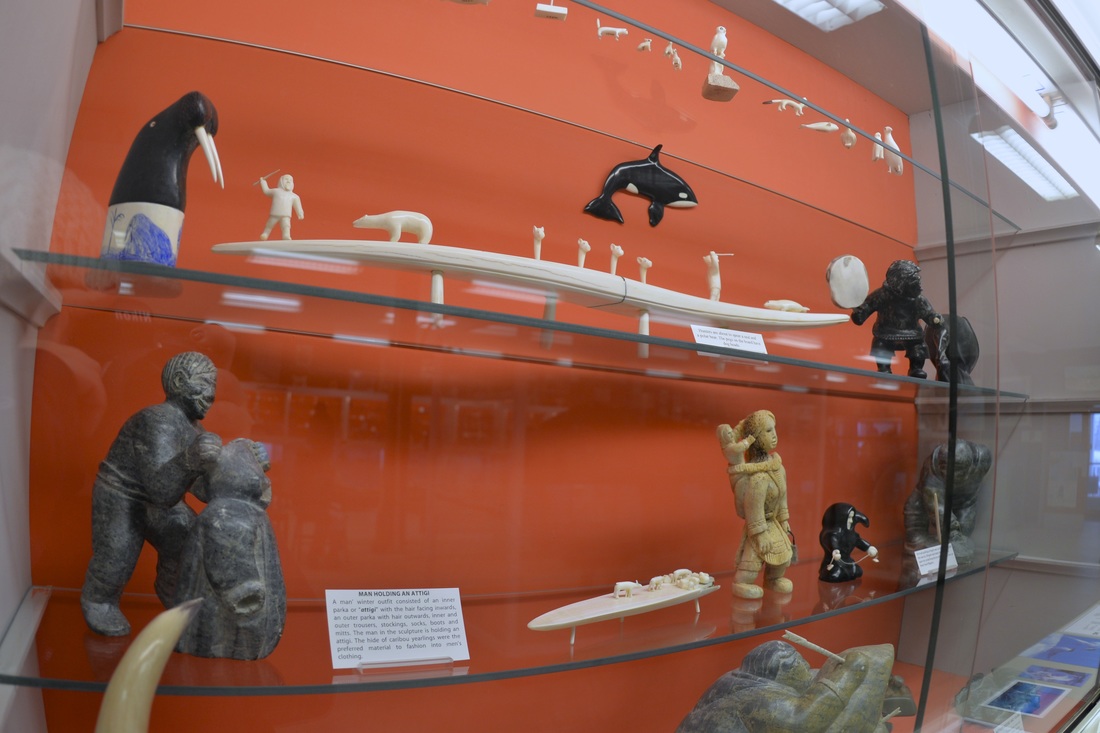
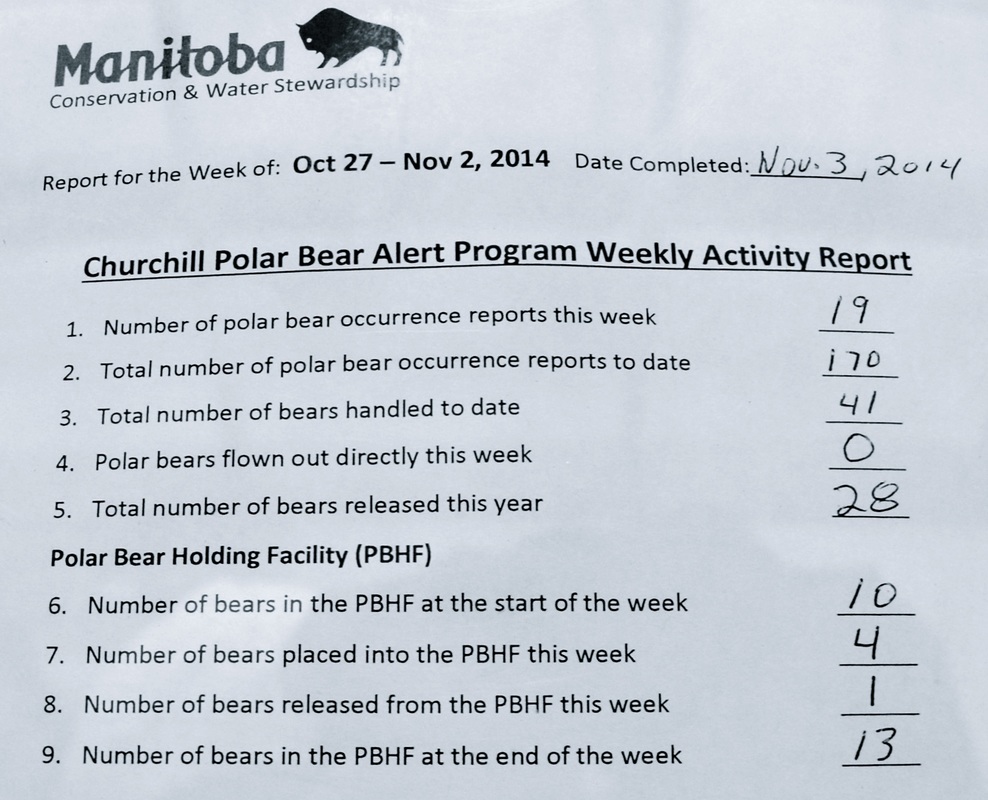
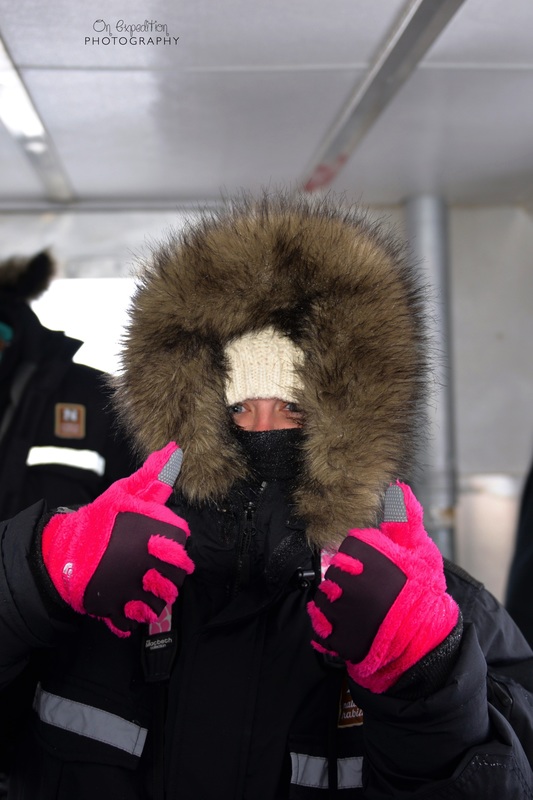
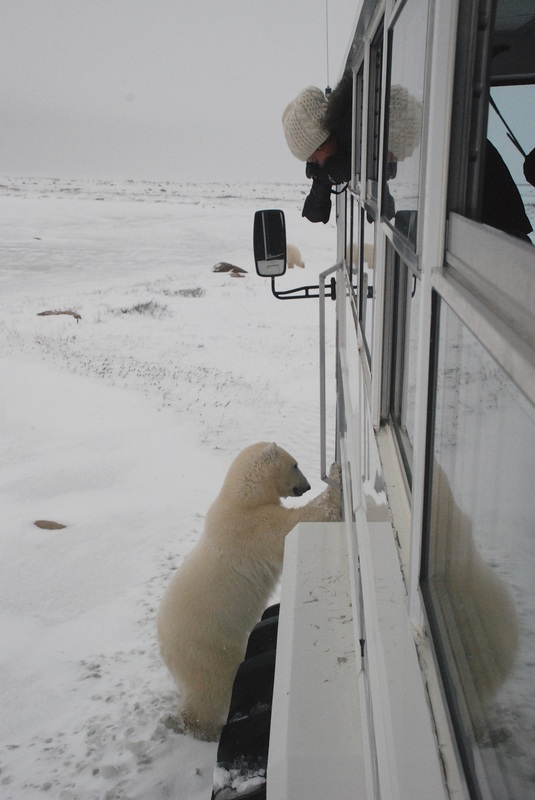
Tip #2: Change your money at a bank location. The airport exchange booth did not have a good rate and many of the street vendors have been known to give out fake money. If you are going with a tour your guide or driver knows the really good places so just ask them to make a quick stop for you. Tip #3: Leave room in your bag when you pack because you will want to buy way more stuff then you think. Everything in Peru is beautiful and there are artisan markets all over the place. I thought Cusco was one of the best places for shopping and honestly if I had the room I could have brought way more stuff back with me. Tip #4: When in Peru, do like the Peruvians. Basically, drink the Coca Tea! Tip #5: Have a good attitude and be willing to bend a little as weather or plans change. Peruvians are wonderful people and no matter where you are you will have a wonderful time! Churchill Churchill is a tiny town with a population of roughly 900-1000 polar bears and roughly the same amount of people. On any given day there could be more bears then people in the town. Churchill sits on the Hudson Bay, just below the Arctic Circle. Because of its location it attracts polar bears waiting for the ice-up to happen. These bears really heavily on the freezing ice so they can make their way out and start hunting after hibernating. Sometimes bears are found wandering through town or in peoples backyards. Interestingly enough, the residents of Churchill leave their cars unlocked so that pedestrians can lock themselves in if they find themselves in the vicinity of a polar bear. There are two ways to get to Churchill, either by train or by plane. The Via Rail Canada train leaves from Winnipeg and takes approximately 48 hours to reach Churchill. There are two plane carriers, Calm Air and Kivalliq Air, both of which have direct flights into Churchill, also leaving from Winnipeg. The plane ride takes about an hour and a half. Polar Bear Spotting... "Look for the Frito" I remember waking up my first day in Churchill just hoping that I would see a polar bear sometime during my three days on the rover. We made the drive out of town to the rover station, a name I adopted, since this is where the rovers are left overnight. We quickly boarded the rover, grabbed a seat and headed out onto the Tundra. We started down a path and only a few minutes after leaving the station we were driving through a couple feet of water. Not but a couple minutes later, there she was; our first polar bear! She was tucked into some pushes with her nose covered trying to stay warm in the gusting winds. I was so pumped! I had a fantastic guide on this trip and he certainly made a huge difference. I learned tons of information about the Tundra, bear behavior, spotting and tracking and research. I would say the most surprising thing was actually the color of the bears. When I got to Churchill I expected to see some very fluffy and very white polar bears. However, I quickly learned I needed to be looking for “Frito” colored snow blobs, a very technical description my guide came up with. They are a little dirty after spending so much time on land. At the culmination of my trip I had seen roughly thirty bears, including adult males and females, cubs and juveniles. I also had an opportunity to see some other arctic creatures including hares and the arctic fox. Things to Do 1. You absolutely MUST go to Gypsy’s Bakery and Restaurant. Just make sure you bring an appetite and leave some room for dessert. This place is family owned and operated and is a local stop (so you know its good). I had my first Nanaimo bar here, which I definitely recommend you try. 2. If you have an opportunity, I recommend you head down to the town complex and see if you can get onto the ice to try your hand at curling. It can be tricky to find this tucked away ice gem but it’s totally worth it! 3. Head out to the Inukshuk and take a photo. The inukshuk is used for navigation, indicating trekking routes and marking special places. If you are lucky you may even see an arctic fox that lives in the area. If your super lucky you might see a sun dog, which is a halo made up of ice crystals. They are a little difficult to photograph but absolutely magnificent! 4. Stop by the Eskimo Museum that houses carvings, kayaks, a stuffed polar bear, arrowheads and a little gift shop with some interesting books. This museum is only one room but it took over an hour to explore everything. 5. Drive by Polar Bear Jail. You cannot go inside but you can see the building, which is an old aircraft hanger, right by the airport. The jail is used to hold "bad" polar that have caused problems in town. By housing them here the animals are kept from having to be put down. So, they just wait patiently, sometimes for months, to either be released when the ice-up happens or they are relocated by helicopter northeast of Churchill. Packing List It is literally bellowing freezing with the wind in the Arctic. You definitely want to dress in layers both in town and when you are on the rover. The rover is heated so if there are periods where you don’t see bears you may get warm, but when those bear sightings start you are going to want to have the windows down to get some great pictures.
Photography... Lenses, SD cards, batteries? I found I used every lens that I brought, which included a Nikkor 24-70mm f/2.8, Nikkor 70-200mm f/2.8, and Nikkor Fisheye 16mm f/2.8. I used the 24-70 lens the most since the polar bears came pretty close to the rover and it was great for scenery shots. So, if you are buying a lens for this trip and can only buy one I would recommend a 24-70 lens. I recommend you bring at least two batteries, but three would be better. The cold kills the camera batteries pretty fast. I brought some extra hand warmers and put them in my camera bag by the batteries to keep them warm. These seemed to work pretty well and then I just charged them up each night in the hotel. SD cards are a little trickier. You never know how many pictures you are going to shoot so the more SD cards the better. I shot about 10,000 pictures while I was there. I carry about 100 GB of cards with me at any given time but I did not use even a quarter of that while on this trip. Photography in the arctic can be a little tricky because of the snow, lack of sun, the color of the bears and the temperature. On the last day I had some sun, which made for good pictures but you should be prepared to shoot in some pretty overcast and snowy conditions. Snow can make picture taking tricky and the fact that you are shooting "white" bears on a white background can make it even more difficult. I highly recommend you learn how to use your histogram if you are shooting on a DSLR. This can give you a quick idea about the quality of your picture. For my point-and-shoot photographers, many cameras have snow settings, which I have found work pretty well. Temperature change can be an issue in this climate as you move from a freezing temperature into warmer places like restaurants or your hotel. I recommend putting your camera gear into a plastic bag before taking it into your hotel. This will allow for a slow adjustment. Do not take the camera out of the bag for a while and its best to leave the lens attached so you don't get any condensation in the camera body. Lastly, it snowed quite a bit while I on the tundra so I found myself constantly having to wipe snow of the lens and camera body. Make sure to bring a few lens cloths in case one gets wet. Arctic Tips
|
|

